
Summary: what a Z seam is
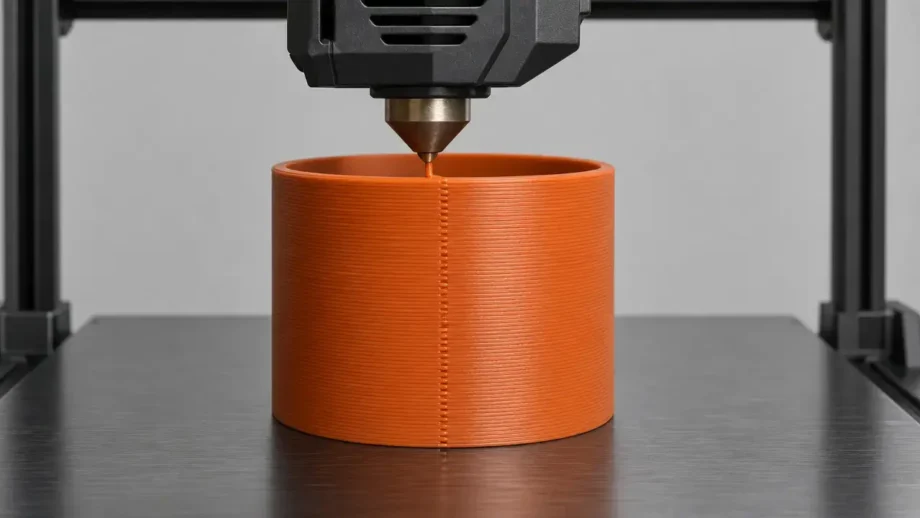
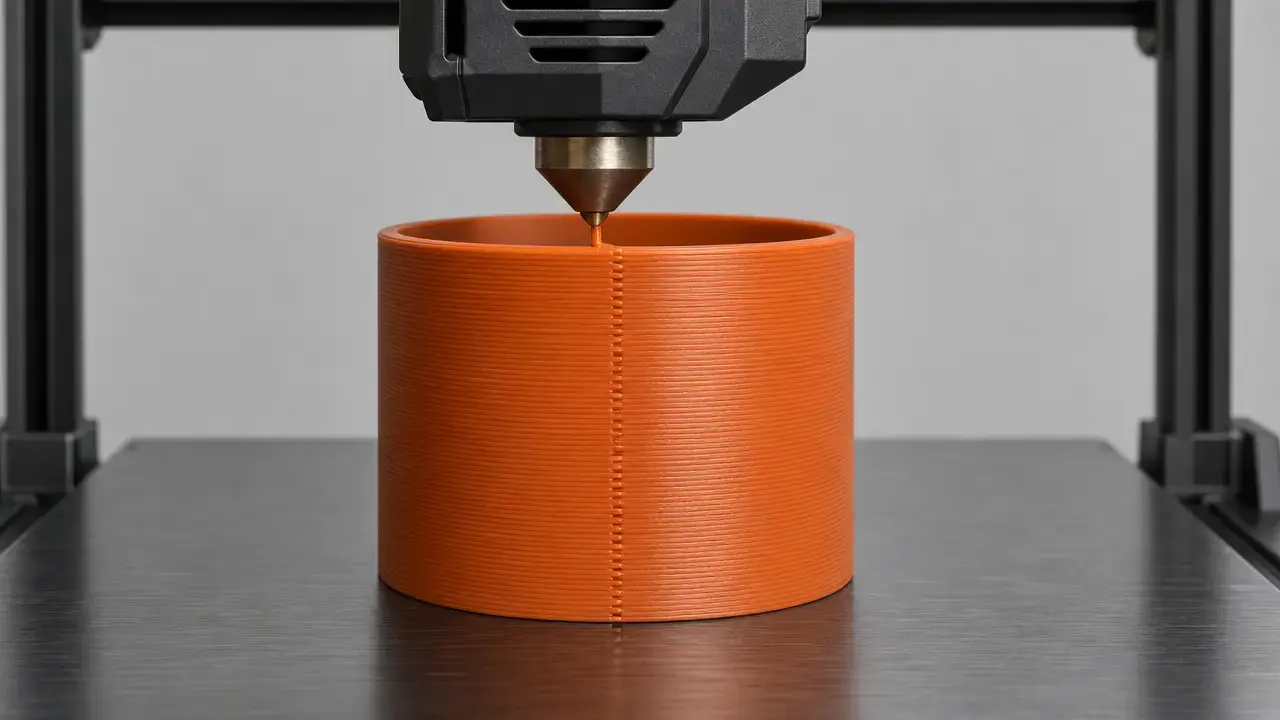
A Z seam is the visible start-and-stop trace left where a perimeter or wall path begins and ends in a material-extrusion print. In standards and institutional language, the broader process family is material extrusion, while Stratasys describes FDM as a thermoplastic-filament process that extrudes through a heated nozzle and deposits material layer by layer. [1] [2] [3]
In practice, the seam matters because each closed loop still needs a start point, and repeated starts can stack into one visible vertical line. Cura’s current base definition describes Z Seam Alignment as the starting point of each path in a layer and notes that repeating that start point can produce a vertical seam. Cura lists four placement options for that setting, with Sharpest Corner as the default. This article focuses on seam alignment, Cura seam settings, and ways to reduce seam visibility rather than promising that a Z seam can always be eliminated. [5]
Terminology and historical background
The standards-aligned umbrella term is material extrusion, used in ISO/ASTM vocabulary and by NIST for this process family. Fused Deposition Modeling (FDM), by contrast, is Stratasys terminology for a specific thermoplastic-filament process, and Stratasys’ legal terms list FDM and FDM Technology among its marks. In desktop use, many people also say FFF for fused filament fabrication; Prusa’s glossary notes that FDM is trademarked while FFF is not. That is why z seam 3d printing language appears mostly in slicers, firmware discussions, and user communities rather than in standards documents. “Z seam” is a practical workflow term for a visible surface artifact, not a formal process category. [1] [2] [3] [4] [12]
Why the Z seam appears
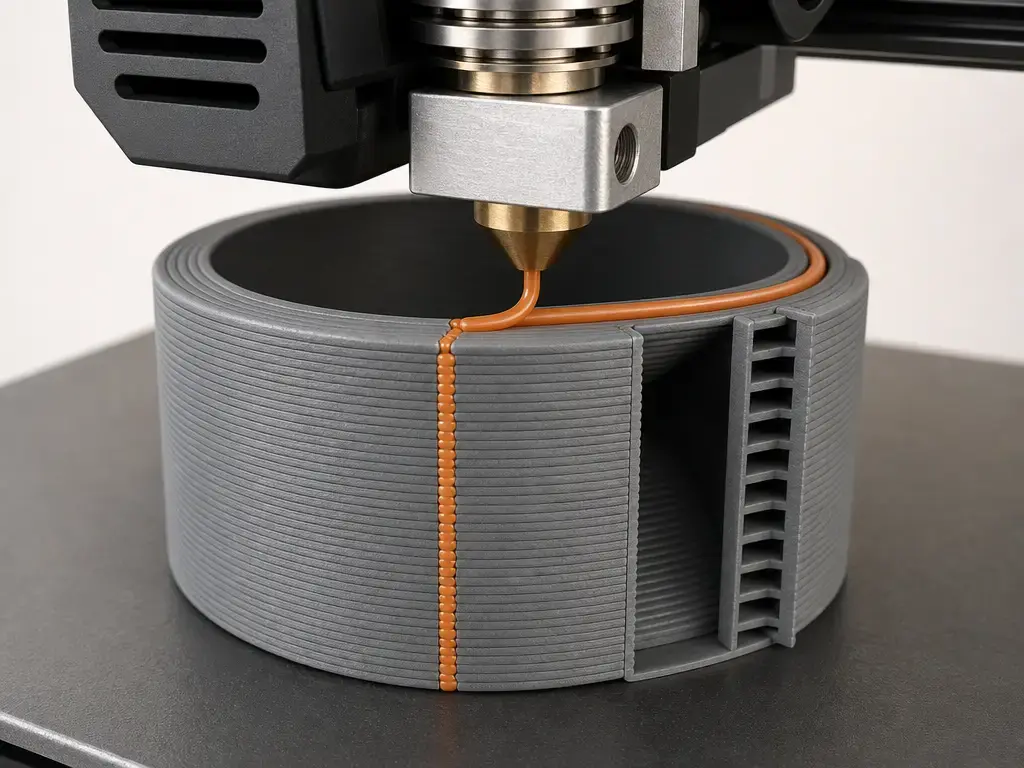
Material extrusion builds parts layer by layer, so every closed perimeter loop has to begin and end somewhere. Cura defines seam alignment as the starting point of each path in a layer, and Prusa and Orca describe the same practical reality in their own seam documentation: unless you are using spiral-vase-style printing, the perimeter start/end point can create a visible vertical mark on the surface. That repeated start point is the z seam location users see on the finished part. [2] [5] [6] [7]
The mark does not always look the same because the nozzle is not restarting under exactly the same pressure conditions every time. Travel distance, retraction, de-retraction, wipe behavior, coasting, wall order, and geometry all affect whether the seam reads as a ridge, a gap, or a blob at the next layer change. In Cura’s base settings, Outer Wall Wipe Distance defaults to 0.2 mm, Enable Coasting defaults to off, Coasting Volume defaults to 0.064 mm³, Minimum Volume Before Coasting to 0.8 mm³, Coasting Speed to 90%, and Retract at Layer Change also defaults to off. Cura also exposes wall ordering as Inside To Outside or Outside To Inside. Marlin’s Linear Advance and Klipper’s Pressure Advance help manage pressure behavior, but they do not choose seam placement themselves. [5] [8] [9] [10]
So the seam is primarily a perimeter start/end transition artifact, often visible at successive layer starts, not evidence that the Z axis itself is inaccurate. If the visible mark follows the previewed perimeter start point, suspect the seam first. [5] [6]
Z seam vs layer lines vs blobs/zits vs ringing vs Z-banding
- Z seam — the repeated start/end location on perimeter loops across layers. [5] [6]
- Layer lines — the normal stepped surface texture created by building geometry layer by layer. [2]
- Blobs or zits — small start/stop defects that may sit on the seam, but can also come from ooze and restart inconsistency. [6] [7] [15]
- Ringing — a vibration artifact, which Prusa documents under ghosting, rather than a chosen seam position. [13]
- Z-banding — repeating surface bands that usually point to machine maintenance or motion checks, not seam-placement settings. [14]
Z seam settings and seam alignment in slicers
Slicer seam controls fall into two groups. Placement settings decide where a path begins. Transition-softening settings change how visible that beginning and ending point becomes. Keeping those groups separate matters, because seam alignment, z seam alignment, and other z seam settings are not all doing the same job. Outer-wall seam behavior mostly affects visible finish, while inner-wall seam choices can push artifacts inward or change how strongly they telegraph to the outside, depending on wall order and part geometry. [5] [6] [7]
Placement modes
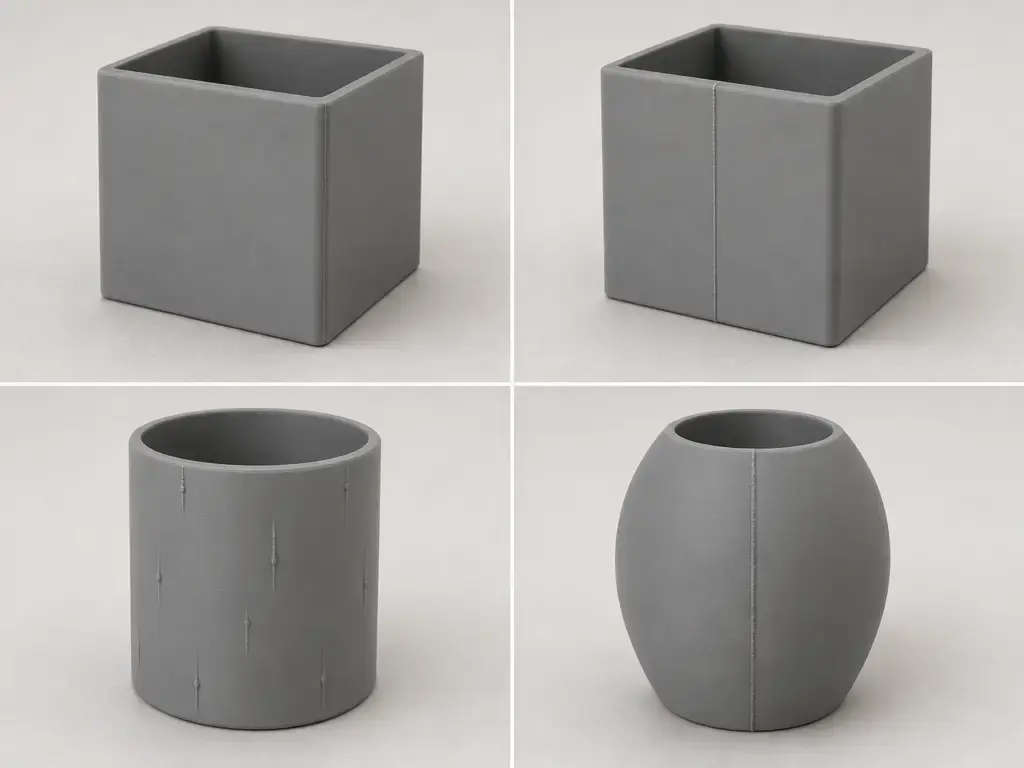
In Cura, Z Seam Alignment currently offers four options: User Specified, Shortest, Random, and Sharpest Corner. When User Specified is selected, Z Seam Position adds eight directional presets: Back Left, Back, Back Right, Right, Front Right, Front, Front Left, and Left. PrusaSlicer uses a different naming set with Nearest, Aligned, Random, and Rear. OrcaSlicer overlaps with that general idea but currently documents Aligned, Aligned Back, Nearest, Back, and Random. The purpose is similar across slicers: choose where the seam starts, without implying that the menus are identical. [5] [6] [7]
Transition-softening modifiers
Softening settings do not relocate the seam; they change how the transition appears on the surface. In Cura, Seam Corner Preference has five options — None, Hide Seam, Expose Seam, Hide or Expose Seam, and Smart Hiding — and it is disabled when Z Seam Alignment is Random. Cura also exposes Outer Wall Wipe Distance, coasting, retraction-at-layer-change behavior, and wall ordering. Prusa’s scarf-joint tools overlap the start and end of the loop to reduce visibility, and Prusa notes that they work best on smooth surfaces, add print time, and are less effective on sharp corners or overhangs. OrcaSlicer documents Seam gap as a bulging-versus-visibility trade-off and recommends 0 to 15% of nozzle size for a well-tuned printer. [5] [6] [7]
| Setting family | Type | Best suited geometry | Main trade-off |
|---|---|---|---|
| Aligned / Sharpest Corner / Nearest / Rear | Placement | Boxy parts, corners, and hidden rear faces | Can create one obvious line if the seam is exposed. [5] [6] [7] |
| User Specified / directional seam position | Placement | Parts with one clearly hidden side | Requires correct model orientation and preview checking. [5] |
| Random | Placement | Cylinders and smooth organic parts with no good hiding edge | Scatters zits instead of concentrating one line, and strength effects depend on geometry. [5] [6] [7] [11] |
| Scarf seam / seam gap / wipe / coasting | Transition-softening | Curved cosmetic shells and selected special cases | Behavior is slicer-specific and may add print time or create gaps if overused. [5] [6] [7] |
Cura workflow: how to hide print seam in Cura
If you want a practical answer to how to hide print seam in Cura, start with preview rather than random tuning. Cura’s seam tools are easiest to use when you first decide whether you want to move the seam, soften it, or distribute it. [5]
Begin with Z Seam Alignment. Cura’s current base definition lists User Specified, Shortest, Random, and Sharpest Corner. If you choose User Specified, Z Seam Position gives eight directional presets for steering the seam toward a back face or another hidden side. Cura then separates that placement decision from appearance tuning through Seam Corner Preference, which defaults to Hide Seam in the base definition. For most parts, the safest hide print seam Cura workflow is to choose a placement mode, inspect the previewed start points, rotate or reposition the model if needed, and only then decide whether the seam is already acceptable. [5]
Only after that first preview pass should you move on to softening tools. In Cura, Outer Wall Wipe Distance is a 0.2 mm wipe-related setting, not a location mode. Enable Coasting and Retract at Layer Change both exist, but both default to off in the base settings, and Cura’s base definition lists Coasting Volume at 0.064 mm³, Minimum Volume Before Coasting at 0.8 mm³, Coasting Speed at 90%, and Retraction Speed at 25 mm/s. Wall ordering also matters because Inside To Outside and Outside To Inside can change how much the outer surface reveals the seam. Spiralize Outer Contour is a special-case mode that turns the model into a single-walled print with a solid bottom and is only intended when each layer contains a single part, so it is not a generic seam fix. [5]
- First decide whether to move the seam or reduce the blob or gap. [5]
- Use Sharpest Corner or pair corner-friendly placement with Hide Seam on angular models. [5]
- Use User Specified and a hidden side for display parts when the model has a preferred viewing angle. [5]
- Use Random cautiously on smooth round parts, where it trades one seam line for scattered zits. [5] [6]
- Tune extrusion, retraction, and pressure-control behavior only after confirming the seam location in preview. [5] [8] [10]
Diagnostic checklist: is it the seam or a different defect?
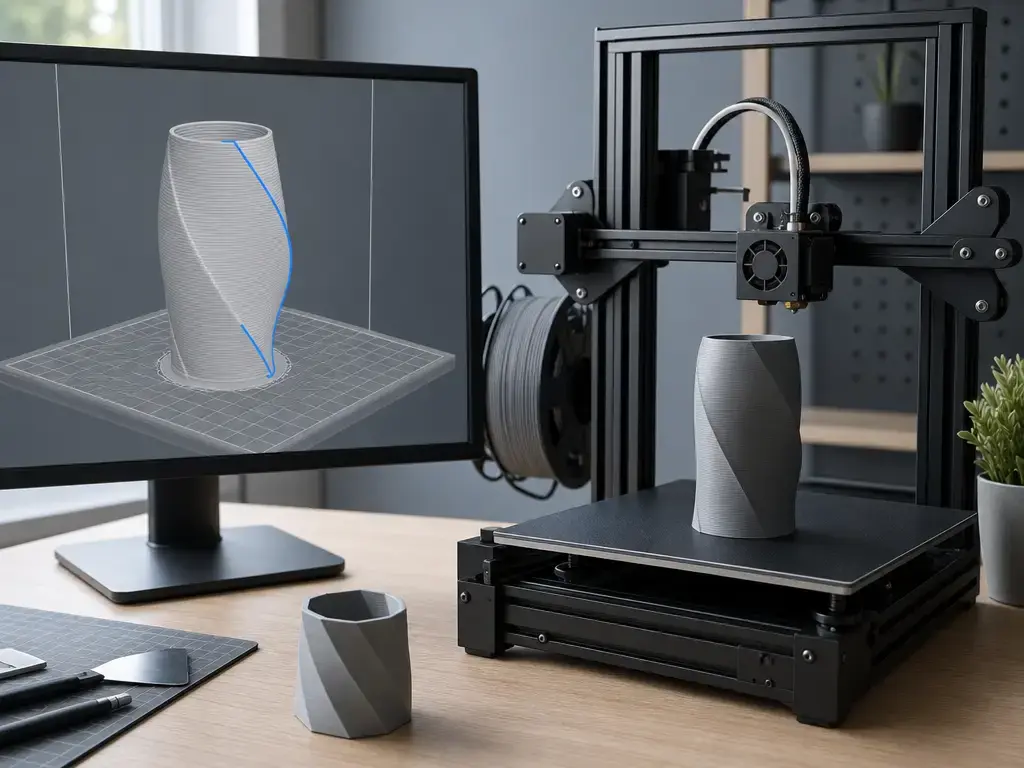
Start by comparing slicer preview with the printed part. If Cura’s preview shows one repeated start point and the physical seam line or repeated zits appear in the same place, you are probably looking at seam behavior. If the defect does not track that previewed start point, look elsewhere first. Wet filament can cause poor surface quality, stringing, and blobs, while motion vibration produces ghosting rather than a single repeated perimeter start mark. [5] [6] [13] [15]
As a rule, adjust seam placement first when the problem is mainly visual. If the mark is still too large or inconsistent after that, move on to the controls that affect start/stop behavior: wipe distance, coasting, retraction, and pressure management. Cura’s base settings put Outer Wall Wipe Distance at 0.2 mm and leave coasting and retract-at-layer-change off by default. Marlin’s Linear Advance and Klipper’s Pressure Advance address nozzle pressure response, not seam placement, and both ecosystems treat that tuning as calibration work rather than the first seam-control step. [5] [8] [9] [10]
- Slice the model and enable seam or toolpath preview. [5]
- Note whether the physical defect matches the previewed seam position. [5] [6]
- If it does, adjust seam location or seam-corner behavior first. [5]
- If it is too large or inconsistent, tune flow, temperature, retraction, wipe, coasting, and pressure-control behavior next. [5] [8] [10] [15]
- Reprint a small test section before committing to the full part. [5] [6]
Can a Z seam affect strength or only appearance?
In most hobby printing, a Z seam is mainly cosmetic. Prusa’s seam documentation treats the start/end point as a normal consequence of loop-based printing outside Spiral vase mode, while Prusa scarf joints and Orca seam-gap tuning are presented as ways to reduce visibility or distribute weakness, not as universal structural repairs. Most everyday seam alignment 3d print choices are therefore about where the artifact lands and how obvious it looks. [6] [7]
That said, controlled research shows that seam placement can matter mechanically in specific specimen classes. In the 2026 paper by Grübel and colleagues on thin-walled structures and metamaterials, seam-induced voids reduced local cross-sectional area by more than 36%, with reported strength reductions of up to 32% in beams and up to 80% in unit cells for the tested conditions. Those numbers apply to the paper’s studied geometries, not to every hobby FFF print. The safe takeaway is that seam placement is often cosmetic, but it can become a design variable in thin walls, lattice-like parts, and other seam-sensitive structures. [11]
Common mistakes and special cases
A common mistake is assuming Random is automatically the best choice. It is only one seam-placement mode among several, and both Prusa and Cura treat it as a trade-off rather than a default cure. Cura also disables Seam Corner Preference when Z Seam Alignment is Random, so not every seam-hiding behavior can be combined with every placement choice. If your part has a hidden edge or back face, a deliberate z seam location is often cleaner than scattering the seam everywhere. [5] [6]
Another mistake is jumping straight to retraction or coasting before checking placement. Retract at Layer Change can help standardize the restart conditions, but it is not a location control. Coasting can help by ending extrusion a little early, yet overusing it can turn a seam bulge into a seam gap. Cura’s base settings make that distinction clear by separating placement controls from wipe, coasting, and other transition modifiers around the layer change. [5]
Special cases are real, but they stay special. Spiralize Outer Contour can avoid the usual closed-loop seam pattern because it creates a steady Z rise on a single-walled print with a solid bottom, but Cura only intends it when each layer contains one continuous part. Prusa’s scarf joints and Orca’s scarf-joint seam tools can reduce visibility, especially on smoother surfaces, but both slicers note limitations on sharp corners and overhangs, and both may increase print time. Orca’s 0 to 15% seam-gap guidance is likewise slicer-specific, not a universal prescription for every printer or material. [5] [6] [7]
Practical takeaway: reducing the Z seam
A Z seam is usually best handled in this order: place it, soften it, or deliberately distribute it. Cura’s seam tools separate location choices from appearance modifiers, so treat Z Seam Alignment and corner preference as one decision, and wipe- or retraction-related settings as another. Preview is the key check: if the mark follows the previewed start point, it is a seam problem; if it does not, move on to material, pressure, or motion diagnostics. Prusa’s documentation also makes the broader point that loop-based printing normally includes a seam outside Spiral vase mode, so the goal is usually management rather than total removal. And although most prints treat it as a cosmetic issue, the 2026 thin-wall study is a reminder that seam placement can matter structurally in the right geometry. That is why the most practical way to reduce a Z seam is to verify it in preview before tuning everything else. [5] [6] [11]
FAQ
What is a Z seam in 3D printing?
A Z seam is the visible start/end trace left where a perimeter loop begins and ends in a material-extrusion print. Because the process builds the object layer by layer, that repeated start point can stack into a visible vertical line on the outer wall. [1] [2] [5]
Is a Z seam the same as layer lines?
No. Layer lines are the normal stepped texture created by stacked layers. A Z seam is the repeated perimeter start/end location that often shows up as one line or a column of small marks on the surface. [2] [5] [6]
How do I hide print seam in Cura?
Preview the part first, choose a placement mode, and try to push the seam onto a corner, rear face, or other hidden side. After that, use modifiers such as seam-corner behavior or wipe distance only if the start/stop mark still stands out. [5]
How do I align the Z seam in Cura?
Use Cura’s Z Seam Alignment setting to choose the general strategy, then use Z Seam Position if you select User Specified. Cura’s current base definition lists four alignment modes and eight directional presets for that user-specified case. [5]
Can pressure advance or Linear Advance move a Z seam?
No. Marlin’s Linear Advance and Klipper’s Pressure Advance change nozzle-pressure behavior, which can make starts and stops cleaner, but they do not choose where the seam lands. Klipper also recommends tuning basics such as extruder rotation distance and nozzle temperature before pressure-advance tuning. [8] [9] [10]
Can a Z seam affect strength or watertightness?
Yes, in some cases. The thin-wall and metamaterial study from 2026 found measurable strength losses for concentrated seams in its tested geometries, and OrcaSlicer also documents staggered inner seams as a way to move weak points apart and potentially improve water tightness. For many ordinary prints it is still mostly cosmetic, but not always. [7] [11]
Sources
The numbered sources below match the article citations.
- ISO/ASTM 52900:2021 — Additive manufacturing — General principles — Fundamentals and vocabulary
- NIST — Material Extrusion
- Stratasys — FDM 3D Printing / Fused Deposition Modeling
- Stratasys Direct — Legal & Terms
- UltiMaker Cura — fdmprinter.def.json base settings
- Prusa Knowledge Base — Seam position
- OrcaSlicer Wiki — qualitysettingsseam
- Marlin Firmware — Linear Advance
- Marlin Firmware — Linear Advance Calibration Pattern
- Klipper Documentation — Pressure Advance
- Grübel et al. — Seams matter: Introducing seam-induced defects and their structural and mechanical influence in 3D printed thin-walled structures and metamaterials
- Prusa Knowledge Base — FFF/FDM glossary
- Prusa Knowledge Base — Ghosting
- Prusa Knowledge Base — Regular printer maintenance (XL)
- Prusa Knowledge Base — Drying filament