
Summary
If you are trying to learn how to unclog a 3D printer nozzle safely on an FDM/FFF machine, define the problem narrowly first. In standards language, the broader process category is material extrusion, and this article uses “nozzle clog” for a restriction at or near the nozzle orifice, not for every extrusion failure above it in the hotend. [S01] [S04]
The practical order is simple: diagnose first, use the least invasive recovery method first, and leave deeper teardown to model-specific guidance. Many apparent clogs are false positives, especially a first layer set too close to the bed, a temperature or flow mismatch, or heat creep that softens filament above the intended melt zone. The most useful next branch is whether filament can still be loaded and unloaded normally, because that separates a partial restriction from a more severe blockage or an upstream hotend problem. [S06] [S07] [S08] [S15] [S16]
Start Here: Is It Actually a Nozzle Clog?
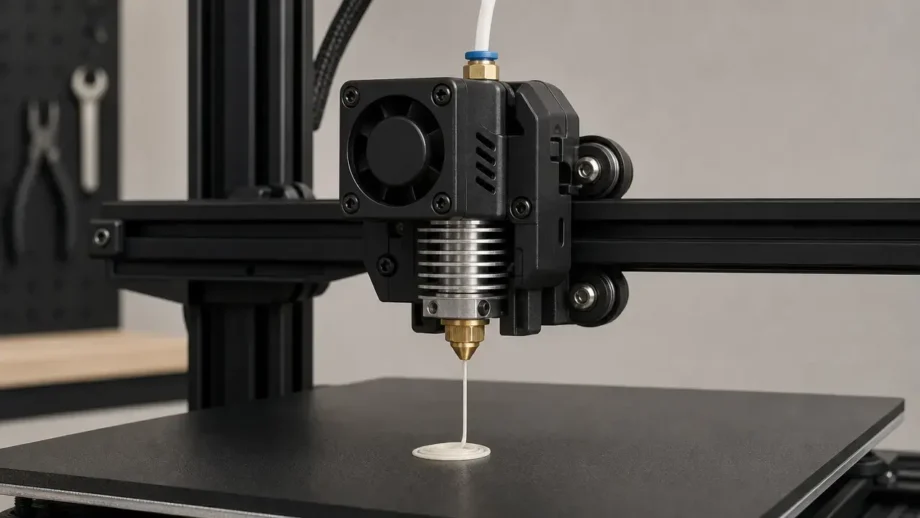
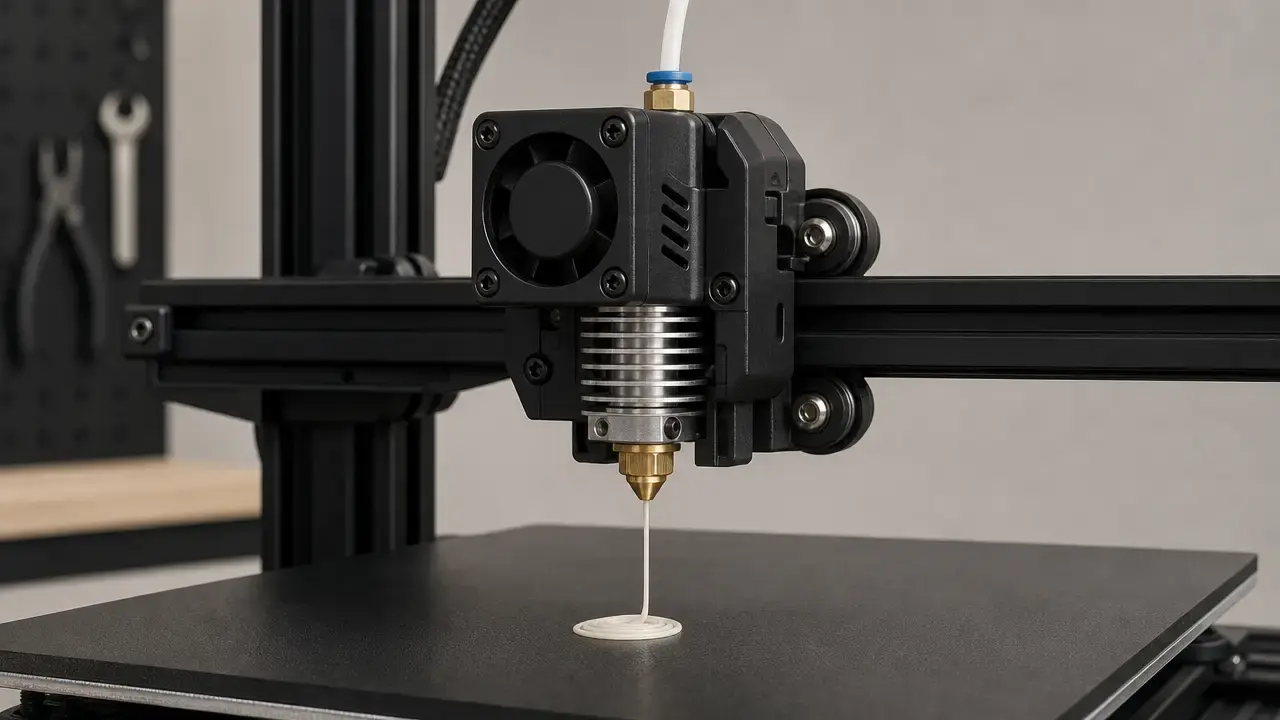
A true nozzle restriction is only one cause of extrusion failure. The same visible symptom can come from the nozzle tip, the melt path above it, the feed path, or print settings that ask the hotend to do more than it can sustain. That is why clogged 3D printer nozzle symptoms need context: little or no extrusion by itself does not prove that the nozzle orifice is plugged. A printer that runs the first layer badly may simply be over-squished, while one that starts normally and fails later may be showing heat creep or unstable melt flow instead of debris at the tip. [S06] [S07] [S08] [S15] [S16]
The fastest triage is to check what happens during a manual purge at the correct material temperature, whether the failure is limited to the first layer, and whether the problem appears only after the system has been hot for a while. If purge is steady, the nozzle is not completely blocked. If the failure is confined to the first layer or two, nozzle height is the first check. If the printer works for a while and then stops feeding, especially in a warm room or enclosure, heat creep is more likely than a fixed orifice clog. [S07] [S08] [S15] [S16]
Use this checklist before cleaning anything:
- Fails only on the first layer or first two layers: check Z height and over-squish first. A nozzle that is too close to the bed can leave no room for plastic and can effectively block its own opening. [S07]
- Manual purge at temperature works, but the print fails once speed or demand increases: suspect flow, temperature, or melt-capacity mismatch before assuming a physical clog. [S15] [S16]
- Worked for hours and then stops mid-print, especially in a warm enclosure: suspect heat creep. [S08]
- Clicks or grinds at the drive gears, especially with dust around them: the feed path may be the primary problem, not the nozzle alone. [S06] [S08]
How to Unclog a 3D Printer Nozzle
Use a decision-first workflow, not a grab bag of cleaning tricks. The safest sequence is to verify the symptom, try the least invasive method that matches it, and stop escalating once the evidence says the nozzle is not the main restriction. A successful manual purge is valuable partly because it may tell you not to keep cleaning at all. When purge is steady but the print still fails, the next suspects are first-layer setup, volumetric demand, temperature, or heat management. [S06] [S15] [S16]
Follow this branching order:
- Can you safely heat to the correct material temperature and manually purge?
- Yes: If purge is steady, stop treating it as a clog. Investigate first-layer setup, flow demand, and temperature instead. [S15] [S16]
- No: Continue. [S06]
- Can filament be loaded and unloaded normally?
- Yes: Treat it as a partial clog or internal residue issue. This is where cold pull or cleaning filament makes sense. Prusa’s cold-pull guidance explicitly limits the method to a nozzle that is only partially clogged and still extruding some filament. [S05] [S06]
- No: Treat it as a more severe blockage or an upstream jam. Prusa’s severe-clog path branches here and moves to manufacturer-approved force-out or deeper inspection. On that specific MK3-family example, the guide uses 260 °C for PLA or 280 °C for PETG/ABS, then asks you to wait 2 minutes for dripping to begin. Those are manufacturer examples, not universal temperatures. [S06]
- After recovery, does it re-clog quickly?
- Yes: Stop repeating the same cleaning loop. Diagnose heat creep, PTFE seating or gap issues, abrasive wear, or nozzle incompatibility, and consider replacement if the failure keeps recurring. [S05] [S06] [S08] [S13]
Cold pull is useful only when the hotend can still move enough material to capture residue. On Prusa’s MK3-family example, the procedure sets the nozzle to 270 °C, keeps PLA moving until around 170 °C, then reheats to 85 °C for the pull itself. Those values belong to that named procedure only. Severe-clog examples are also hardware-specific. The broader point is diagnostic: once the machine purges cleanly again, recurring failure usually means root-cause work matters more than additional cleaning. [S05] [S06]
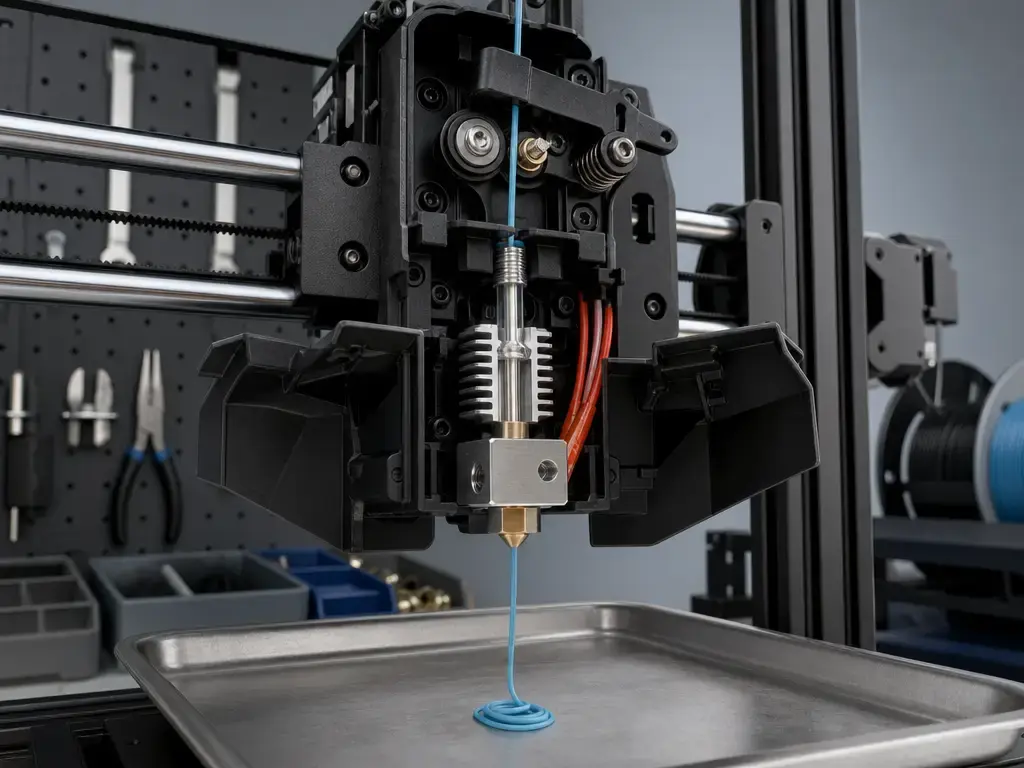
Cold Pull vs Cleaning Filament vs Needle vs Replacement
Cleaning methods are not interchangeable. A cold pull is best when the nozzle is only partially clogged and some extrusion is still possible, because it is meant to lift residue out of the melt path rather than drive tools through it. Cleaning filament serves a similar role when you want a purge medium the nozzle maker approves. The main trap is assuming that a popular method is universal. It is not: Prusa specifically says not to cold-pull Nozzle X, and E3D’s V6 guidance also treats Nozzle X differently from standard brass, stainless, hardened steel, or ObXidian nozzles. [S05] [S10]
Needles and pins need tighter limits. Prusa gives a very specific severe-clog example for the MK3 family: a 0.3 mm to 0.35 mm acupuncture needle, inserted 1 cm to 2 cm from below, never from the top, and never while loading filament. E3D classifies the needle as a non-recommended method across multiple V6 nozzle types, including Nozzle X, and DiamondBack support does the same. That is why “just poke it with a needle” is poor general advice. Needle use is manufacturer-approved only and is typically an orifice-only intervention, not a fix for residue above the nozzle. [S06] [S10] [S11]
| Method | Use when | Avoid when | Main risk / limitation |
|---|---|---|---|
| Cold pull | Partial clog, some extrusion still possible, residue likely in the melt path. [S05] | Fully blocked path, or hardware that restricts cold pulls such as Nozzle X. [S05] [S10] | Fails if the nozzle cannot move material or if the nozzle maker does not approve the method. [S05] [S10] |
| Nylon cleaning filament | You want a repeatable internal cleaning medium that the nozzle maker recommends. [S10] [S11] | The hotend cannot heat or feed reliably enough to move material. [S06] | Useful for internal residue, but not a cure for a severe upstream jam. [S06] [S10] |
| Needle/pin | Only when the manufacturer explicitly allows it, and only as an orifice-level step. [S06] | Unknown nozzle type, specialty tips, or any nozzle family where the maker marks needle use as non-recommended. [S10] [S11] [S12] | Orifice-only effect, plus damage risk if used from the wrong direction or on incompatible nozzles. [S06] [S10] |
| Removed-nozzle cleaning | Loose debris, inspection, or off-printer cleaning under manufacturer guidance. [S06] | Unknown fault location, because the real restriction may be above the nozzle. [S06] | Can clean the wrong part and miss a jam in the hotend or PTFE path. [S06] |
| Replacement | Damaged nozzle, worn orifice, restricted-cleaning nozzle type, or repeat re-clogging after correct recovery. [S05] [S10] [S13] | A simple partial clog that still responds to approved internal cleaning. [S05] | Replacement does not fix an upstream cause by itself. [S06] [S08] |
If a printer keeps clogging after a correct, compatible cleaning attempt, the next move is usually diagnosis, not a more aggressive tool. [S06] [S10]
Nozzle Compatibility: Diameter, Materials, Coatings, and Specialty Tips
Nozzle compatibility changes both clog risk and what you can clean safely. Small-diameter nozzles leave less margin for filled materials, and Bambu Lab’s guidance gives a clear manufacturer example: filaments with carbon fiber, glass fiber, metal, or other inorganic particles are prone to clog a 0.2 mm nozzle, while a hardened steel 0.6 mm nozzle is recommended to reduce clogging and abrasion risk for carbon- or glass-filled materials. That is not a universal rule for every printer, but it is a useful reminder that nozzle diameter and filament contents matter together. [S14]
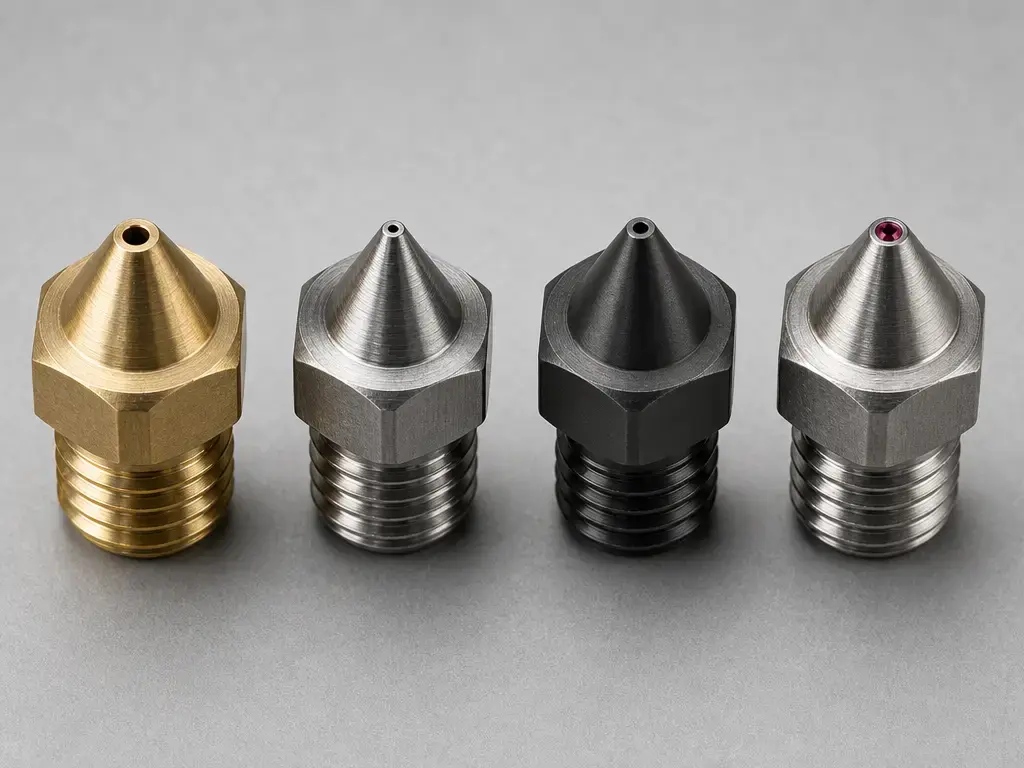
Other manufacturer examples point the same way. E3D’s V6 support lists 1.75 mm and 2.85 mm filament-diameter variants and then gives different cleaning compatibility by nozzle type: standard brass, stainless steel, hardened steel, and ObXidian can use nylon cleaning filament, warm pull, and cold pull, while Nozzle X is limited to nylon cleaning filament and marks warm pull, cold pull, and needle use as non-recommended. UltiMaker’s S7 manual likewise shows that print-core size and material class are linked: most UltiMaker materials can use 0.25 mm, 0.4 mm, and 0.8 mm print cores, while CC print cores for third-party composites are available in 0.4 mm and 0.6 mm. [S09] [S10]
Specialty-tip nozzles need even more restraint. E3D’s DiamondBack support marks needle use as non-recommended. Olsson Ruby’s instructions say not to use a wire brush, not to use a flame, to start with atomic method or cold pull, and not to perform the cold pull outside the printer because the nozzle needs support at the back flange. If several cold pulls fail, the page allows escalation to an acupuncture needle, but warns not to bend it heavily because that can damage the ruby. The more specialized the nozzle, the less safe it is to generalize from someone else’s success on a different nozzle family. [S11] [S12]
| Nozzle example/type | Cold pull? | Needle/pin? | Notes / source |
|---|---|---|---|
| E3D brass / hardened steel / ObXidian | Usually yes. [S10] | Usually avoid. [S10] | E3D lists nylon cleaning filament, warm pull, and cold pull as recommended, with needle listed as non-recommended. [S10] |
| E3D Nozzle X | No, follow maker guidance instead. [S05] [S10] | Avoid. [S10] | Prusa says do not cold-pull Nozzle X and to use cleaning filament instead; E3D recommends nylon cleaning filament and marks warm pull, cold pull, and needle as non-recommended. [S05] [S10] |
| DiamondBack example | Yes, if following the maker’s approved methods. [S11] | Avoid. [S11] | E3D’s DiamondBack support recommends nylon cleaning filament, warm pull, and cold pull, and marks needle as non-recommended. [S11] |
| Olsson Ruby | Yes, start here. [S12] | Escalation only, with caution. [S12] | Do not use a wire brush or flame; do not perform the cold pull outside the printer; avoid bending the acupuncture needle. [S12] |
| Unknown nozzle/material | Check manufacturer guidance first. | Avoid if unknown. | If you cannot identify the nozzle family, do not assume needle use is safe. |
Clogged 3D Printer Nozzle Symptoms
Symptom patterns are more useful than any single sign. Under-extrusion is a symptom category, not a diagnosis. A clogged nozzle can cause it, but so can a feed-path fault, weak cooling above the melt zone, or settings that exceed what the hotend can melt consistently. That is why the first questions are about timing and conditions: does the failure happen immediately, only on the first layers, or only after the machine has been printing long enough to heat-soak? Those patterns help separate a nozzle-orifice restriction from a hotend jam or a settings-driven extrusion problem. [S06] [S07] [S08]
Clicking or skipping usually means the drive system is pushing against resistance somewhere in the path. Little or no extrusion may reflect a true restriction, but it can also appear when the filament column softens too early or when the nozzle is pressed too close to the bed. Grinding dust near the drive gears can point to lost traction rather than a blocked orifice alone. The symptom tells you where to investigate next, not which part to blame yet. [S06] [S07] [S08]
Common symptom patterns include:
- little or no extrusion. [S06]
- thin or missing lines. [S06]
- purge filament curling upward. [S06]
- extruder clicking or skipping. [S06] [S08]
- mid-print under-extrusion after a normal start. [S08]
- filament grinding dust near the drive gears. [S06] [S08]
Common Causes of Nozzle Clogs (and Repeat Clogs) — With Evidence Tiers
Direct clog causes are usually the easiest to verify. Material left degraded in the hotend, incomplete cleanup after a prior material, or temperatures that are wrong for the current job can all raise resistance enough to look like a nozzle problem. Manufacturer guidance is strongest when it is tied to a specific printer or nozzle family, which is why this article stays with named examples instead of implying there is one universal PLA number or one universal cleaning recipe. Recurring clogs need a wider view because the nozzle may be only the last place where the failure becomes visible. Heat creep, PTFE seating, filled materials, and worn nozzle geometry can all recreate the same symptoms immediately after an apparently successful cleaning. [S05] [S06] [S07] [S08] [S09] [S13] [S14]
The strongest wear example in the source set comes from E3D’s own test work. In that example, a brass 0.40 mm nozzle that printed 250 g of carbon-fiber-filled filament showed significant internal wear, an opened-up orifice, and uneven or ovoid wear in the nozzle cavity. UltiMaker’s S7 manual supports the same broader conclusion from the maintenance side by warning that abrasive filaments in AA or BB print cores can wear out the nozzle shape. Once the orifice geometry changes, “clog” symptoms can really be flow instability from wear, not debris that a pull or purge will fix. [S09] [S13]
A short Bowden-versus-direct-drive note is best treated as practical inference. Bowden systems have a longer, more compliant feed path, so compression, unload behavior, and hidden buckling can be harder to localize, while direct drive shortens that path. A true nozzle-orifice restriction can still happen in either layout, and in both cases the drive system eventually shows the extra backpressure. [S06] [S10]
- Temperature outside the material’s workable window, including too low to flow cleanly or high enough to aggravate heat creep. [Manufacturer guidance] [S07] [S08]
- Incomplete purging after a material change, leaving degraded residue in the hotend or nozzle path. [Manufacturer guidance] [S05] [S09]
- Heat creep in warm ambient or enclosed printing, especially with weak heatsink airflow. [Manufacturer guidance] [S08]
- PTFE tube seating, gap, or upstream path issues that create snag points above the nozzle. [Manufacturer guidance] [S06] [S08]
- Filled or abrasive filament in a small nozzle, especially 0.2 mm examples. [Manufacturer guidance] [S14]
- Abrasive wear enlarging or ovaling the orifice over time. [Manufacturer test] [S09] [S13]
- Flow, temperature, and nozzle-diameter coupling that overloads the melt path without a physical plug at the tip. [Scientific mechanism] [S15] [S16]
- Filament dust, gear debris, or heatsink dust reducing feed reliability or cooling efficiency. [Practical inference] [S06] [S08]
Heat Creep vs True Nozzle Blockage
Heat creep starts above the intended melt zone. Instead of staying solid until it reaches the right part of the hotend, the filament begins to soften too early, swells, and drags against the path before it reaches the nozzle properly. That extra resistance shows up at the drive system: the motor pushes harder, the gears begin to grind or click, and extrusion becomes intermittent or stops. This is why heat creep can look almost identical to a nozzle clog from the outside. Prusa’s guidance describes the same failure chain in practical terms and flags common contributors such as warm ambient conditions, enclosed printing, too much heat moving upward, insufficient airflow, or too little material flow through the nozzle. [S08]
The timing clue is often the fastest separator. A true nozzle blockage is usually immediate or persistently bad, while heat creep often appears only after the hotend, enclosure, and surrounding parts have warmed up. Prusa’s model-specific examples make the point without claiming universality: ambient temperature above 35 °C, or 30 °C for some filaments, is one warning condition; the nozzle-fan speed on that diagnostic path should be between 4000 and 4400 RPM; and the same guide suggests testing thicker layers such as 0.15 mm or 0.20 mm and, in some cases, increasing print speed by 10%, while not exceeding 200 mm/s infill at 0.20 mm layers and below on that platform. Those are example thresholds for that system only. Research on heat-creep mitigation also exists, but it belongs here as context, not as direct setup advice. [S08] [S18]
Heat creep is likely when:
- the print starts fine and fails later, mid-print. [S08]
- the printer is in a warm room or enclosure. [S08]
- the fan is mounted incorrectly or RPM is low. [S08]
- the job uses thin layers or low material flow for long periods. [S08]
Technical Principles: Backpressure, Volumetric Flow, and Why Settings Mimic Clogs
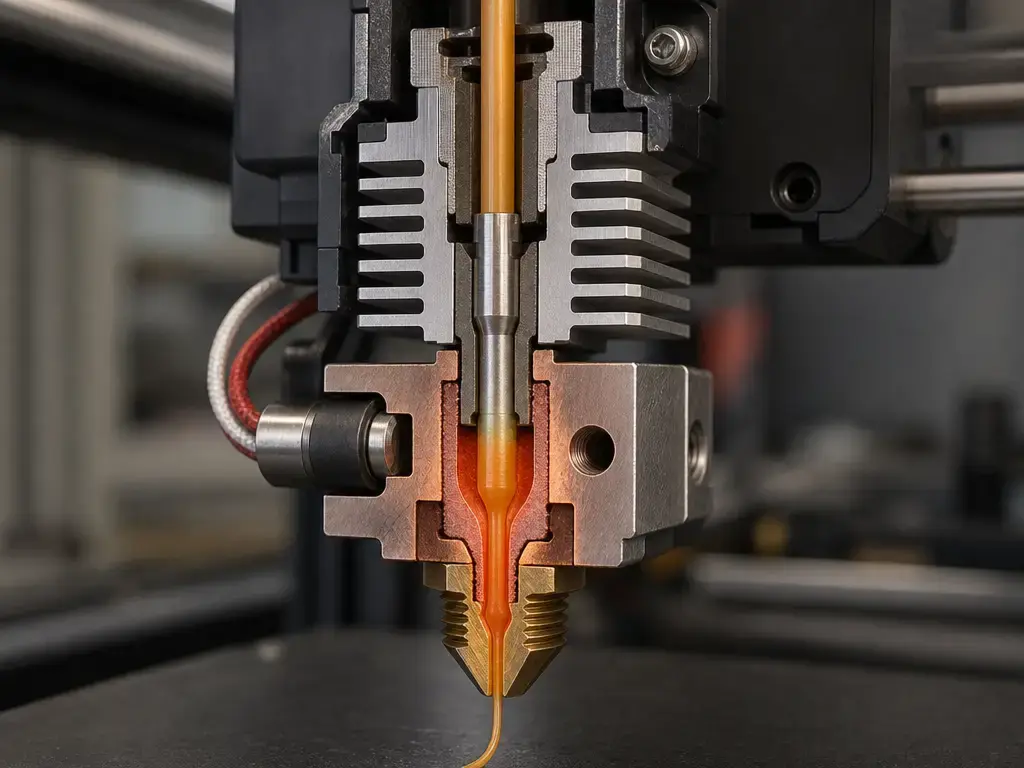
Material extrusion works by driving filament into a heated path and forcing softened polymer through a nozzle or orifice, so the drive system behaves somewhat like a piston pushing against backpressure. The key diagnostic point is that the resistance does not have to come from debris at the tip. It can come from the heatbreak region, poor thermal control in the melt zone, an orifice that is too small for the material and the demanded throughput, or a worn geometry that no longer flows predictably. This is why print speed in mm/s is not the same as volumetric flow in mm³/s. A fast print with a thin line and small layer height can still be a modest-flow job, while a slower-looking print can overload the hotend if the extruded cross-section is large enough. NIST’s die-swell study illustrates that coupling by varying volumetric flow rate from 0.9 mm³/s to 10.0 mm³/s, hot-end setpoint from 200 °C to 250 °C, and nozzle orifice diameter from 0.25 mm to 0.60 mm in an ABS test setup. NIST’s steady-melting work reinforces the second trap: the displayed setpoint is not the same thing as a guaranteed, uniform polymer temperature throughout the melt path. That is why a printer can behave as if it has a clog when the real limit is melt capacity or heat-transfer stability. [S04] [S15] [S16]
- High volumetric demand can act like a clog even when the tip is open. [S15]
- The screen setpoint does not guarantee identical polymer temperature everywhere in the hotend. [S16]
- Restrictions can be thermal, geometric, or mechanical, not only debris at the orifice. [S04] [S15] [S16]
When to Stop Unclogging
Repeated cleaning is not always good troubleshooting. Once you have matched the symptom to the right branch and used a compatible method, the next question is whether the failure pattern still looks recoverable. If the same problem returns immediately, look beyond the next cold pull or purge. [S05] [S06]
Specialty-nozzle restrictions are one stop signal. Nozzle X is a clear example because both Prusa and E3D treat it differently from standard nozzles: use cleaning filament, not cold pull, and do not generalize from standard-brass habits. Probe damage is another stop signal. E3D’s V6 guide and DiamondBack support both mark needle use as non-recommended across multiple nozzle types, and Olsson Ruby adds explicit warnings against wire brushes, flames, and heavy bending of the acupuncture needle. Once a coating, tip material, or internal geometry has been compromised, “unclogging” may no longer be the right concept. [S05] [S10] [S11] [S12]
Wear and upstream faults are the other major endpoint. E3D’s abrasive-wear example shows why a nozzle can print poorly even after it is technically clear: a 0.40 mm brass nozzle changed shape significantly after 250 g of carbon-fiber-filled filament, and UltiMaker separately warns that abrasive filaments can wear out AA or BB nozzle shape. PTFE seating or hotend-path issues can do the same thing from the other direction by recreating the same jam point above the nozzle. No reliable universal nozzle replacement interval found. Replacement is therefore a diagnostic endpoint, not a calendar event. [S06] [S09] [S13]
Stop routine unclogging and switch to repair, replacement, or root-cause diagnosis when you see any of these:
- damaged coating or a restricted-cleaning nozzle type such as Nozzle X. [S05] [S10]
- repeated immediate re-clogging after successful purge or pull. [S06] [S08]
- suspected internal damage after probing. [S10] [S11] [S12]
- abrasive filament history plus print-quality loss consistent with orifice wear. [S09] [S13]
- suspected PTFE tube damage or insecure seating upstream of the nozzle. [S06] [S08]
Current Research Context
Current research is useful here mainly as explanation. NIST has recent work on die swell and steady melting in material extrusion, both of which reinforce that flow rate, setpoint, and nozzle geometry interact rather than acting independently. A 2026 CIRP Journal of Manufacturing Science and Technology paper adds current context on composite-related nozzle clogging in extrusion-based additive manufacturing, while a 2026 Electronics paper shows that heat-creep mitigation is still an active engineering topic. The practical takeaway is limited: research supports the idea that many “clog” symptoms are actually mixed thermal, rheological, and geometric problems. No consumer-facing settings recommendations are being derived from these papers here. [S15] [S16] [S17] [S18]
FAQ
How to unclog 3D printer nozzle safely without disassembling the hotend?
Start with a manual purge at the correct material temperature. If purge is steady, stop treating the issue as a clog and check first-layer setup, flow demand, or heat creep instead. If purge fails, branch next by whether filament can still load and unload. Don’t do this: do not jump straight to teardown or to poking tools through the nozzle without confirming the failure mode first. [S06] [S15] [S16]
What are clogged 3D printer nozzle symptoms vs under-extrusion from settings?
Clogged 3D printer nozzle symptoms can include little extrusion, missing lines, clicking, or grinding, but those same signs can also come from first-layer over-squish, unstable melt flow, or heat creep. Timing matters: first-layer-only problems and warm-up-related failures often point away from a simple orifice plug. Don’t do this: do not assume under-extrusion alone proves the nozzle is blocked. [S06] [S07] [S08] [S15]
Partial clog vs complete clog: how do I tell which I have?
A partial clog usually still allows some purge or some load and unload movement. A complete or severe blockage usually prevents normal loading, unloading, or purge even at temperature. That is why Prusa’s troubleshooting branches on load and unload behavior. Don’t do this: do not use force-out methods first if the nozzle still extrudes enough for a cold pull or cleaning filament. [S05] [S06]
When is a cold pull appropriate, and when should I avoid it?
Use a cold pull when the nozzle is only partially clogged and some filament is still extruding. Avoid it when the path is fully blocked or when the nozzle maker restricts the method, as with Nozzle X. Don’t do this: do not treat cold pull as universal across coated or specialty nozzles. [S05] [S10]
Advanced: How do volumetric flow and nozzle diameter increase clog risk even when temperature looks correct?
Because the hotend has to melt enough material, not just reach a screen setpoint. NIST’s work shows that volumetric flow rate, hot-end setpoint, and nozzle orifice diameter interact, so a “correct” temperature can still be inadequate for the demanded throughput. Don’t do this: do not copy a fast profile from a larger nozzle without re-checking flow demand and material compatibility. [S14] [S15] [S16]
Advanced: Why can heat creep look like a nozzle clog, and what checks isolate it quickly?
Heat creep softens filament too early above the melt zone, which raises drag until the extruder clicks, grinds, and stops feeding. Quick isolators are timing, ambient conditions, and cooling checks. Don’t do this: do not keep repeating nozzle cleaning if the problem appears only after warm-up, because the root cause may be thermal rather than debris at the tip. [S08] [S18]
Sources
- S01: ISO/ASTM 52900:2021 Additive manufacturing — General principles — Fundamentals and vocabulary. https://www.iso.org/standard/74514.html
- S04: NISTIR 8059, Materials Testing Standards for Additive Manufacturing of Polymer Materials: State of the Art and Standards Applicability. https://nvlpubs.nist.gov/nistpubs/ir/2015/NIST.IR.8059.pdf
- S05: Cold pull (MK3/S/+, MK2.5/S, MK3.5/S) | Prusa Knowledge Base. https://help.prusa3d.com/article/cold-pull-mk3-s-mk2-5-s-mk3-5-s_2075?product=mmu2s
- S06: Clogged nozzle/hotend (MK3.5/S, MK3S+, MK2.5S) | Prusa Knowledge Base. https://help.prusa3d.com/article/clogged-nozzle-hotend-mk3-5-s-mk3s-mk2-5s_2008?product=mk3
- S07: First layer issues | Prusa Knowledge Base. https://help.prusa3d.com/article/first-layer-issues_1804
- S08: Extrusion stopped mid-print (Heat creep) | Prusa Knowledge Base. https://help.prusa3d.com/article/extrusion-stopped-mid-print-heat-creep_1948
- S09: UltiMaker S7 Installation and User Manual v1.2. https://um-support-files.ultimaker.com/manuals/user-manual/S7/EN-UltiMaker-S7-V1.2.pdf
- S10: E3D Classics Support: V6 Nozzle. https://e3d-online.com/pages/e3d-classics-support-v6-nozzle
- S11: Creality Support: Creality K2 DiamondBack Nozzle – E3D. https://e3d-online.com/pages/creality-support-creality-k2-diamondback-nozzle
- S12: Instructions — The Olsson Line. https://olssonline.com/instructions/
- S13: Are Abrasives Killing Your Nozzle? – E3D. https://e3d-online.com/blogs/news/are-abrasives-killing-your-nozzle
- S14: Bambu Hotend – P1 Series | Bambu Lab USA Store. https://us.store.bambulab.com/products/bambu-hotend-p1-series?id=40923060797576
- S15: Characterization of Die-Swell in Thermoplastic Material Extrusion | NIST. https://www.nist.gov/publications/characterization-die-swell-thermoplastic-material-extrusion
- S16: Steady Melting in Material Extrusion Additive Manufacturing | NIST. https://www.nist.gov/publications/steady-melting-material-extrusion-additive-manufacturing
- S17: Nozzle clogging during extrusion based additive manufacturing of polymer matrix composites—A numerical simulation insight into the process | ScienceDirect. https://www.sciencedirect.com/science/article/abs/pii/S175558172600009X
- S18: Experimental Investigation of Heat Pipe-Assisted Cooling for Heat Creep Mitigation in FFF Extruders. | EBSCOhost. https://openurl.ebsco.com/contentitem/gcd%3A192631648?crl=f&id=ebsco%3Agcd%3A192631648&jrnl=20799292&sid=ebsco%3Aplink%3Acrawler-gcd