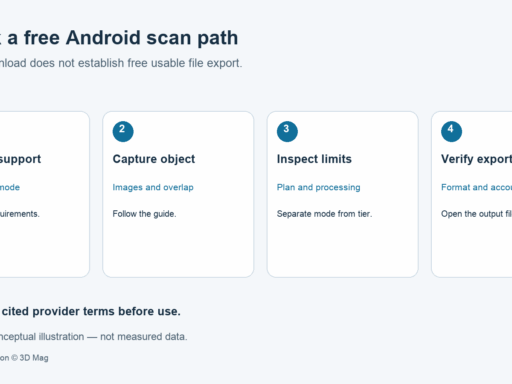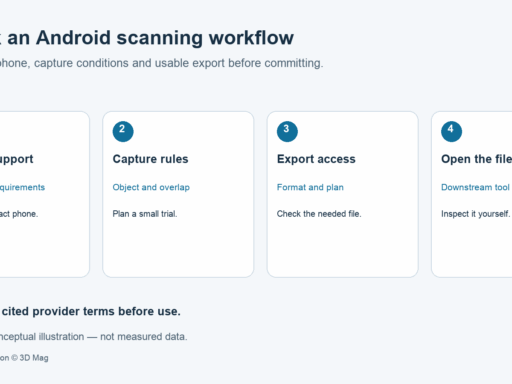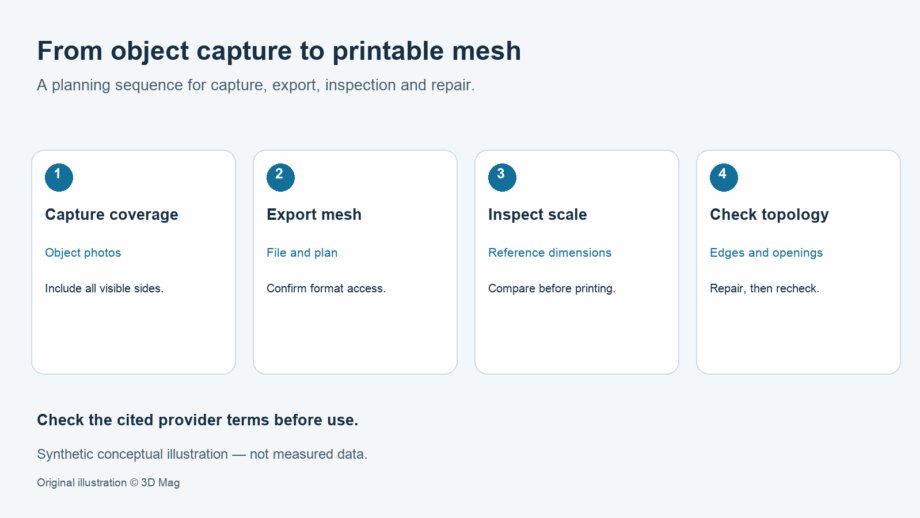
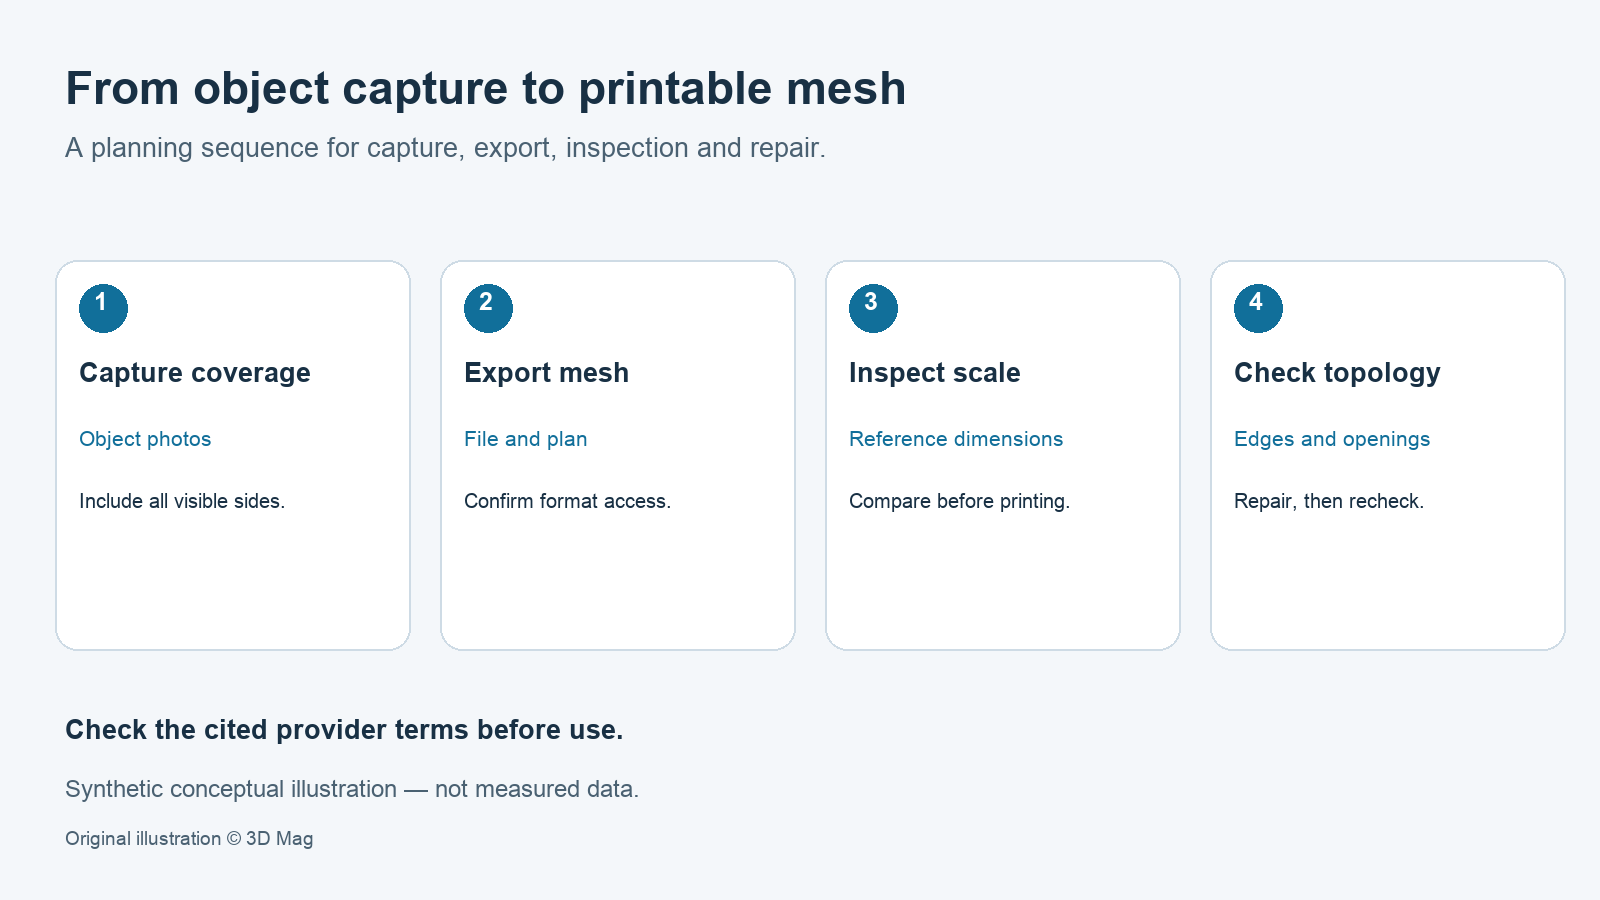

To print a physical object you scanned with a phone app, you need five things:
- a device the app documents as supported
- photos that cover every part of the object
- a mesh export that your plan actually allows
- a dimension check against the real object
- a topology check before slicing
This guide is based on what the app and software publishers document. No scan, export or print was performed for this article.
If you are still choosing an app, see our overview of 3D scanning apps. For general capture technique, see how to scan an object for 3D printing. This article covers the path from a phone capture to a file your slicer can print.
Devices and capture methods documented by the apps
KIRI Innovations states that KIRI Engine is available on Android, iOS and web platforms. That is a statement about platforms. It is not a promise that every Android phone performs the same.
For RealityScan Mobile, Epic’s system requirements list two options: iOS 16 and higher, or Android 7 (API level 24) and higher on devices that support ARCore. You also need an Epic Games account.
The capture method matters as well. KIRI describes Photo Scan as photogrammetry that reconstructs a surface mesh from feature points in photos or videos, processed on its cloud servers. The same page says its LiDAR scanning relies on the physical LiDAR sensor available on iPhone 12 Pro and newer, and that LiDAR scans are processed locally on the iPhone or iPad.
Object setup: coverage, surfaces and image limits
Photogrammetry can only rebuild what the camera saw. Epic’s step-by-step guide warns that what is not visible in multiple images won’t show up in the resulting model. It asks you to cover every part of the object with high image overlap.
KIRI’s rule of thumb is to capture objects with complex, textured surfaces. It recommends orbiting the object from at least 3 different heights and adding close-up shots. This is vendor guidance, not a guarantee of reconstruction quality.
Image limits are counts of photos, not object sizes. Using default settings in Augmented Reality mode, Epic’s guide gives an image limit of 300 and starts analysis after 20 images. KIRI’s pricing page lists up to 150 photos and a maximum of 2 GB per scan on its free Basic plan. None of the sources cited here gives a minimum or maximum object size.
Export restrictions: a free app is not the same as a free STL
The table shows mesh export options as each publisher documents them on its linked page. Plans can change, so check the current page before you capture.
| App and plan | Documented mesh export | What to watch |
|---|---|---|
| KIRI Engine (plan not specified in its format FAQ) | OBJ, FBX, STL, GLB, GLTF, USDZ, PLY, XYZ for mesh scans; the free Basic plan lists Unlimited Free Exports | The cited pages do not establish whether STL export is included on Basic or only on Pro |
| Polycam, Free | GLTF only | Watermarked images and video are not printable meshes |
| RealityScan Mobile | Not documented in the sources used here | Check the export options in the app |
KIRI’s export FAQ covers mesh files from these scan types:
- Photo Scan
- Featureless Object Scan
- 3DGS Scan (to Mesh)
- cloud-uploaded LiDAR Scan (KIRI export FAQ)
The FAQ says these can be exported as OBJ, FBX, STL, GLB, GLTF, USDZ, PLY and XYZ. A format list does not tell you what physical units the file uses.
Polycam’s help center states that Free plan users can only export GLTF files. Separately, it lists watermarked images and video on the Free plan for its Object: Photogrammetry and Object: Gaussian Splat modes. Those outputs are not printable meshes. The same page describes STL as the standard for 3D printing.
Floor-plan outputs from room-scanning modes are a different kind of deliverable and are outside the scope of this guide.
Units and scale: check real dimensions before slicing
A file extension does not tell you whether one unit means a millimetre or a metre. The app documentation cited here does not state the units written into exported files. Display settings can also mislead. Blender’s manual (5.2 LTS) says its Unit Scale converts between internal units and displayed values, and that it only influences the values displayed in the user interface.
The practical answer is to measure. Before you capture, record two or three caliper dimensions of the real object. After export, import the mesh into your slicer and compare the dimensions it shows. Prusa’s documentation says the PrusaSlicer Scale tool can scale an object uniformly or non-uniformly. For a scan, uniform scaling keeps the object’s proportions.
Mesh inspection: manifold, watertight, self-intersection
Open3D’s documentation (0.19.0) defines a watertight mesh as one that is edge manifold, vertex manifold and not self-intersecting. Its open-box example shows a subtle distinction. The box passes the edge-manifold test when boundary edges are allowed. It fails the same test when boundary edges are disallowed. Open3D reports the box as not watertight.
Do not confuse open boundaries with designed holes. A ring or a bracket with a through-hole can still have a closed surface around the hole, while a scan with a missing base does not. Passing these topology checks says nothing about dimensional accuracy.
Be careful with smoothing. Open3D notes that average and Laplacian filters lead to shrinkage of the triangle mesh. Shrinkage can change the size you have just verified.
Repair and slicer checks, and their limits
Prusa’s knowledge-base article (labelled relevant to MMU, MINI and MK3 families and OLD PRODUCTS; accessed 7 October 2026) states that PrusaSlicer will automatically repair models to a certain degree, but that not all corrupted models can be repaired automatically. This article does not establish whether any particular external repair tool is currently available. Verify a tool before you rely on it.
Repair cannot restore surfaces the camera never captured. If part of the object never appeared in multiple photos, re-capture that area instead of relying on repair.
Suggested verification workflow (guidance only, not a test performed by 3D Mag)
- Confirm that your device meets the app’s documented requirements.
- Measure two or three reference dimensions of the real object with calipers.
- Capture with orbits at several heights and high overlap. Review the point cloud for gaps before processing.
- Crop to the object. Use an object capture mode, not a room or floor-plan mode.
- Confirm that your plan permits an STL, OBJ or PLY mesh export.
- Import the mesh into your slicer and compare its dimensions with your caliper measurements. Scale uniformly only if needed.
- Check topology: edge manifold with boundary edges disallowed, vertex manifold, and no self-intersections. Keep designed through-holes. Avoid heavy smoothing.
- Run repair, then measure again. Re-capture missing areas instead of relying on repair.
- Slice and inspect the preview before printing.
Reader questions
Can I export an STL for printing on a free plan?
It depends on the app and the plan. Polycam documents GLTF-only mesh export on its Free plan. Its watermarked images and video are not STL meshes. KIRI’s pricing page lists Unlimited Free Exports on Basic, but the cited pages do not establish whether STL is included on Basic. Check the current plan page before you capture.
Will the exported mesh be the right physical size?
The cited sources do not establish this. Measure the real object and compare it with the dimensions your slicer shows. Scale uniformly if they differ.
Can a slicer fix any broken scan?
No. Automatic repair has limits, and repair cannot restore areas that were never captured.
Sources
This explainer is based on cited published sources; 3D Mag did not conduct hands-on testing. Publisher sponsorship.