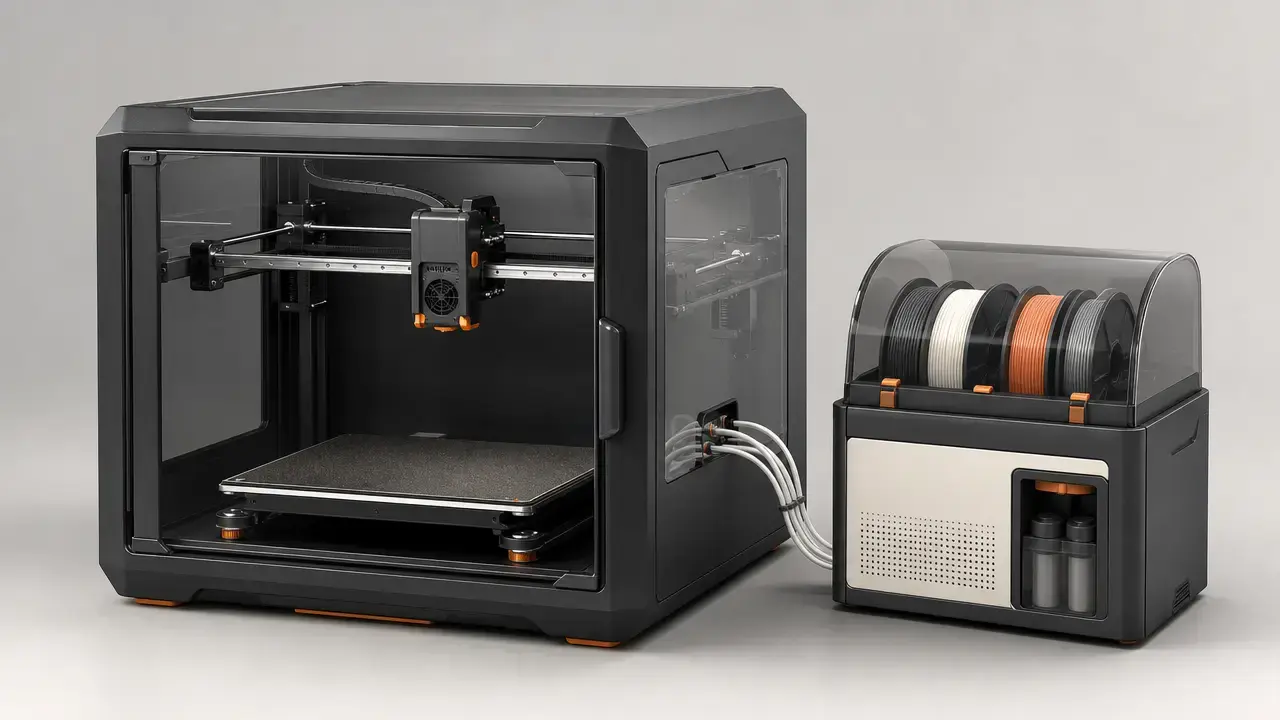

Verdict
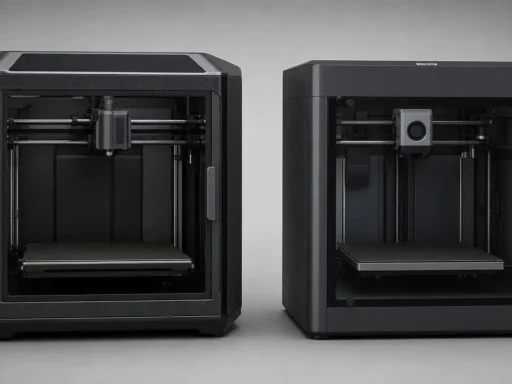
For the broadest buyer comparing anycubic kobra s1 vs bambu p1s, the Bambu Lab P1S remains the safer default pick. Its official documentation is clearer on workflow, connectivity, dimensions, and upgrade paths, and the current US store makes the base-versus-bundle split easier to verify on publication day. [4] [5] [10]
The Anycubic Kobra S1 is more compelling if your priority is higher stated hotend and bed limits, or if the Kobra S1 Combo better matches your need for bundled multicolor hardware and active drying. Officially, the Kobra S1 is a fully enclosed CoreXY printer with a 250 × 250 × 250 mm build volume, recommended 300 mm/s speed, 600 mm/s maximum speed, 320 °C hotend limit, and 120 °C bed limit. Officially, the P1S is an enclosed CoreXY printer with a 256 × 256 × 256 mm build volume, 500 mm/s maximum toolhead speed, 20 m/s² acceleration, 300 °C hotend limit, and 100 °C build plate limit. Bundle contents and pricing should be rechecked within 24 hours of publication; check date: 2026-08-10. [1] [2] [4] [5] [10]
| Priority | Likely pick | Caveat |
|---|---|---|
| Simplest documented workflow | Bambu Lab P1S | The US store currently shows P1S, P1S Combo, and AMS 2 Pro Combo, so verify the exact variant before checkout. [5] |
| Higher stated hotend/bed limits | Anycubic Kobra S1 | Higher temperature ceilings do not automatically mean better results with PA, PC, or filled materials. [1] [2] |
| Multicolor with active drying in the bundle | Anycubic Kobra S1 Combo | ACE Pro multicolor does not support TPU 95A. [2] |
| Scaling color count | P1S with AMS ecosystem | Legacy AMS scales to 16 colors, while AMS 2 Pro drying cannot run on units actively involved in the current print. [7] [8] |
- Choose P1S if you want the safest all-around recommendation.
- Choose Kobra S1 if higher stated thermal headroom matters more than bundle simplicity.
- Choose Kobra S1 Combo only if ACE Pro-style multicolor and active drying fit your actual filament plans.
What exactly are we comparing? (Base printer vs combo bundles in 2026)
The clean base-printer comparison is Anycubic Kobra S1 versus Bambu Lab P1S. Once “combo” enters the picture, the comparison changes. On Anycubic’s side, the Kobra S1 Combo adds the ACE Pro system, which is where 4-color printing, 8-color expansion, and drying up to 55 °C enter the picture. Anycubic also states that TPU 95A is not compatible with ACE Pro for multicolor use, and recommends plastic filament spools for smoother multicolor feeding. That means the value question is not just printer versus printer, but printer versus printer plus filament-handling hardware. [2]
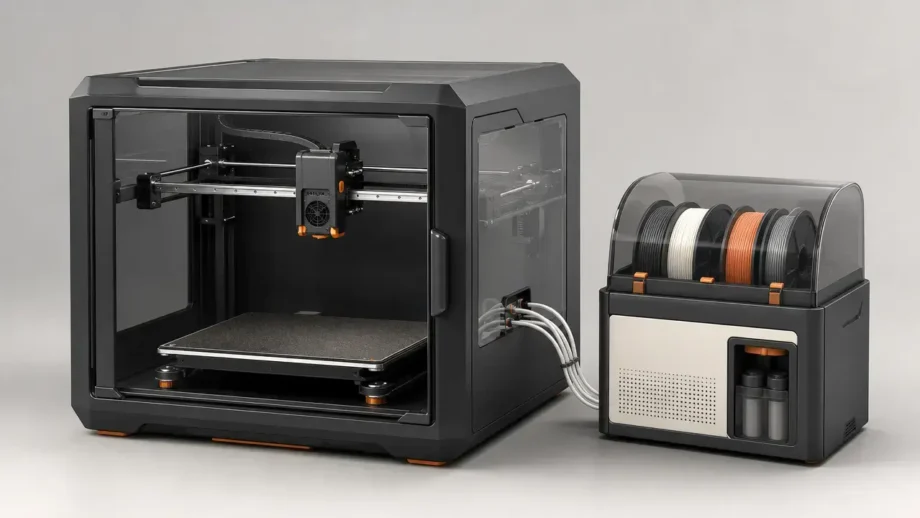
On Bambu’s side, bundle naming needs the same scrutiny. The current US store page shows P1S, P1S Combo, and AMS 2 Pro Combo, and the page text explicitly lists an AMS 2 Pro combo configuration with the printer, AMS 2 Pro, 4-pin bus cable, switching adapter, AMS Hub, and PTFE tube coupler. Separately, Bambu’s legacy AMS page still defines the older 4-slot AMS path that can scale to 16 colors with four AMS units and an AMS Hub. “Combo” is not a safe shorthand unless you check the exact store variant on the day you buy. [5] [7] [8]
| Capability | Anycubic Kobra S1 / Kobra S1 Combo | Bambu P1S / P1S bundles | Why it matters |
|---|---|---|---|
| Base printer | Kobra S1 base is printer-only; Combo adds ACE Pro. [1] [2] | P1S base is printer-only; bundles currently include P1S Combo and AMS 2 Pro Combo. [4] [5] | The bundle changes the hardware you actually receive. |
| Multicolor hardware | Base model: sold separately; Combo: ACE Pro. [1] [2] | Base model: none; bundle/add-on path: AMS or AMS 2 Pro depending on variant. [5] [7] [8] | Multicolor support is bundle-dependent on both sides. |
| Color capacity | ACE Pro supports 4 colors, or 8 with two ACE Pro units and the feeding module. [2] | Legacy AMS has 4 slots and can scale to 16 colors with 4 AMS plus AMS Hub. [7] | Capacity is not the same as convenience or material flexibility. |
| Active drying | Base Kobra S1: not supported; Combo: supported up to 55 °C. [1] [2] | Base P1S: none; AMS 2 Pro: up to 65 °C, but not on units actively involved in the current print. [8] | Drying behavior changes workflow for hygroscopic materials. |
| Notable feeder limits | TPU 95A not supported for ACE Pro multicolor; plastic spools recommended. [2] | AMS 2 Pro spool width 50–68 mm and diameter 197–202 mm; active-print drying restriction applies. [8] | Spool fit and feeder compatibility can decide the purchase. |
For base machines, the decision is mostly about motion system, enclosure, and temperatures. For combo bundles, it shifts toward feeder behavior, drying, spool fit, and purge overhead. [1] [2] [5] [7] [8]
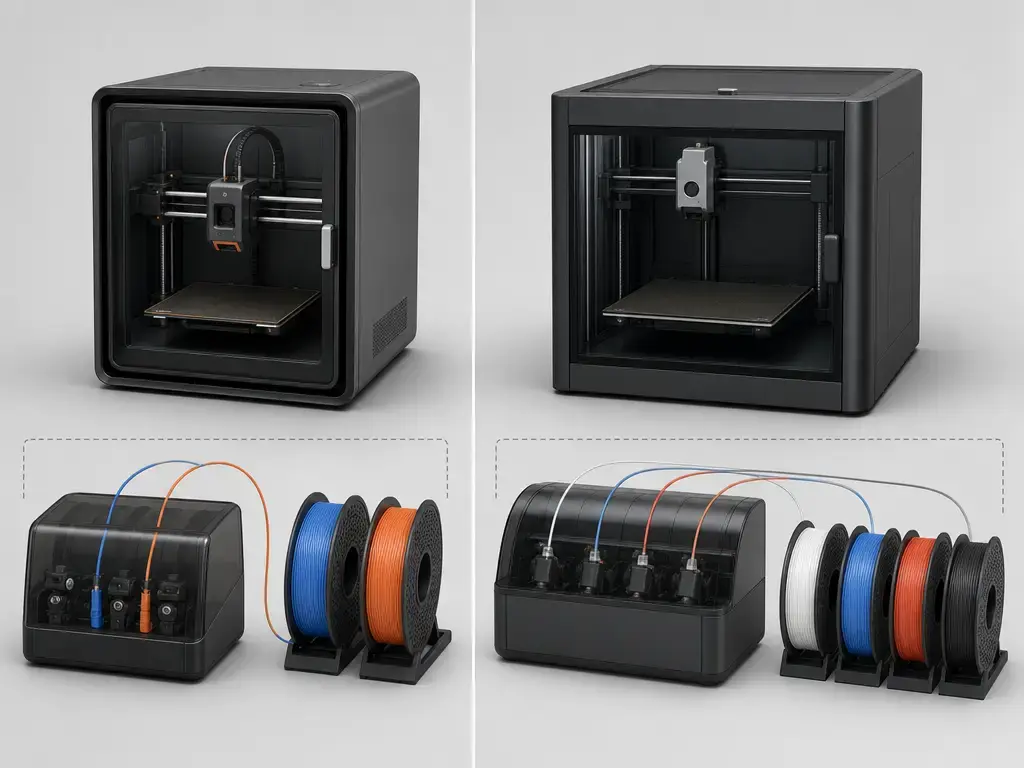
CoreXY and enclosure basics (only what you need to interpret the specs)
In this corexy 3d printer comparison, both manufacturers explicitly use CoreXY language. In practical terms, CoreXY uses a linked belt layout that helps keep moving mass lower than many bed-slinging designs, which is why these printers are paired with aggressive acceleration claims. Anycubic calls the Kobra S1 a fully enclosed CoreXY machine, and Bambu’s P1 series page pairs CoreXY wording with an acceleration claim of up to 20,000 mm/s². [1] [6]
The enclosure needs similar restraint in interpretation. Both printers are enclosed, but neither base product claim used here describes an actively heated chamber. That makes them enclosed consumer FDM printers, not heated-chamber industrial systems. The enclosure can reduce drafts and help with materials such as ABS and ASA, but it does not remove the usual variables around shrinkage, adhesion, and part geometry. [1] [4]
Speed headlines also need context. A 500 mm/s or 600 mm/s claim is only one part of throughput. Bambu is more explicit here because its official P1S PDF publishes a 32 mm³/s max hotend flow at ABS, 280 °C, which gives a better basis for interpreting what “fast” can mean on real parts. [10]
Specifications (official only) — Anycubic Kobra S1 vs Bambu Lab P1S
This table uses official product pages and official documentation only. That matters because bundle confusion, marketing shorthand, and documentation conflicts are most likely to distort a buying decision here. [1] [2] [4] [5] [10]
| Metric | Kobra S1 (official) | Bambu P1S (official) | Why it matters |
|---|---|---|---|
| Build volume | 250 × 250 × 250 mm. [1] | 256 × 256 × 256 mm. [4] [10] | The P1S is slightly larger on paper. |
| Printable height caveat | No separate default-height caveat stated on the current product page. [1] | Default printable height in Bambu Studio is 250 mm; the remaining 6 mm requires following Bambu’s safety instructions. [4] | Nominal volume is not always practical volume. |
| Speed | Recommended 300 mm/s; max 600 mm/s. [1] | Max toolhead speed 500 mm/s. [4] [10] | Top speed alone does not decide real print time. |
| Acceleration | Recommended 10,000 mm/s²; max 20,000 mm/s². [1] | Max acceleration 20 m/s². [4] [10] | Acceleration determines how often top speed is actually reached. |
| Hotend / bed temperature | 320 °C hotend; 120 °C bed. [1] | 300 °C hotend; 100 °C build plate. [4] [10] | Higher ceilings expand options, but do not guarantee results. |
| Nozzle sizes | 0.4 mm included; current product pages show optional 0.25/0.6/0.8 mm hotends. [1] [2] | 0.4 mm included; 0.2/0.6/0.8 mm optional. [4] [10] | Nozzle choice affects detail, flow, and print time. |
| Supported materials | Listed: PLA, PETG, TPU, ABS, ASA. [1] | Ideal: PLA, PETG, TPU, PVA, PET, ABS, ASA; Capable: PA, PC; carbon/glass fiber reinforced polymer not recommended in stock form. [4] [10] | Official material positioning is broader on Bambu’s side. |
| Dimensions | 400 × 410 × 490 mm. [1] | 389 × 389 × 458 mm. [4] [10] | Desk fit is easier to compare than build volume alone. |
| Weight | 9.37 kg on base page; combo page lists Kobra S1 at 18 kg, so verify before planning around shelf load or shipping. [1] [2] | 12.95 kg net weight. [4] [10] | Official weight data are clearer on the P1S side. |
| Camera | 480P. [1] | 1280 × 720 at 0.5 fps; timelapse supported. [4] [10] | Remote monitoring is not equivalent across the two. |
| Multicolor path | Sold separately on base model; ACE Pro included on Combo. [1] [2] | AMS or AMS 2 Pro dependent, depending on bundle or add-on choice. [5] [7] [8] | Multicolor is an ecosystem decision, not a base-printer feature. |
The decision-relevant differences are narrower than the table first suggests. The P1S has the slightly larger nominal envelope, but Bambu also documents the practical 250 mm default printable height. The Kobra S1 has higher stated hotend and bed limits, while Bambu is the one publishing a flow figure, making its speed claims easier to interpret in real use. Desk-space data are available for both machines, but Anycubic’s weight information remains internally inconsistent between the base and combo pages. And on multicolor, neither printer should be judged by the base unit alone; the feeder bundle is a major part of the real purchase decision. [1] [2] [4] [5] [10]
Setup and everyday workflow (evidence-led, not vibes)
Anycubic’s official pages are clear enough to outline the basic workflow. The Kobra S1 uses a 4.3-inch capacitive touchscreen, and the current product page lists control and print methods via the printer itself, slicing software, the Anycubic App, and USB print-only workflow. The same page says Anycubic Slicer Next is built on Orca. For first startup, Anycubic’s official guidance is to begin with PID tuning, then feedback compensation, then auto-leveling. [1] [2]
Bambu documents the workflow more explicitly in its official P1S quick-start material. The PDF lists a 2.7-inch 192×64 screen, Wi‑Fi, Bluetooth, and Bambu-Bus connectivity, Micro SD Card storage, and control via button, app, and PC application. It names Bambu Studio as the slicer, while noting support for third-party slicers that export standard G-code, such as SuperSlicer, PrusaSlicer, and Cura, though some advanced features may not be supported. The setup path includes Bambu Handy app binding, on-printer initial calibration, and sending the first sliced file from Bambu Studio. That makes the P1S workflow more fully documented in official sources, even though both machines provide guided setup paths. [4] [10]
Workflow checks before the first print
- Confirm the exact bundle name on the store page.
- Read the current quick-start guide, not just marketing bullets.
- Check which slicer and app workflow you are expected to use.
- Verify how files are sent to the printer.
- Run the official calibration steps before judging print quality.
- Confirm that your filament type matches the intended feeder or spool path.
- Check spool fit if you plan to use multicolor hardware.
- Save the current release notes and setup docs for later troubleshooting.
Print speed, acceleration, and real throughput (why max mm/s isn’t the answer)
A printer’s top motion number is not the same as finished-part throughput. That applies to both the 600 mm/s Kobra S1 headline and the 500 mm/s P1S headline. [1] [10]
Real print time depends on acceleration, volumetric flow, cooling, minimum layer time, line width, layer height, and whether the job includes multicolor purge events. Officially, the Kobra S1 is rated for recommended 300 mm/s and maximum 600 mm/s, with recommended 10,000 mm/s² and maximum 20,000 mm/s² acceleration. Officially, the P1S is rated for 500 mm/s and 20 m/s² acceleration, and Bambu also publishes a 32 mm³/s max hotend flow at ABS, 280 °C. That matters because a printer can only print as fast as it can melt and deliver material at the chosen layer geometry. No official Kobra S1 volumetric-flow figure is published on the current product pages used here, so nothing reliable should be inferred from the 600 mm/s headline alone. [1] [10]
Independent review data are useful as examples, not verdicts. Tom’s Hardware reported a 500 mm/s Speed Benchy in 18 minutes on the P1S, compared with 26 minutes at a more typical 200–300 mm/s mode. Tom’s Hardware also reported a 24:15 Speed Benchy on the Kobra S1, using 2 walls, 3 top and bottom layers, 10% grid infill, 0.25 mm layer height, and 0.5 mm line width. These are not matched lab tests, so they should be read as snapshots under one reviewer’s conditions rather than as a universal ranking. [11] [12]
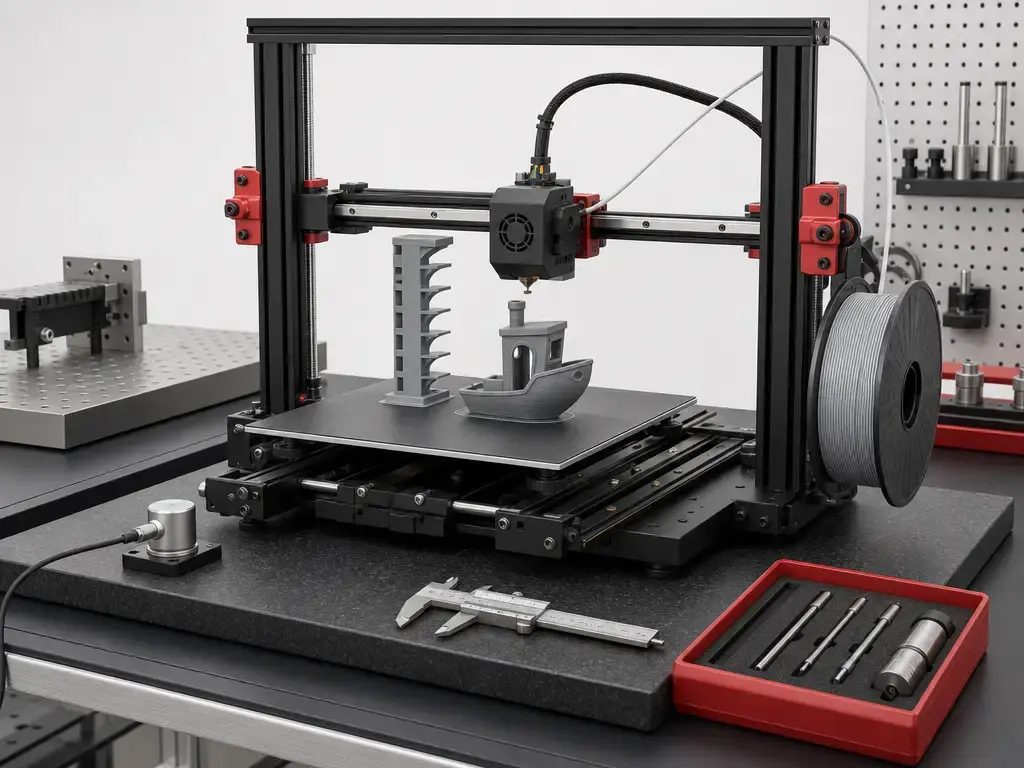
Print quality and dimensional accuracy (what we can and cannot conclude)
In a kobra s1 vs p1s print quality comparison, the terms need to be used carefully. Dimensional accuracy is how close a printed part is to its intended dimensions. Precision is how consistently repeated parts match each other. Resolution is the smallest feature the system can realistically reproduce, which depends on nozzle size, layer height, extrusion behavior, and motion control. Standards-based evaluation relies on controlled artefacts and documented settings, not a single attractive demo print. ISO/ASTM 52902:2023 frames geometric capability assessment around test artefacts, while NIST’s additive-manufacturing test guidance says builds should document pertinent process parameters and machine settings, and that geometric accuracy and surface roughness are primary characterization outputs. [13] [14]
The strongest public A/B datapoint found here is still limited. CHIP reports overall print deviation of 0.12 mm for the P1S Combo and 0.22 mm for the Kobra S1 Combo, and explicitly says its prints were evaluated using the printers’ standard settings. That is useful, but it is not an openly disclosed ISO/ASTM 52902-style protocol with repeatability data across multiple materials and environments. The practical conclusion is modest: the available evidence suggests the P1S can deliver better out-of-box dimensional results under one lab-style setup, but no broadly accepted, openly metrologized A/B dataset was found that would justify an absolute quality ranking across all use cases. [15]
Materials and enclosure performance (stock vs upgraded)
Stock materials the manufacturers clearly stand behind
At the stock-material level, the overlap is broad. Anycubic lists PLA, PETG, TPU, ABS, and ASA on the Kobra S1 product page. Bambu positions the P1S with PLA, PETG, TPU, PVA, PET, ABS, and ASA in its “Ideal” category. That covers the common hobby and prosumer thermoplastics most buyers actually use. [1] [4] [10]
Capable materials, and what success depends on
The harder comparison begins with materials such as PA and PC. Bambu explicitly classifies those as “Capable” rather than “Ideal,” and the same official document marks carbon/glass fiber reinforced polymer as not recommended in stock form. Anycubic’s product-page FAQ is more ambitious, saying the Kobra S1 can also support PC, PA, carbon fiber, and glass fiber, but the main Kobra S1 spec sheet does not provide the same stock-versus-upgrade clarity. The sensible reading is that higher hotend and bed ceilings are necessary but not sufficient. Dry filament, stable cooling, adhesion, part geometry, and enclosure temperature behavior still determine whether a job succeeds. [1] [2] [4] [10]
Abrasive composites (CF/GF)
For abrasive composites, the clearest official path belongs to Bambu. Its Hardened Steel Upgrade Combo – P1 Series includes a hardened steel extruder gear assembly and a hardened steel hotend, and Bambu explicitly describes that combo as better suited to carbon-fiber- and glass-fiber-containing engineering filaments. Anycubic does not publish a comparably clear stock-hardware statement on the Kobra S1 pages used here for nozzle material or extruder gear hardness, so buyers should verify those details before planning long-term CF/GF use. A final note applies to both printers: an enclosure and carbon filter are not substitutes for proper room ventilation. [9] [1] [2]
Multicolor and multimaterial systems (ACE Pro vs AMS / AMS 2 Pro)
It helps to separate multicolor from multimaterial. Multicolor jobs usually mean swapping among colors of the same base material. True multimaterial work is harder: soluble supports, different drying needs, and different temperature windows all raise the chances of feeder incompatibility or waste. That distinction matters here because the two ecosystems describe color and drying differently. [2] [7] [8]
Anycubic’s ACE Pro path is straightforward on paper: 4 colors with one unit, 8 colors with two ACE Pro units plus the feeding module, and active drying up to 55 °C. The limitations matter just as much: TPU 95A is not compatible with ACE Pro for multicolor use, and Anycubic recommends plastic spools for smoother multicolor printing. Bambu’s legacy AMS remains the simpler capacity reference point, with 4 slots and scaling up to 16 colors via four AMS units plus an AMS Hub. AMS 2 Pro shifts the discussion toward drying: Bambu rates it for up to 65 °C, gives explicit spool limits of 50–68 mm width and 197–202 mm diameter, and states that drying is not supported for AMS 2 Pro/HT units actively involved in the current print, including auto-refill scenarios. The P1S US store currently exposes both the older and newer bundle logic, so you should verify whether you are buying a P1S Combo or an AMS 2 Pro Combo. [2] [5] [7] [8]
Waste and time overhead are the hidden costs of multicolor. Tom’s Hardware reported one Kobra S1 test in which a 312 g model generated 730 g of waste including supports, purge tower, and purge waste. That is only a single example, but it is a useful reminder that every color change can cost both time and material. If you are worried about spool fit on the Anycubic side, the most specific ACE Pro spool guidance Anycubic publishes elsewhere in the family points to most 1 kg spools with roughly 195–200 mm outer diameter and 60–68 mm spool thickness. [12] [16]
Questions to ask before paying for a combo bundle
- Do I need multicolor, or do I actually need a second material type?
- How many colors will I really use in one print?
- Will my spools fit the feeder without adapters or friction problems?
- Do I expect to dry filament while printing, or before printing?
- Are flexible filaments part of the plan?
- Am I willing to accept the purge-waste penalty for frequent color swaps?
- Will I add more feeder units later, or is this a one-box purchase?
- Do I need official upgrade parts for abrasive filaments later?
- Is the exact bundle name on the store page the same one I think I am buying?
- Does the current slicer workflow make color changes easy to predict?
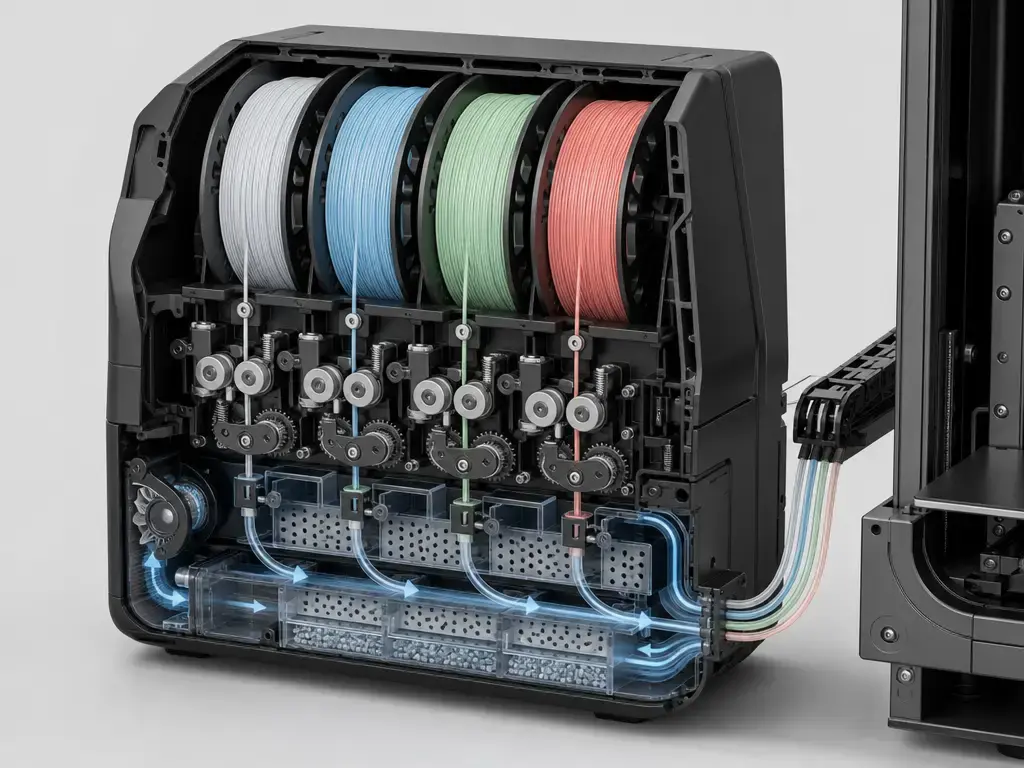
Who should buy which? (three buyer profiles, each with a named pick)
For a beginner, classroom, or first enclosed-printer purchase, the Bambu Lab P1S is the easier recommendation. The official documentation is more explicit, the workflow is better documented, and the current store page clearly exposes bundle variants that a buyer can verify before checkout. [4] [5] [10]
For functional ABS/ASA work, the Anycubic Kobra S1 is the stronger paper-spec pick because it advertises a 320 °C hotend and 120 °C bed. That is not a guarantee of better engineering-material results, but it does provide more thermal headroom than the P1S on the base spec sheet. [1] [10]
For a multicolor hobbyist or small-batch buyer, the answer depends on scaling. Pick P1S with AMS hardware if your long-term priority is more color lanes and a broader documented ecosystem. Pick Kobra S1 Combo if your near-term priority is a tighter bundle with ACE Pro and active drying, and you are comfortable with its feeder-specific material limits. [2] [7] [8]
Limitations and risk factors (what to verify before buying)
Check firmware and slicer release notes before buying. Noise is one reason to stay cautious. Anycubic claims ≤46 dB in standard mode and ≤44 dB in quiet mode, but it also says those figures were measured 1 meter from the front and actual noise may deviate. In the official source set used here, no comparable official dB figure was found for the P1S, so this is not a matched noise comparison. Also verify Anycubic’s weight data before making shipping or shelf-load assumptions, because the base page says 9.37 kg while the combo page lists Kobra S1 at 18 kg. [1] [2]
Bundle volatility matters almost as much as hardware. Bambu’s current US store presents P1S, P1S Combo, and AMS 2 Pro Combo, and the exact accessory pack changes what you get. Bambu’s workflow is also more account-and-app structured in official docs, which some buyers will read as convenience and others as ecosystem lock-in. On the Anycubic side, the Kobra S1 combo ecosystem is newer and the practical waste behavior of multicolor jobs can vary with slicer version and profile maturity. None of that is a reason to reject either printer outright, but it is reason enough to verify the exact bundle name, current feeder limits, and current software notes before checkout. [1] [5] [8] [10] [12]
Current market context and final verdict by priority
This comparison still matters because these machines are no longer presented as simple single-SKU purchases. Bambu’s US store now separates P1S, P1S Combo, and AMS 2 Pro Combo, while Anycubic splits the Kobra S1 from the Kobra S1 Combo with ACE Pro. Buyers are comparing not only motion systems and enclosures, but also feeder hardware, drying behavior, spool fit, and how much ecosystem commitment they want on day one. [2] [5] [8]
If your priority is the most reliable default answer to anycubic kobra s1 vs bambu p1s, pick the Bambu Lab P1S. If your priority is higher stated thermal headroom or a bundle-centered ACE Pro value proposition, the Anycubic Kobra S1 becomes easier to justify. [1] [4] [10]
The split is fairly simple. For workflow, documentation, and a clearer official upgrade path, the P1S remains the safer recommendation. For hotter stated hardware limits and a more direct active-drying combo path, the Kobra S1 can be the better fit, but only if its feeder limits and current bundle contents match your actual use case. Where evidence is missing, especially on official Kobra S1 flow specification and stock abrasive-ready hardware details, the honest answer is to verify before buying rather than assume certainty. [1] [2] [8] [9] [10]
FAQ
Is Anycubic Kobra S1 better than Bambu Lab P1S?
Not for most buyers. The Kobra S1 has stronger raw temperature numbers on paper, but the P1S has clearer official workflow documentation, more explicit ecosystem information, and a better-documented path for bundles and upgrade parts. If you want the broadest safe recommendation, the P1S still wins. If you specifically want the Kobra S1’s higher stated hotend and bed limits, or you want ACE Pro-style multicolor drying in the bundle, the Anycubic case becomes stronger. [1] [2] [4] [5] [9] [10]
Which is better for beginners, Kobra S1 or Bambu P1S?
For most beginners, the Bambu P1S is easier to recommend. Its official quick-start material is more specific about app binding, calibration, connectivity, and slicer workflow, and the store page clearly separates bundle variants. The Kobra S1 is not an advanced-only machine, but its buying logic becomes more conditional once ACE Pro bundles, feeder compatibility, and spool choices enter the picture. If you want the lowest-friction answer, start with the P1S. [1] [4] [5] [10]
How does the anycubic kobra s1 vs bambu p1s speed comparison work in real prints?
The headline numbers are not enough. The Kobra S1 is listed at up to 600 mm/s, while the P1S is listed at 500 mm/s, but real job time depends on acceleration, hotend flow, cooling, minimum layer time, and whether the print includes multicolor purges. Bambu helps more here because it publishes a 32 mm³/s flow figure for the P1S at ABS, 280 °C. Anycubic does not publish an equivalent official Kobra S1 flow figure on the current pages used here. [1] [10]
Which has better print quality: Kobra S1 or P1S?
The strongest public comparison in this source set favors the P1S out of the box, but not by enough to justify a universal verdict. CHIP reports 0.12 mm overall print deviation for the P1S Combo versus 0.22 mm for the Kobra S1 Combo, and says the tests used standard settings. That suggests the P1S may arrive with better default tuning. But it is still one lab-style comparison, not a fully open repeatability study across materials, environments, and tuned profiles. [13] [14] [15]
Can Kobra S1 and Bambu P1S print ABS and ASA reliably?
Yes, both are enclosed consumer FDM printers aimed at those materials. Anycubic officially lists ABS and ASA on the Kobra S1 page and gives the machine a 320 °C hotend and 120 °C bed. Bambu lists ABS and ASA as Ideal materials for the P1S. Reliability still depends on geometry, adhesion, ambient conditions, and how warm the enclosure stays during the print, so the answer is realistic rather than automatic. [1] [4] [10]
What is volumetric flow (mm³/s), and why does it limit “600 mm/s” claims?
Volumetric flow is the volume of molten plastic the hotend can deliver per second. It matters because a printer may be able to move fast mechanically, but it cannot sustain that motion on a real extrusion path unless the hotend can melt and push enough material. Bambu’s official P1S document gives a concrete number: 32 mm³/s at ABS, 280 °C. That is why top-speed marketing should always be read together with nozzle size, layer height, line width, and material choice. [10]
Can either printer print abrasive composites (CF/GF) or carbon-fiber nylon out of the box?
The safer answer is not as a long-term stock setup. Bambu’s own stock documentation marks carbon/glass fiber reinforced polymer as not recommended, and Bambu sells a hardened steel extruder-and-hotend upgrade combo specifically for those tougher materials. Anycubic’s Kobra S1 pages do mention higher-demand materials in FAQ text, but the official pages used here do not clearly publish the stock nozzle material or extruder gear hardness, so that hardware should be verified before committing to abrasive filament use. [2] [9] [10]
Sources
- Anycubic Kobra S1 product page (US)
- Anycubic Kobra S1 Combo product page (US)
- Anycubic Kobra S1 Combo User Manual (EN) v1.3 (PDF)
- Bambu Lab P1S store/spec page
- Bambu Lab P1S US store page (variants + bundle text)
- Bambu Lab P1 series page (CoreXY claim)
- Bambu Lab AMS (legacy) product page
- Bambu Lab AMS 2 Pro product page
- Bambu Lab Hardened Steel Upgrade Combo (P1 Series)
- Bambu Lab P1S Quick Start Guide / Specs PDF
- Tom’s Hardware — Bambu Lab P1S review
- Tom’s Hardware — Anycubic Kobra S1 review
- ISO/ASTM 52902:2023
- NIST additive manufacturing test artifact guidance
- CHIP.de comparison (lab metrics, default-settings note)
- Anycubic Kobra 3 Combo page (ACE Pro spool guidance)