
Summary
PID tuning a 3D printer hotend means calibrating the firmware’s heater feedback loop so the nozzle reaches and holds a target temperature more predictably. In Marlin, PID is used “to stabilize the dynamic heating system for the hotends and bed.” [4] Additive-manufacturing vocabulary is standardized in ISO/ASTM 52900:2021, but here PID tuning is used in the practical firmware-control sense familiar to FFF/material-extrusion users. [1] [4]
This guide is hotend-focused and covers the practical workflows in Marlin, Klipper, and Prusa. It explains how to tune, how to save the result, and where the limits are. The key boundary is simple: a stable temperature reading does not automatically mean stable polymer melt conditions, because melt behavior changes with volumetric flow rate, temperature setpoint, nozzle orifice diameter, and convective heat transfer. [3]
Before you tune: safety + sanity checks (mandatory)
Do these checks before using any menu option or G-code command. PID tuning only helps if the heater, sensor, airflow, and environment already make sense. Do not disable thermal runaway protection. If you later decide to use Marlin MPC instead of PID, remember that M306 T moves the hotend to 1 mm above the bed, so clearance and debris matter. [4] [10]
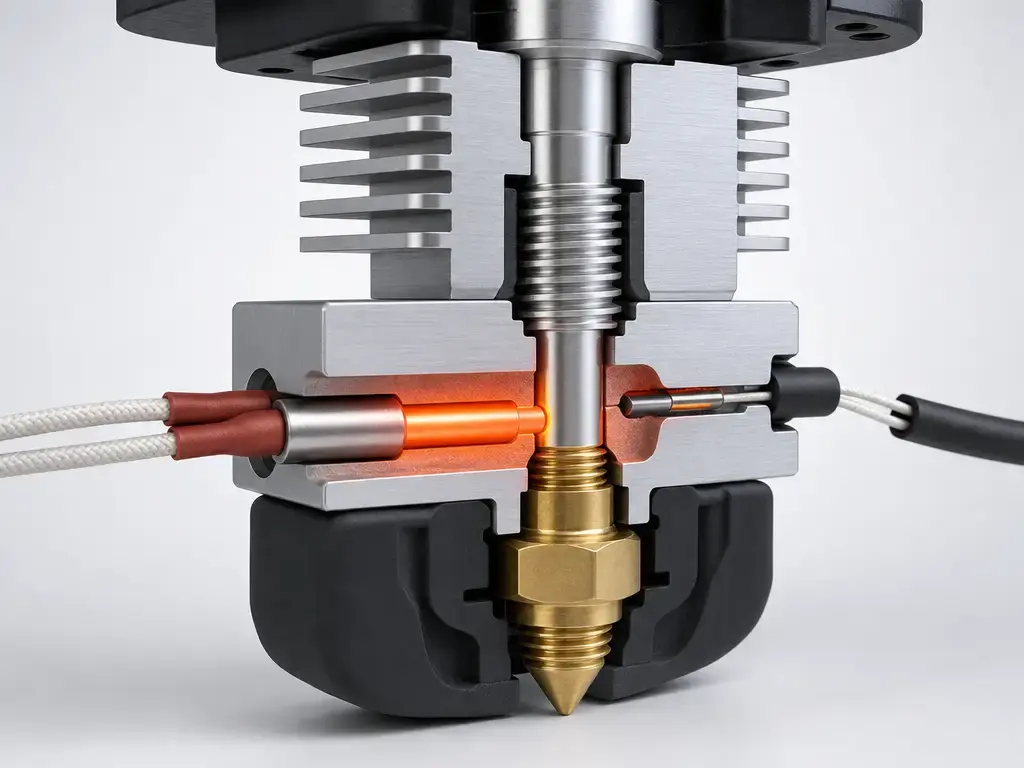
- Confirm the room-temperature reading looks plausible for your room before heating.
- Check that the thermistor is secured in the block and not shifting.
- Inspect thermistor and heater-cartridge wiring and connectors for looseness or damage.
- Make sure no fan duct is aimed directly at the heater block.
- Verify the silicone sock is installed, removed, or damaged in the same way it will be during normal printing.
- Keep the environment stable. Prusa advises a dry environment, temperature over 20 °C, and no breeze for meaningful tuning on its listed models. [13]
- Leave thermal protection enabled. PID tuning is not a substitute for safety logic. [4]
How to PID tune a 3D printer hotend (quick practical answer)
Run your firmware’s hotend PID autotune at a representative printing temperature, then save the result so it survives reboot. In Marlin, the usual path is M303; in Klipper, it is PID_CALIBRATE followed by SAVE_CONFIG; and on certain Prusa models, it is an LCD calibration menu. [5] [11] PID constants are not portable across printers or firmware implementations. Klipper explicitly warns that values copied from other firmwares or example configs often work poorly. [4] [11] [12]
What PID autotune is doing (in plain language)
PID tuning is a feedback process. The firmware compares the measured hotend temperature with the target, then adjusts heater power to reduce the error. In plain terms, more error means more heater output, which NIST summarizes as P * error, while the other terms help the controller respond to how fast temperature is changing and how long the error has persisted. [2] Autotune heats and cools the hotend for several cycles so the firmware can observe the actual response instead of relying on guessed values. In Marlin, M303 requires at least 3 cycles and defaults to 5. [5]
There is also a difference between applying values now and storing them for later. A new tune may become active for the current session, but unless you save it, it may disappear after restart. In Marlin, tuned values can be saved with M500, loaded with M501, and reset with M502 when EEPROM_SETTINGS is enabled. [5] [7] In Klipper, the persistence step is SAVE_CONFIG. [11] NIST also notes that derivative action can help in fast-changing systems, but it is often reduced or turned off in steady-state control because it reacts strongly to small disturbances. [2]
Marlin hotend PID autotune (M303) — two valid paths
Before running Marlin PID steps, confirm your firmware is actually using PIDTEMP for the hotend rather than another control mode. Marlin lists bang-bang, PIDTEMP, and MPCTEMP as hotend temperature-control options. [8] Marlin’s M303 autotune uses multiple heat/cool cycles, and its documentation includes example commands such as M303 E0 C8 S210. E3D also shows M303 E0 S210 C8 as a typical example. Those are examples from documentation, not universal target temperatures. [5] [14]
- Path A — output-only, then manual entry if needed
- Run
M303 ...and read the reported values. Marlin requires at least 3 cycles and defaults to 5. [5] - If you need to enter the result manually, use
M301to set hotend PID values. The default extruder index isE0unless you specify another one. [6] - Save with
M500only ifEEPROM_SETTINGSis enabled. [5] [7]
- Path B — apply-direct
- Run
M303 ... U1to tell Marlin to use the autotune result directly. In Marlin,U<bool>means “use PID result”; without it, the command can just print the values. [5] - Save with
M500only ifEEPROM_SETTINGSis enabled. [5] [7]
Record the old values first so you can roll back if needed. M301 is not required when U1 is used; it is only part of the manual-entry path. [5] [6]
Klipper hotend PID autotune (PID_CALIBRATE)
In Klipper, the usual hotend workflow is simple: run PID_CALIBRATE HEATER=extruder TARGET=170, then run SAVE_CONFIG to write the new values into printer.cfg. Klipper also notes that PID settings copied from other firmwares or example configuration files often work poorly, so do not transplant numbers from a Marlin setup or a forum post. [11]
For readers who want the implementation detail, Klipper documents its heater-control formula as heater_pwm = (Kp*error + Ki*integral(error) - Kd*derivative(error)) / 255, where error is requested minus measured temperature. [12] Klipper also documents defaults such as smooth_time 1.0 s and pwm_cycle_time 0.100 s, which helps explain why a Klipper heater may not behave exactly like a Marlin heater even on similar hardware. [12] That is another reason to treat hotend PID values as implementation-specific rather than portable constants. [11] [12]
Prusa PID calibration (model- and firmware-dependent)
Prusa’s PID calibration page is specifically marked as relevant to the MK2.5, MK2.5S, MK3, MK3S, and MK3S+. Starting with firmware version 2.0.12, PID tuning is optional and available through LCD Menu -> Calibration -> PID calibration. During the procedure, the nozzle heats to the selected target in 5 cycles while the printer determines the power needed to reach and maintain that temperature. If you are using another Prusa model, another firmware branch, or a non-Prusa printer, do not assume this same menu path exists. [13]
Tune at representative conditions
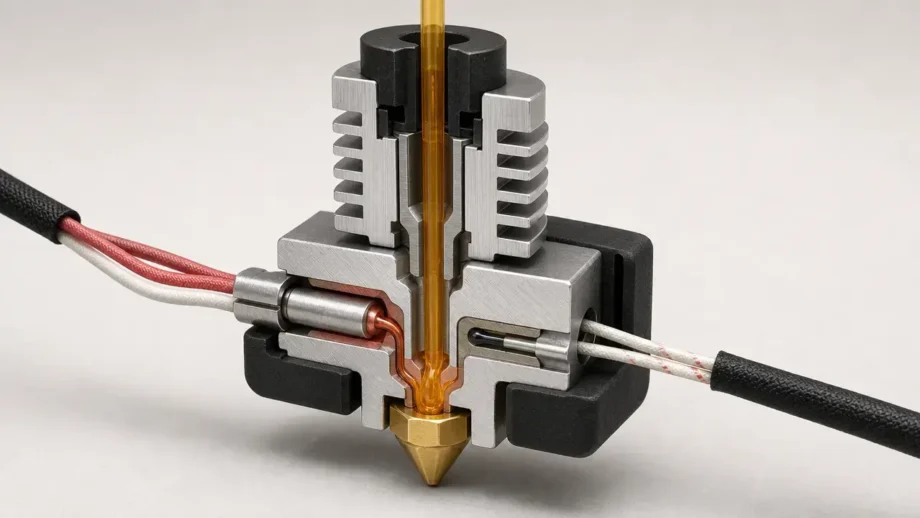
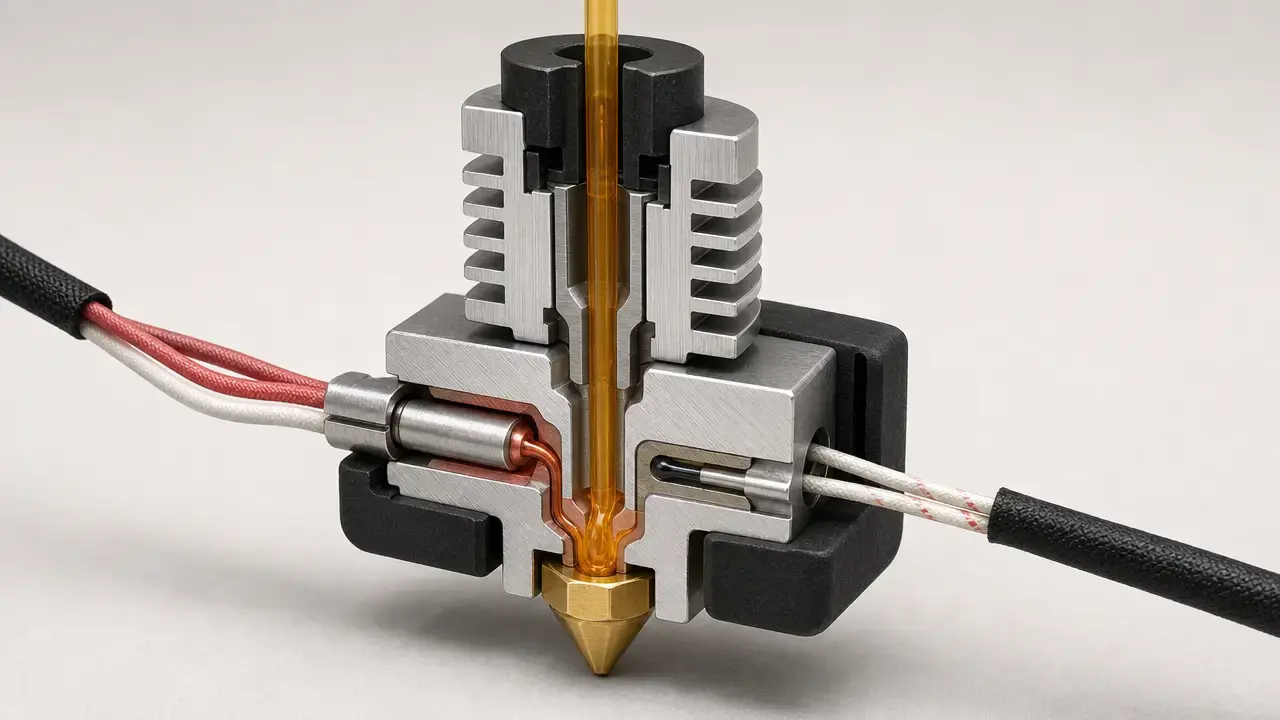
A useful hotend tune should match how you actually print, not an arbitrary target from a guide. E3D recommends running two PID tunes for the V6, including one later at normal printing temperatures with filament in the hotend, the sock attached, and an active cooling fan on if you plan to print that way. [14]
That matters because airflow, filament load, and insulation all change the thermal behavior the controller is trying to manage. If you normally print with part cooling active, tuning with that same fan state can make the result more representative. But a duct that directly blasts the heater block is not something PID should compensate for; it is a hardware or airflow problem that should be fixed first. [14]
What PID tuning improves — and what it can’t guarantee
PID tuning mainly improves the measured heater/sensor loop. A better tune usually gets the hotend to target more cleanly, settles it more predictably, and reduces unnecessary oscillation or overshoot in the measured reading. In control terms, the firmware is continuously adjusting heater power from temperature error, and derivative action can help in faster-changing systems but may look noisy when the system is mostly steady and subject to small disturbances. [2] [4]
What PID tuning does not prove is that the temperature reading is accurate, that the correct sensor type is configured, or that the polymer melt is at the same temperature as the displayed setpoint under load. Sensor accuracy and sensor configuration are separate issues. [4] [11] NIST’s material-extrusion melting work found that measured temperature and temperature variance depend on volumetric flow rate, temperature setpoint, nozzle orifice diameter, and convective heat transfer to surrounding air. [3] In a separate hotend study, the difference between set extrusion temperature and predicted outlet temperature reached 40 to 60 °C at a 3.5 mm/s feed rate, and the v6 Standard under-extruded by nearly 40% at the highest feed rate in that setup. [15] Those figures are specific to that study, but they define the boundary clearly: hotend PID tuning controls the measured heater loop, not the melt state at every operating point. [3] [15]
PID vs bang-bang / watermark vs MPC (and why it matters)
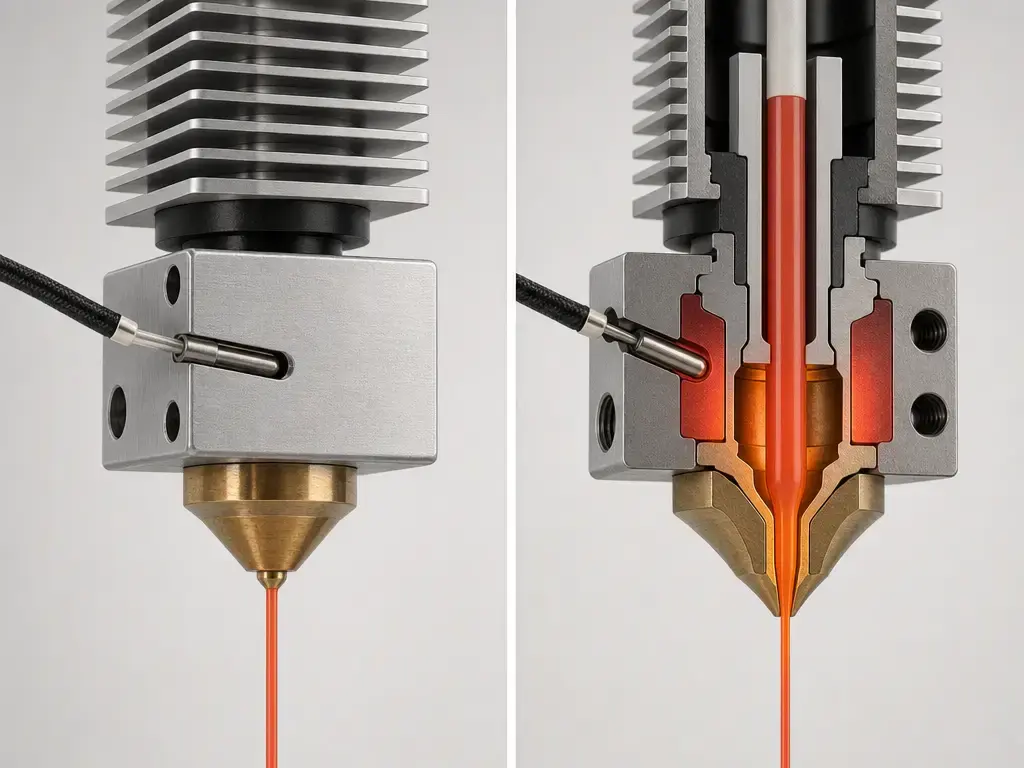
Before following PID steps, confirm which control mode your firmware is actually using. Marlin explicitly lists bang-bang, PIDTEMP, and MPCTEMP as hotend-control options. [8] If your Marlin build is using MPCTEMP instead of PIDTEMP, this article’s PID workflow is not the right path. Marlin says MPC is configured by disabling PIDTEMP, enabling MPCTEMP, and tuning with M306 T. [9]
| Control method | How it drives the heater | Where you’ll see it | Article note |
|---|---|---|---|
| Bang-bang | Full on / full off switching around the target. | Marlin hotend mode list. [8] | Simple control, but not the PID path. [8] |
| PIDTEMP | Continuous adjustment from temperature error. | Marlin hotend mode list; autotune via M303. [5] [8] |
This is the mode targeted by most of this article. [5] |
| MPCTEMP / MPC | Model-based control instead of classic PID. | Marlin MPC documentation and M306 T. [9] [10] |
Use the MPC workflow instead of PID tuning. [9] |
| Watermark | Threshold-style heater control context separate from PID. | Klipper configuration reference. [12] | In Klipper, max_delta defaults to 2.0 °C for watermark-controlled heaters. [12] |
Marlin describes one advantage of MPC as controlling the “actual hotend temperature” rather than the sensor temperature, but that should be read as Marlin’s own claim about its MPC design, not as a universal statement about all firmware. [9] If you use M306 T, Marlin notes that the hotend moves to 1 mm above the bed for calibration, so nozzle clearance matters. [10] Klipper’s documentation also separates PID from watermark mode, which is another reminder that heater-control modes are not interchangeable. [12]
When to rerun hotend PID tuning (and when not to)
Rerun hotend PID tuning after a real hardware change or a meaningful change in thermal conditions, not every time the graph wiggles slightly. Marlin specifically says to retune when you change a hotend, temperature sensor, heating element, board, power supply voltage, or anything else related to the high-voltage heater circuit. [4] E3D’s guidance on tuning under real printing conditions also makes airflow and insulation changes relevant. [14]
- New hotend or heater block. [4]
- Replaced temperature sensor or changed thermistor type. [4]
- Replaced heating element. [4]
- Changed controller board or heater-driving electronics. [4]
- Switched power-supply voltage between 12 V and 24 V. [4]
- Added, removed, or damaged the silicone sock you normally print with. [14]
- Changed part-cooling airflow, ducting, or fan behavior in a way that affects the heater block. [14]
- Changed to a meaningfully different normal printing-temperature range or print setup. [14]
Small fluctuations alone do not automatically mean the tune is wrong. Revisit it when the thermal system has actually changed. [4] [14]
Troubleshooting boundaries (don’t tune around broken hardware)
If hotend temperature still swings badly after tuning, the next step usually is not “more PID.” Check hardware, airflow, wiring, and configuration first. Start with the sensor and its wiring path, because a loose thermistor or bad connector can look like a control problem. Then check the heater cartridge, fan duct alignment, sock condition, power delivery, and whether the firmware is configured for the correct sensor. [4] [11] NIST’s note about derivative sensitivity matters here too: a noisy or drafty setup can make a decent tune look worse than it is. [2]
- If you see large swings after tuning, check…
- thermistor seating and retention
- thermistor wiring and connector integrity
- heater-cartridge wiring and clamping
- fan duct alignment relative to the heater block
- whether the silicone sock is missing or damaged
- power delivery to the heater
- the configured sensor type in firmware
- room airflow or drafts
Prusa’s guidance is useful here, but only as a model-specific example for the MK2.5, MK2.5S, MK3, MK3S, and MK3S+. It says small nozzle fluctuations of about ±5 °C can occur, while fluctuations greater than ±5 °C may indicate a fan issue or a thermistor wire or connector problem. Prusa also says PID tuning is not a solution for every fluctuation issue and recommends a stable environment over 20 °C with no breeze. [13] If readings are implausible or thermal errors appear, stop and diagnose the hardware instead of trying to tune around it. [4] [13]
Key takeaways
PID tuning for a 3D printer hotend is useful for measured temperature stability, but it is only one part of thermal control. Save the result after tuning: Marlin uses M500 when EEPROM_SETTINGS is enabled, while Klipper persists the calibration with SAVE_CONFIG. [5] [7] [11] Even a calm temperature graph does not guarantee melt temperature under flow, and published material-extrusion studies show that outlet temperature can diverge substantially from the setpoint in specific high-flow setups. [3] [15]
FAQ
What is PID tuning on a 3D printer?
PID tuning is a calibration of the heater-control loop, not a mechanical upgrade. It changes how firmware drives the hotend heater in response to temperature error so the nozzle reaches and holds the target more steadily. Marlin describes PID as stabilizing the dynamic heating system for the hotend and bed. [4]
How do I PID tune a 3D printer hotend in Marlin with M303?
Run M303 at a representative hotend target temperature and let Marlin complete several heat/cool cycles. Marlin requires at least 3 cycles and defaults to 5. If you only want the values printed, use the output-only path; if you want Marlin to apply the result directly, use U1. Save afterward with M500 only if EEPROM_SETTINGS is enabled. [5] [7]
Do I need M301 after M303 in Marlin?
Not always. If you ran M303 in output-only mode, M301 is the command used to enter hotend PID values manually, with extruder index defaulting to 0 unless you specify another one. If you ran M303 ... U1, Marlin can apply the autotune result directly, so M301 is not required for that path. [5] [6]
Should I PID tune with the part-cooling fan on?
Usually yes, if that matches your real printing conditions. E3D recommends doing one tune later at normal printing temperatures with filament in the hotend, the sock attached, and the active cooling fan on if you plan to use it. But if the duct is directly blasting the heater block, fix the airflow first instead of trying to tune around it. [14]
Is bed PID tuning different from hotend PID tuning?
The idea is similar, but bed hardware adds its own constraints. Klipper supports PID control for the bed and shows a typical bed calibration command of PID_CALIBRATE HEATER=heater_bed TARGET=60, but it also warns that a PID-controlled bed may switch on and off ten times a second, which may not suit heaters driven by a mechanical switch. [11]
PID stability looks perfect. Why can extrusion still be inconsistent at high flow?
Because stable sensor readings do not guarantee stable melt temperature inside the nozzle under load. NIST reports that melt temperature behavior depends on volumetric flow rate, setpoint, nozzle orifice diameter, and convection. In one hotend study, the gap between set temperature and predicted outlet temperature reached 40 to 60 °C at 3.5 mm/s, and one tested setup showed nearly 40% under-extrusion at the highest feed rate. [3] [15]
Related on 3D Mag
Sources
- ISO — ISO/ASTM 52900:2021 Additive manufacturing — General principles — Fundamentals and vocabulary
- NIST — PID Temperature Control
- NIST — Steady Melting in Material Extrusion Additive Manufacturing
- Marlin Firmware — Configuring Marlin
- Marlin Firmware — M303: PID autotune
- Marlin Firmware — M301: Set Hotend PID
- Marlin Firmware — M500: Save Settings
- Marlin Firmware — Temperature: Hotend
- Marlin Firmware — Model Predictive Temperature Control
- Marlin Firmware — M306: Model Predictive Temp. Control
- Klipper — Configuration checks
- Klipper — Configuration reference
- Prusa Knowledge Base — PID tuning
- E3D — V6 Assembly
- Springer Nature — Numerical and experimental analysis of 3D printer hot ends