
Summary
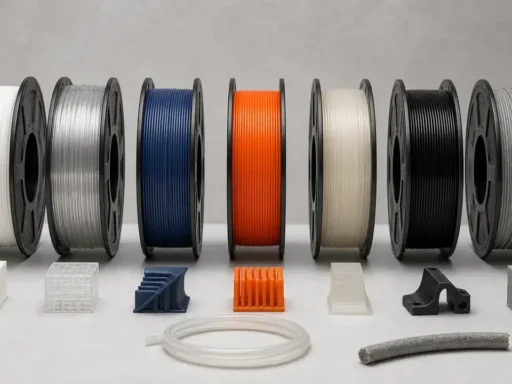
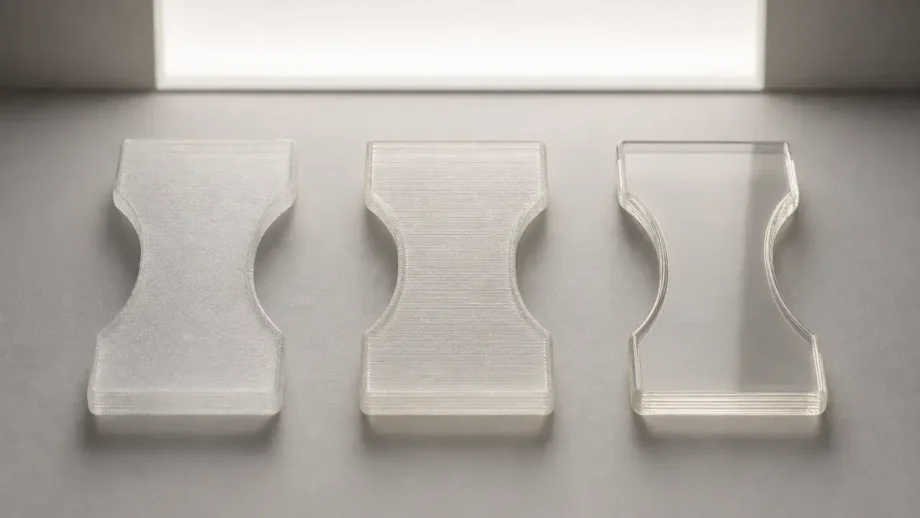
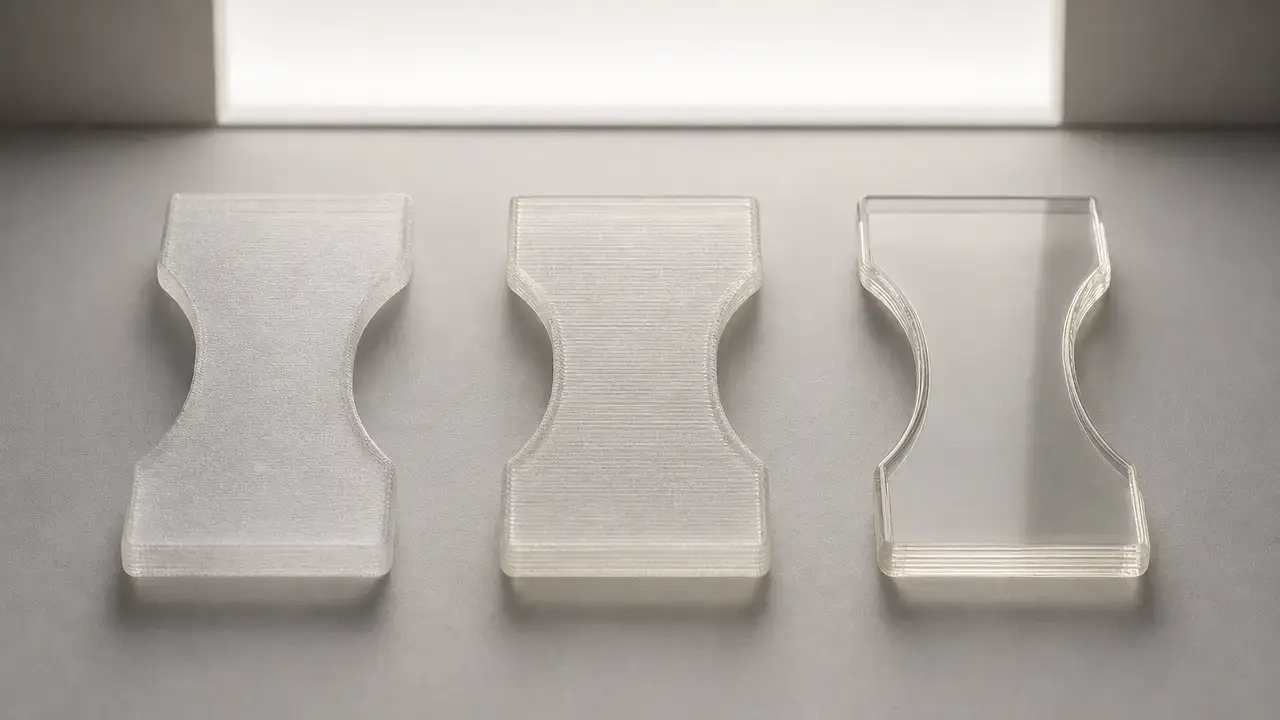
Clear 3d printer filament usually produces translucent parts, not glass-like optics, in material extrusion. In typical FFF workflows, transparent PETG filament is the most practical first choice for clearer functional-looking parts, while PVB can become much clearer after IPA smoothing and clear PLA is easier to print but usually looks frosted as printed. [6] [12] [13]
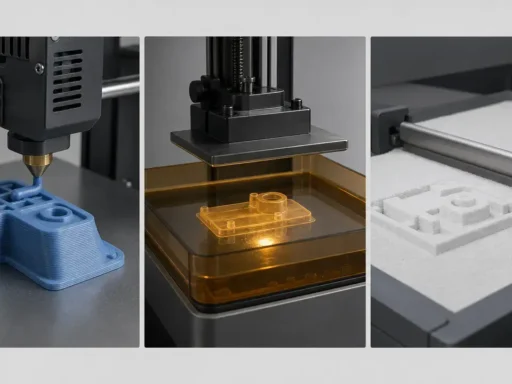
The useful way to judge transparent 3D prints is to separate the material from the workflow. PETG is often the best starting point when you want a thin wall or shell that still looks functional and reasonably see-through without heavy finishing. PVB is the decorative specialist: thin shells, spiral vase mode, and IPA smoothing can produce very clear-looking surfaces. PLA remains common, easy, and useful for diffusers or light-passing parts, but it is rarely the easiest route to a clear-looking finished print. Resin processes can produce clearer parts, but they are a different process family and are outside this filament-focused guide. [6] [12] [13]
- Best practical near-clear functional FFF: transparent PETG filament. [6]
- Best glass-like decorative shell: PVB with IPA smoothing in vase mode. [12] [13]
- Best easy light-diffusing prints: clear PLA. [6] [7]
- Usually clearer than filament prints overall: resin processes, outside this guide. [6]
How we’re judging “transparent”
Marketing language, print appearance, and optical measurement are not the same thing. UltiMaker explicitly notes that 3D printing commonly blurs transparent and translucent, and that industry labeling often calls translucent materials “transparent.” [6] For this guide, the framework is practical: what the spool is called, how the part looks as printed, whether you can read text or see an image through it, how much surface haze it has, how much internal scattering the geometry creates, and whether you are doing a home comparison or a standards-based test. Home readability checks are useful, but they are not standard measurements. [6]
| Material (FFF) | As-printed best case (thin walls) | Best-case look after post-processing | Realistic use case |
|---|---|---|---|
| Clear PLA | Light-passing, often frosted. [6] | Improved surface with sanding or coating, but internal limits remain. [6] | Diffusers, visual prototypes. |
| Transparent PETG | Clearer translucency than PLA in many workflows. [6] | Polished or coated thin walls can look more window-like, but not lab-verified optical glazing by default. [6] | Covers, light pipes, display parts. |
| PVB | Prints translucent. [12] | IPA-smoothed thin shells can look very clear. [12] [13] | Lampshades, vases, design shells. |
| Other (CPE/PP/ABS) | Case-dependent transparent options exist, but do not promise clear prints by default. [6] | Some can be smoothed or treated, but outcomes vary by material and process. [6] | Use them when their other properties matter more. |
For standards context, ASTM D1003 is the active haze and luminous transmittance test-method listing, ISO 13468-1:2019 covers total luminous transmittance for planar transparent plastics and is framed around specimens not exceeding 10 mm in thickness, and ISO 26723:2020 covers total luminous transmittance and reflectance for clear, translucent, or opaque plastics. [2] [3] [4] Do not mix metrics: a nice photo, a readable logo behind a thin wall, and a haze or transmittance value are three different kinds of evidence. Do not call a print optically transparent unless haze or transmittance has actually been measured. [2] [3] [4]
Terminology
In this article, transparent means you can see an image or text through the part with limited blur, while translucent means light passes through but the image is diffused enough that detail is lost. UltiMaker uses the same practical distinction and notes that 3D printing marketing often blurs the terms by calling translucent filament or resin “transparent.” [6] That matters because a spool sold as clear PLA or transparent PETG can still produce a part that is only translucent once printed. [6]
For measurement language, haze and total luminous transmittance are not interchangeable. ASTM D1003 provides the haze and luminous transmittance framework for transparent plastics. [2] ISO 13468-1:2019 covers total luminous transmittance of planar, transparent, substantially colourless plastics and applies to moulding materials, films, and sheets not exceeding 10 mm in thickness, with a note that thicker specimens can be measured if the instrument allows but may not be comparable. [3] ISO 26723:2020 covers total luminous transmittance and reflectance more broadly, including clear, translucent, and opaque plastics, and the ISO page notes that the edition is expected to be replaced. [4] That is why lab optics work usually uses coupons instead of complex printed shapes. [3]
For process naming, the neutral standards-oriented term is material extrusion. FFF and FDM are the common names most readers will recognize for the filament-based branch of that process family. [5] [1] ISO/ASTM 52900:2021 is Edition 2, published in November 2021, and the ISO page shows it was reviewed and confirmed in 2025. [1]
Materials that can look clear in FFF
If your goal is clear 3d printer filament for typical FFF use, PETG is the most practical first pick. UltiMaker says PETG is the “best bet” for getting translucent prints without post-processing, and that fits common hobby and prosumer workflows because transparent PETG filament is easy to find and usually prints more convincingly clear than transparent PLA or transparent ABS in as-printed parts. [6] That does not make PETG an automatic optical winner. Thin walls, fewer internal boundaries, controlled speed, controlled cooling, and dry material still matter. [6] If you need a non-safety-critical cover, shell, light guide housing, or visibility window that only has to look clearer than ordinary printed plastic, PETG is where most people should start. [6]
| Filament | Transparency potential (qualify) | Printing difficulty | Best use |
|---|---|---|---|
| Clear PLA | Low to moderate as printed; often frosted, especially in thicker parts. [6] | Easy in typical FFF use. [6] | Diffusers, light-passing models. |
| Transparent PETG | Moderate to high for FFF in thin walls; the most practical as-printed translucency in this guide. [6] | Moderate in typical workflows. [6] | Covers, light pipes, display windows. |
| PVB | High surface clarity after IPA smoothing in thin shells or vase mode. [12] [13] | Easy to print, but the full workflow is more specialized once smoothing is included. [12] [13] | Vases, lampshades, decorative shells. |
| CPE/PP/ABS | Case-dependent transparent options exist; do not promise clear prints by default. [6] | Moderate to hard depending on the material. [6] | Use only when those materials’ other properties are the reason to choose them. |
Clear PLA is real as a marketed product, but that does not mean the printed part will be clear. UltiMaker says transparent PLA exists but is difficult to turn into clear prints, and its PLA TDS includes a color entry called “PLA Transparant” while listing a filament diameter of 2.85 ± 0.10 mm and a net filament weight of 750 g. [6] [7] That makes PLA a good baseline for easy printing and light diffusion, not the safest bet for clear-looking walls. [6]
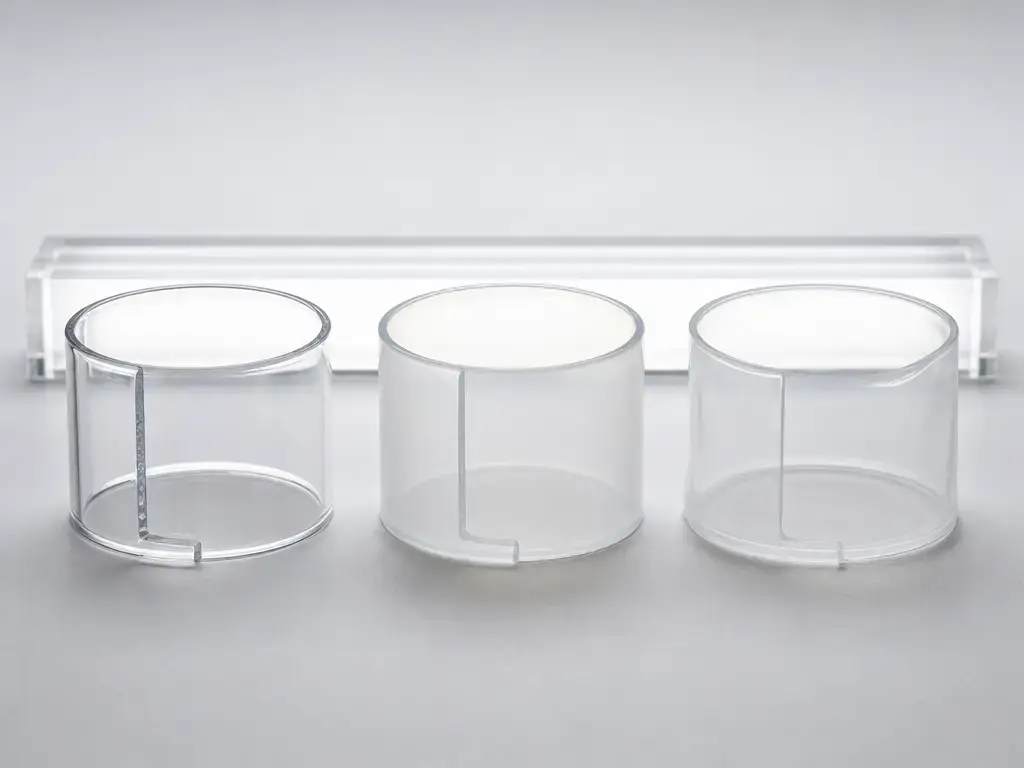
PVB is the specialist option. Prusa says PVB is not suitable for printing mechanical parts, lists it as ideal for design parts such as vases and lampshades, and recommends a larger nozzle diameter with spiral vase mode when you want transparent parts that will be IPA smoothed. [12] Prusa also notes that more perimeters remain visible even after smoothing, which is why PVB works best as a thin shell material rather than a solid multi-wall part. [12] The enabling trick is that PVB can be smoothed with isopropyl alcohol. [13]
The core physics: why transparent 3D prints turn cloudy
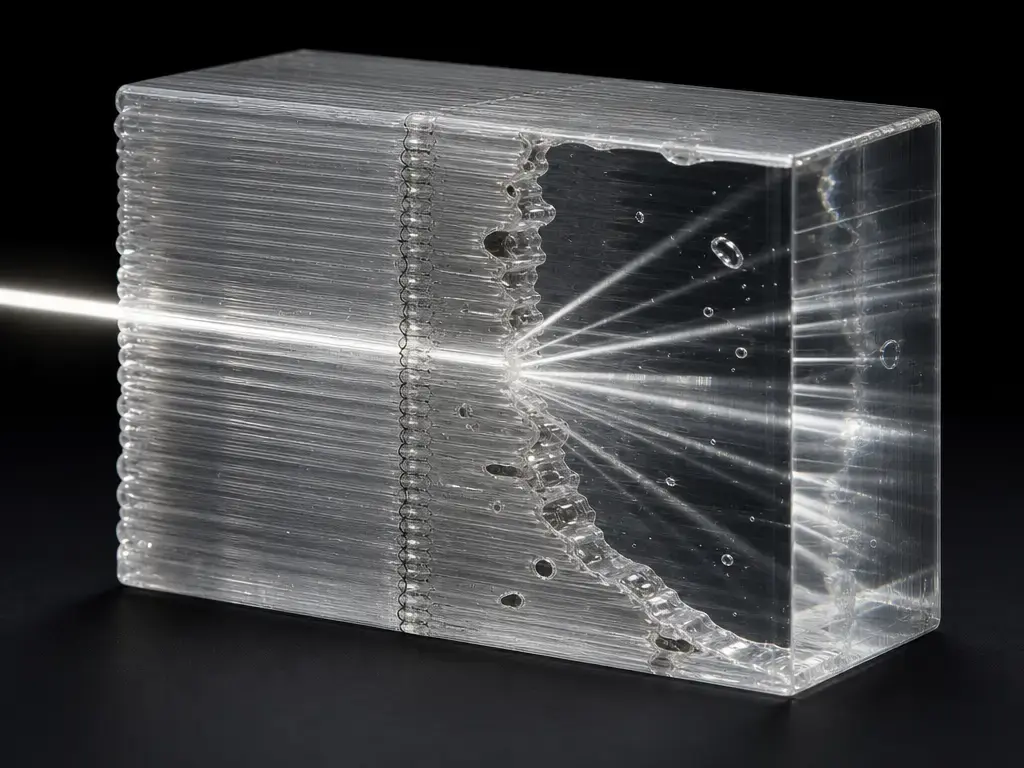
Most transparent 3D prints turn cloudy because light is repeatedly scattered instead of passing through one continuous, homogeneous path. UltiMaker attributes this to stacked layers plus the small gaps and irregularities between them, which refract and scatter light. [6] In a printed wall, each layer line, bead boundary, seam, and slight surface ripple creates another place where light can change direction. Even when the base polymer itself is clear, the printed structure usually is not. [6]
Key scattering sources include:
- Air gaps between adjacent roads. [6]
- Layer-line surface roughness. [6]
- Perimeter-infill boundaries and direction changes. [6] [14]
- Seams and restart blobs. [6]
- Bubbles or voids, often moisture-driven. [15]
- Support scars and rough contact surfaces. [6]
- Scratches from coarse sanding. [6]
A common mistake is to assume that 100% infill automatically solves the problem. It does not. UltiMaker is right that 100% infill is one of the two useful transparency-oriented infill strategies, alongside a hollow single-wall shell, because intermediate infill creates extra internal structures that reflect light. [6] But a “solid” part still contains perimeter-infill boundaries, bead-to-bead necks, seam planes, and imperfect fusion between adjacent roads. Those are all optical interfaces. A 100% infill PETG block may look more uniform than a 20% infill one, but it is still built from separate extruded lines rather than a cast, continuous optical medium. That is why thick solid prints usually get cloudier as the light path gets longer. [6] [14]
Moisture makes clarity worse because absorbed water can become vapor during processing and leave defects behind. The moisture review in this source set states that excessive water content in polymers can generate water vapor during additive processing, leading to voids and bubbles. [15] Those defects scatter light strongly, so a wet spool often prints cloudier than the same filament dried first. [15]
Geometry matters as much as material. The paper on light distribution in 3D-printed thermoplastics shows that even transparent material can produce diffusive, high-haze behavior when the printed geometry redirects light instead of transmitting it specularly. [14]
How to get transparent 3D prints
If you want to know how to get transparent 3d prints, start with the part, not the marketing label. Thin walls, simple shells, shorter light paths, and fewer internal interfaces usually matter more than the word “clear” on the spool. PETG is the most forgiving starting point, but the same logic applies to PLA, PVB, and other transparent 3d printer filament options: reduce the number of places where light has to cross a defect or boundary. [6]
Moisture control is just as important as geometry. Bambu’s PETG Translucent TDS recommends drying at 65 °C for 8 h in a blast drying oven and keeping printing and storage humidity below 20% RH, but those are brand-specific values, not universal numbers for every PETG spool. [11] The broader point is that excessive moisture can create vapor, voids, and bubbles during additive processing, which directly hurts optical clarity. [15] The practical workflow is to dry the spool according to the manufacturer’s guidance, print a geometry that minimizes internal boundaries, and then tune temperature, flow, and cooling for good fusion without overheating the material. [11] [15] Do not confuse a printer’s maximum advertised speed with the slower speed that may optimize clarity. [8] [11]
- Dry the spool using the manufacturer’s temperature and time guidance.
- Choose thin-wall geometry where possible.
- Reduce internal interfaces with vase mode or fewer perimeters when the part allows it.
- Tune temperature and flow for fusion, while avoiding bubbles or yellowing.
- Keep cooling controlled, since less fan often helps clarity but still depends on the material.
- Plan post-processing early, because it mostly improves surfaces rather than internal structure.
Once those basics are handled, slicer settings determine how much extra haze you introduce, and post-processing determines how much of the remaining surface haze you can hide. [6] [8] [13]
Slicer settings that matter most
The settings that make a print finish successfully are not always the settings that make it look clear. For clarity, it helps to separate two evidence types: manufacturer starting points and measured study results. The first gives you a usable setup. The second gives you a scoped optical result under one test method. [8] [10]
Single-wall / vase-mode shells vs multi-wall “solid” parts
Vase mode is usually the clearest-looking shell strategy because it reduces internal interfaces. Prusa’s PVB guidance is unusually explicit here: for transparent parts that require IPA smoothing, print with a larger nozzle diameter, specifically 0.8 mm, and use spiral vase mode. [12] Prusa also warns that printing with more perimeters will make layers visible even after IPA smoothing. [12] That lesson applies beyond PVB. A single continuous wall gives light fewer boundaries to cross, and it can also reduce stop-start artifacts such as seam marks. UltiMaker makes a similar point through its “0% or 100%” infill recommendation and its explanation of why hollow single-line walls can be clearer than internally structured parts. [6]
Multi-wall parts are usually stronger and more functional, but they pay for that strength with more haze. Each extra perimeter adds another bead boundary, another interface, and another chance for seams or overlaps to show. That is why a vase-mode lampshade can look impressively clear while a thick “solid” print from the same spool still looks cloudy. [12] [6]
The “clarity knobs” (temperature, flow, line width, speed, cooling)
Manufacturer starting points show a clear pattern. ColorFabb’s transparency-oriented guide uses a 0.8 mm nozzle, 0.1 mm layer height, 20 mm/s print speed, 100% infill, no cooling, and a hotend temperature of at least 260 °C. [8] Bambu’s PETG Translucent TDS gives a broader printability range: nozzle 230–270 °C, bed 65–75 °C, fan 0–60%, and speed below 220 mm/s. [11] Manufacturer ranges describe printability; clarity usually requires slower or more controlled settings. [8] [11]
The strongest measured PETG anchor in this brief points in the same general direction but should not be treated as a universal recipe. The BioResources study measured light transmittance with a UV-visible spectrophotometer, and the journal page identifies a reference combination of 0.2 mm layer height, 110% extrusion rate, and 40 mm/s printing speed as the best-performing setup within that experiment. [10] [9] That is useful because it is measured, not just suggested, but it is still limited to that specimen geometry and test setup. [9] [10]
The practical takeaway is to test temperature, flow, speed, cooling, and wall strategy as a set. The best clear-looking result often comes from slower, hotter, better-fused extrusion, but not so hot that you create yellowing or bubbles. [8] [11]
Post-processing: what it fixes and what it can’t
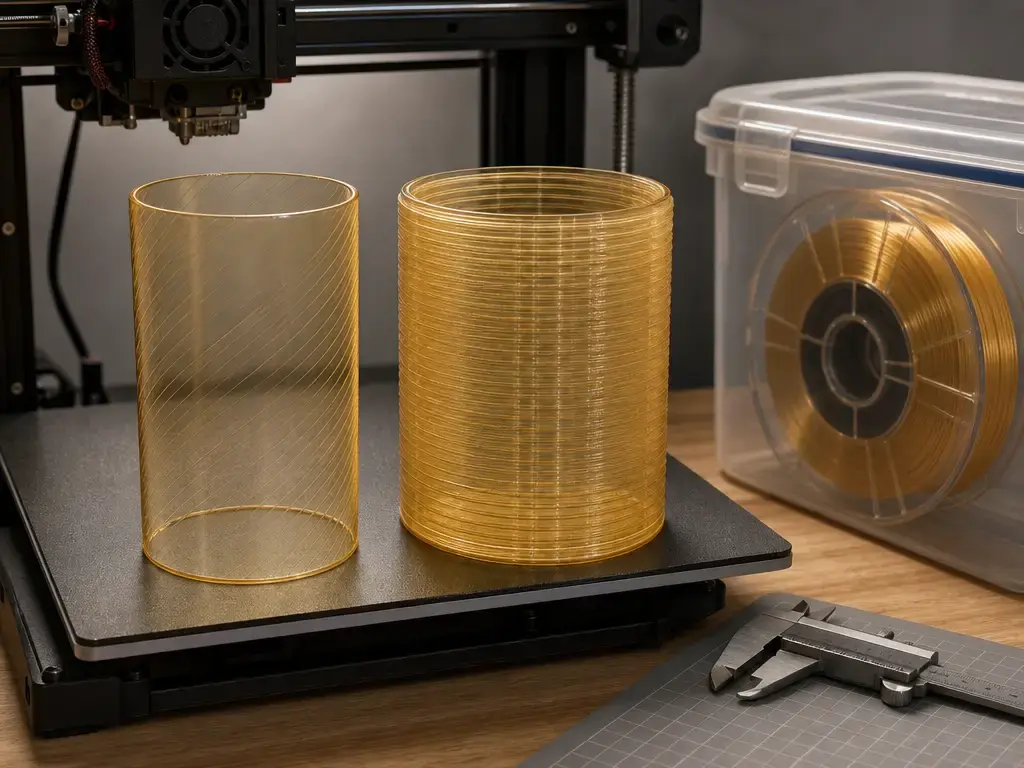
Sanding, polishing, and clear coat mainly improve surface optics. They reduce surface roughness, soften the appearance of layer lines, and can make the way light enters and exits the part look cleaner. UltiMaker specifically discusses sanding, polishing, and clear coating as ways to improve transparency by smoothing the outside of the print. [6] But these methods do not erase internal bead boundaries, seam planes, or trapped voids inside the wall. A polished cloudy print is still cloudy inside. [6]
PVB is the clearest example of post-processing changing the visual result. Prusa’s knowledge base says the main advantage of PVB is the possibility of IPA smoothing, and its separate smoothing article says PVB can be smoothed with isopropyl alcohol while noting that vapor smoothing can take hours. [12] [13] That is why PVB works best in thin shells and vase-mode parts: the smoother surface is visible and there are fewer internal interfaces left to betray the print. [12] Safety still matters, though. Use ventilation, keep flammability in mind, and allow for handling time. [13]
Do not treat aggressive solvents as casual hobby shortcuts. Dichloromethane is not recommended as a hobby method. The hard limit remains the same: post-processing can improve surface clarity, but it cannot turn a bead-built part into a cast optical element. [6] [12]
Performance metrics: how to judge a clear print at home vs in a lab
A quick home comparison can tell you which sample looks clearer. It cannot tell you its haze or total luminous transmittance value. [2] [3]
For home testing, keep the method boring and repeatable. Compare coupons of the same thickness. Try reading printed text through the wall at a fixed distance. Compare samples over the same backlight. Photograph them only as a record of the comparison, with the same lighting and camera position each time. Those checks are useful for ranking your own settings, but they are still non-standard appearance tests, not optical measurements.
In lab language, ASTM D1003 is the relevant haze and luminous transmittance framework in this source set. [2] ISO 13468-1:2019 is specifically about total luminous transmittance of planar transparent plastics and normally applies to specimens not exceeding 10 mm in thickness, which is why standard optical work often uses flat coupons instead of complete printed parts. [3] ISO 26723:2020 broadens the framing to total luminous transmittance and reflectance for clear, translucent, or opaque plastics. [4] The important limitation is access: this article cites official landing pages for framework and scope, not procedural steps, unless full text is available. [2] [3] [4] So you can use these standards to frame terminology and test intent, but not to claim you have performed a standards-compliant measurement unless you actually have the method and the right setup. [2] [3]
Applications where clear filament works
Clear-looking FFF parts work best where you want light passage or visual access, not optical precision. Good low-stakes examples include LED diffusers and covers, non-safety-critical visibility windows in enclosures, educational flow or section models, decorative lampshades and vases, and product appearance prototypes. UltiMaker’s PETG guidance supports the functional-looking side of this use, while Prusa’s PVB guidance clearly pushes that material toward design objects rather than mechanical parts. [6] [12] Treat all of these as visual or prototyping uses unless the actual requirement has been separately tested. [6] [12]
Limitations and failure modes
Thickness is the enemy of clarity. ISO 13468-1 is framed around planar transparent specimens, generally up to 10 mm thick, which already hints at why thick, curved, support-heavy printed parts are a different optical case from flat coupons. [3] Add the geometry effect from the light-distribution paper, and the conclusion is simple: as wall thickness, internal complexity, and path length increase, haze usually rises and view clarity usually falls. [14]
The common failure modes are straightforward. Moisture can create bubbles and voids. [15] Too much heat can produce yellowing or tiny bubbles, which ColorFabb explicitly warns about in its transparency guide. [8] Too little heat can leave under-fused white stripes. [8] High speed can leave a more matte-looking part, rough supports can scar surfaces, seam zits remain visible in clear walls, and stringing or contact damage can ruin what would otherwise be a decent transparency test piece. [6] [8] For those reasons, transparent 3D prints are a poor fit for lenses, safety windows, pressure windows, food contact claims, or medical uses unless separate standards-based validation exists for the exact application. Post-processing helps surface appearance, but it does not remove hidden internal interfaces or support scars already built into the part. [3] [14] [15]
Research and market context
The strongest measured evidence in this brief is for PETG, not PLA or PVB. The 2024 BioResources work studied the effect of slicing parameters on PETG light transmittance and states that the measurements were made with a UV-visible spectrophotometer. [10] The journal page also reports a best-performing combination of 0.2 mm layer height, 110% extrusion rate, and 40 mm/s printing speed within that experiment. [10] That makes the study useful as a measured anchor rather than just another settings blog. At the same time, it remains one geometry, one printer setup, and one experimental design, so it should be read as a scope-limited result rather than a universal recipe for every transparent PETG filament. [9] [10]
The market remains messier than the measurement language. UltiMaker says the industry still commonly labels translucent filament and resin as transparent. [6] For PLA transparency in particular, no reliable figure found for a full-method measured comparison in this brief. [6]
Practical guidance
-
PETG: Pick this when you want the most practical clear 3d printer filament for translucent, functional-looking parts in ordinary FFF use. UltiMaker calls it the best bet for translucent prints without post-processing. [6] You give up true optical clarity, but you get the strongest starting point for thin covers, shells, and visibility parts. [6]
-
PVB: Pick this for decorative thin shells when you are willing to use IPA smoothing and design around vase mode. Prusa says it is not suitable for mechanical parts and centers its transparency guidance on a larger nozzle and spiral vase mode. [12] [13] You give up structural use and a simpler workflow. [12]
-
PLA: Pick this when you want easy printing and can accept frosted or diffusing results. Transparent PLA exists as a marketed variant, but UltiMaker says it is difficult to get clear prints with, and UltiMaker’s PLA TDS shows “PLA Transparant” as a normal product color entry rather than a separate optical class. [6] [7]
The buying logic is use-case based, not brand based: PETG for practical visibility, PVB for smoothed design shells, and PLA for simple light-passing parts. [6] [12] [13]
Conclusion: which filament prints most transparent?
For most people asking about clear 3d printer filament in FFF, PETG is the practical first answer. [6]
The fuller answer is conditional. PETG is the best practical starting point for thin functional walls and shells that need to look clearer straight off the printer. PVB can look clearer still in the right thin-shell, vase-mode, IPA-smoothed workflow, but it is a design-object material rather than a mechanical one. PLA is the easiest everyday material and stays useful for diffusers, but it usually prints with a frosted look. That verdict follows the framework used throughout this article: material, geometry, internal interfaces, and finishing matter more than the spool label alone. [6] [12] [13]
FAQ
Which clear 3d printer filament prints most transparent?
In typical FFF use, PETG is the best practical starting point for the clearest as-printed result. UltiMaker describes it as the best bet for translucent prints without post-processing. PVB can look clearer in thin shells after IPA smoothing, but that is a narrower decorative workflow rather than a general-purpose answer. [6] [12] [13]
Why does clear filament print white/cloudy?
Because the printed wall is full of light-scattering interfaces: layer lines, bead boundaries, seams, small gaps, and sometimes bubbles or voids from moisture. Even a clear base polymer can look milky once it has been built road by road, especially in thicker parts or more complex geometry. [6] [14] [15]
How do I get transparent 3D prints with PETG?
Start with dry PETG, thin-wall geometry, and controlled settings rather than maximum speed. Bambu’s PETG Translucent sheet gives a brand-specific drying example of 65 °C for 8 h, and the measured PETG study in this brief points to 0.2 mm layer height, 110% extrusion rate, and 40 mm/s as a strong experiment-specific reference point. [11] [10] [9]
Does 100% infill make transparent 3D prints clear?
No. UltiMaker is right that 100% infill can be better than intermediate infill for clear parts, but it still leaves perimeter-infill boundaries, bead necks, seam planes, and imperfect fusion between roads. A fully filled part is still an optically interrupted structure, not a cast lens blank. [6] [14]
Is transparent PETG filament clearer than clear PLA filament?
Usually yes, in practice. UltiMaker says transparent PLA exists but is difficult to print clear, while PETG is the better general route to translucent prints without post-processing. PLA still has a place for diffusers and light-passing parts, but PETG is usually the better choice when clarity matters. [6] [7]
Can PVB filament print glass-like parts?
Only in a limited, decorative sense. Prusa recommends a larger nozzle and spiral vase mode for transparent PVB parts that will be IPA smoothed, and it warns that more perimeters remain visible even after smoothing. Prusa also says PVB is not suitable for mechanical parts, so treat it as a shell and finish material, not as structural clear plastic. [12] [13]
(Expert) How can haze and luminous transmittance be measured, and why don’t photos count as a measurement?
ASTM D1003 provides the haze and luminous transmittance framework, while ISO 13468-1 and ISO 26723 provide total luminous transmittance and reflectance context. ISO 13468-1 is framed around planar transparent specimens, usually up to 10 mm thick, which is why flat coupons matter. Photos are appearance records, not calibrated measurements. [2] [3] [4]
Sources
- ISO/ASTM 52900:2021, Additive manufacturing — General principles — Fundamentals and vocabulary. https://www.iso.org/standard/74514.html?browse=tc
- ASTM D1003 store listing, Standard Test Method for Haze and Luminous Transmittance of Transparent Plastics. https://store.astm.org/d1003-92.html
- ISO 13468-1:2019, Plastics — Determination of the total luminous transmittance of transparent materials. https://www.iso.org/standard/77312.html
- ISO 26723:2020, Plastics — Determination of total luminous transmittance and reflectance. https://www.iso.org/standard/70764.html
- Standards, Quality Control, and Measurement Sciences in Additive Manufacturing. https://pmc.ncbi.nlm.nih.gov/articles/PMC7986506/
- UltiMaker, How to 3D print clear plastic parts. https://ultimaker.com/learn/how-to-3d-print-clear-plastic-parts/
- UltiMaker PLA TDS PDF. https://um-support-files.ultimaker.com/materials/2.85mm/tds/PLA/Ultimaker-PLA-TDS-v5.00.pdf
- ColorFabb, How to 3D print with a high level of transparency. https://support.colorfabb.com/hc/en-150/articles/360003024697-How-to-3D-print-with-a-high-level-of-transparency
- BioResources PETG paper PDF, Effect of slicing parameters on the light transmittance of 3D printed PETG products. https://bioresources.cnr.ncsu.edu/wp-content/uploads/2023/11/BioRes_19_1_500_Wang_J_Effect_Slicing_Param_Light_FDM_3D_Printed_PETG_23056.pdf
- BioResources journal page, Effect of slicing parameters on the light transmittance of 3D-printed polyethylene terephthalate glycol products. https://bioresources.cnr.ncsu.edu/resources/effect-of-slicing-parameters-on-the-light-transmittance-of-3d-printed-polyethylene-terephthalate-glycol-products/
- Bambu, PETG Translucent Technical Data Sheet. https://store.bblcdn.com/s6/default/1331c568c30c46c89ec1e8fdfe50aec7/Bambu_PETG_Translucent_Technical_Data_Sheet.pdf
- Prusa Knowledge Base, PVB. https://help.prusa3d.com/article/pvb_196708
- Prusa Blog, Improve your 3D prints with chemical smoothing. https://blog.prusa3d.com/improve-your-3d-prints-with-chemical-smoothing_36268/
- Light Distribution in 3D-Printed Thermoplastics. https://pmc.ncbi.nlm.nih.gov/articles/PMC10726176/
- Review of additive manufacturing with moisture-absorbing polymers. https://pmc.ncbi.nlm.nih.gov/articles/PMC11084188/