
Summary
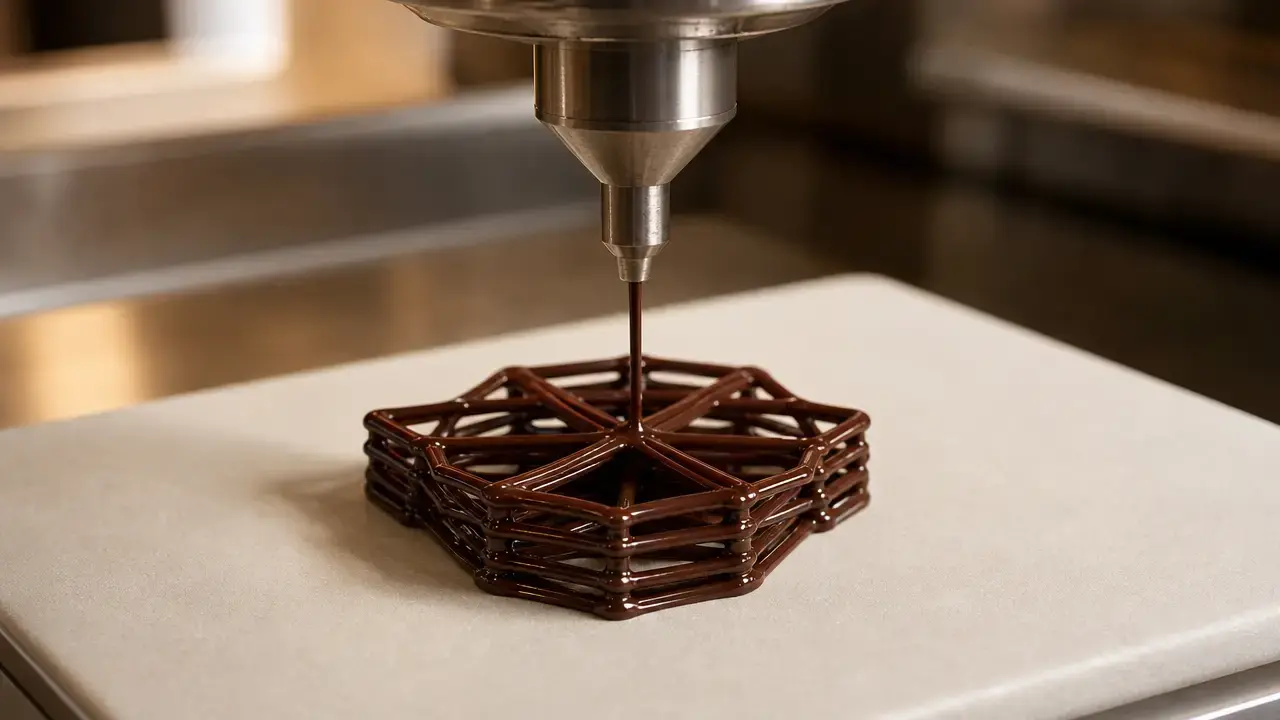
3d printed edible food is food shaped through a digitally controlled additive process that deposits a prepared edible formulation in successive paths or layers to build a three-dimensional form. A food 3D printer can customize geometry, portions, surface patterns, and internal arrangements, but it does not create ingredients from nothing. Additive manufacturing is broadly defined by the successive addition of material from digital model data; food printing adds constraints involving ingredient behavior, hygiene, and finishing steps. [1]
Edibility alone does not establish a food-safe workflow. Ingredient handling, food-contact surfaces, cleaning, allergen separation, post-processing, and storage remain relevant. The FDA Food Code is a model framework for retail and food service, not an automatically binding nationwide rule. [2] Food-contact substance principles also do not amount to approval of an assembled printer or its complete workflow. [3]
Origins and Why Food Printing Is Technically Distinct
A documented early example appeared in 2007 Fab@Home-era research on syringe-based deposition. The work tested edible candidates including cake frosting, chocolate, processed cheese, and peanut butter, and described development of a temperature-controlled syringe tool for chocolate. [6] ISO/ASTM 52900:2021, published in November 2021 and reviewed and confirmed in 2025, provides a later general vocabulary baseline for additive manufacturing; it is not an origin story for food printing. [1] Food is technically distinct because a formulation must move through its delivery system, form a stable strand or layer, remain hygienically manageable, and often withstand setting, cooking, chilling, or drying after deposition. [9] [15]
What Is 3D Printed Edible Food?
3D printed edible food is digitally controlled additive shaping of edible formulations: material is placed in programmed amounts to build a three-dimensional form from a digital design. [1] It shapes and assembles ingredients rather than creating a new kind of ingredient.
A digital model is converted into a toolpath, the planned route followed by a nozzle or other deposition device. Deposition is the placement of material along that route, usually in layers. Edible ink is a practical umbrella term for a printable edible formulation, which may be a paste, gel, emulsion, or molten confectionery rather than a low-viscosity liquid used in inkjet printing. [9] The typical sequence is model, toolpath, deposition, setting, and, where needed, post-processing: treatment after printing that gives the item its intended structure or serving condition. [15]
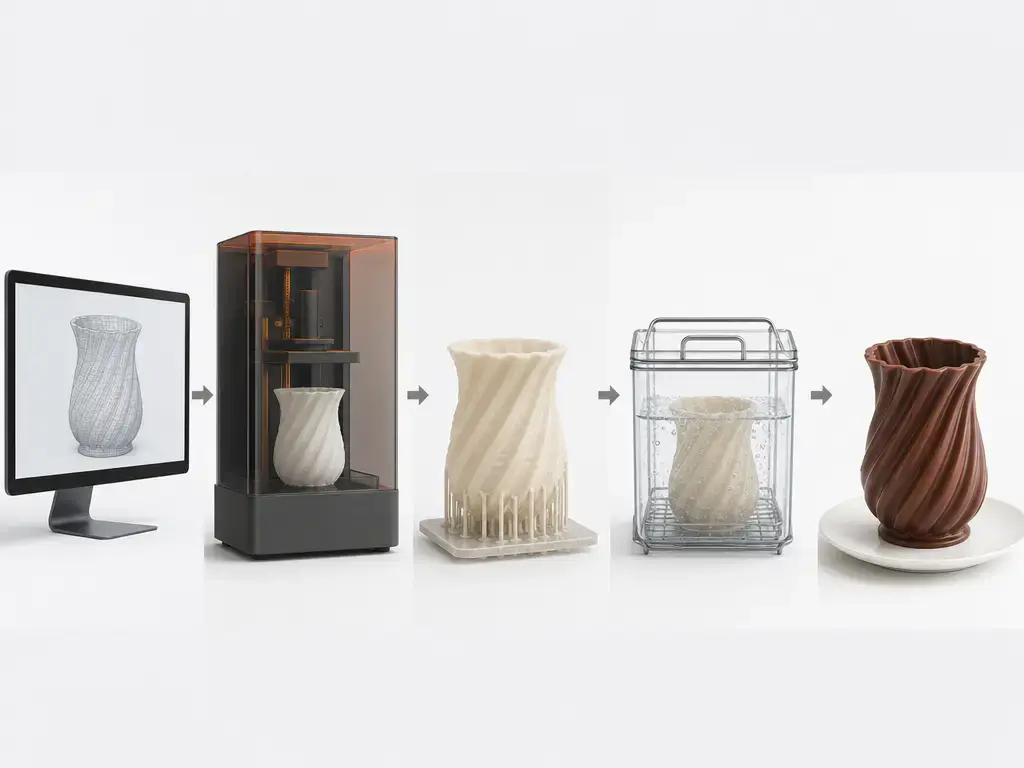
Hand piping is not normally 3D food printing unless motion is digitally directed from a model. Printing a plastic mold and filling it with food is also not edible additive fabrication. SLA, MSLA, and DLP resin printing are outside this topic because photopolymer resin workflows are not edible-food fabrication. [1]
3D Food Printing Materials and “Edible Ink”
Printable materials include chocolate and other confectionery, fruit or vegetable purées, doughs, gels, protein–starch systems, and powders used in binder-jetting or powder-bed sintering contexts. [8] Gel-forming families include gelatin, alginate, pectin, carrageenan, agar, starch-based gels, gellan, cellulose derivatives, xanthan/konjac blends, protein–polysaccharide composites, and emulsion gels. [9] These are material families, not plug-and-play recipes: compatibility depends on formulation, delivery method, geometry, and the route used to set the food. [9]
The governing behavior is rheology, or how a material flows and deforms. Viscosity is resistance to flow; excessive viscosity can obstruct delivery, while too little can cause spreading. Shear-thinning means a formulation becomes easier to move under nozzle shear. Yield stress is the stress needed to initiate flow and can help a deposited strand resist collapse. Viscoelastic recovery describes the return of structure after deformation, while thixotropy is time-dependent structural change under shear and rebuilding at rest. [9] Many animal-derived materials, including meat, milk, and egg-based ingredients, are not inherently printable and often need pre-processing, post-processing, or additives to modify their rheology. [10]
What a printable food formulation typically needs
- Sufficient extrudability to pass through the selected nozzle or delivery system without persistent blockage. [9]
- A suitable flow response, often including shear-thinning, so material moves during deposition without becoming uncontrollably fluid. [9]
- Enough post-deposition self-support to limit spreading, sagging, collapse, and loss of corner sharpness. [9]
- Consistent particle size, moisture, temperature, and phase behavior during printing. [9]
- A setting, cooking, chilling, drying, or other stabilization route appropriate to the intended final food. [15]
Food 3D Printer Technology: Main Process Types
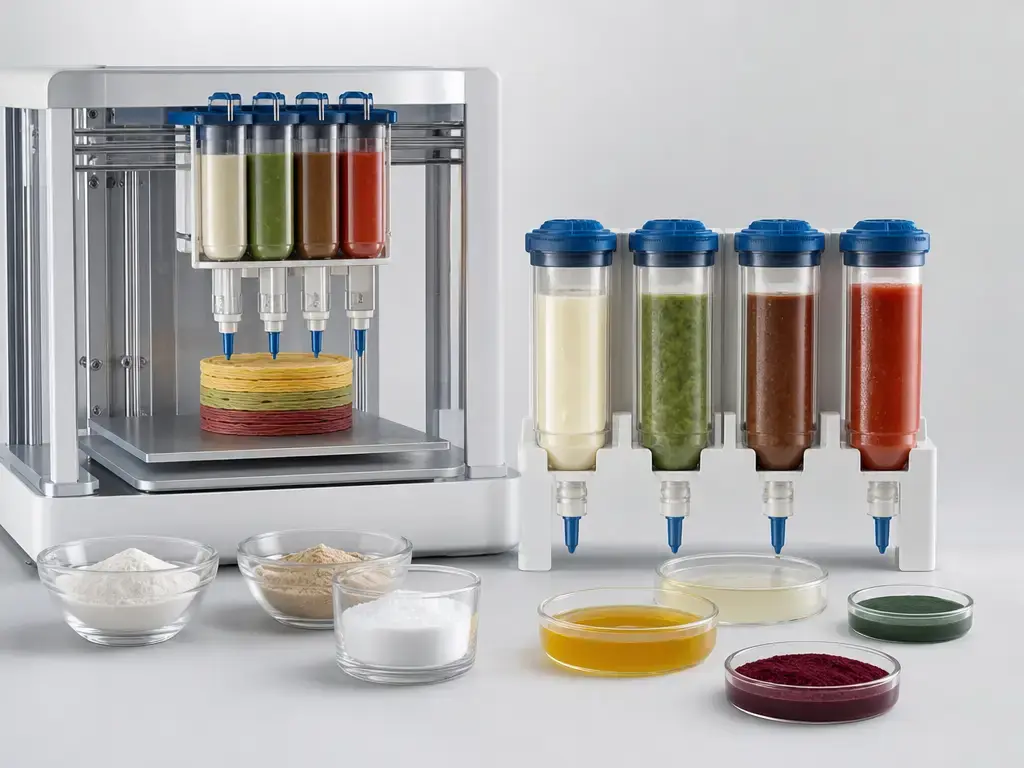
Food-printing literature commonly groups techniques into four major categories: extrusion, inkjet or droplet-based printing, binder jetting, and powder-bed sintering using selective laser sintering or hot-air sintering. [8] Extrusion can use screw-based, pressure-based, or syringe-based architectures. [7] Selective laser sintering (SLS) of sugar/starch powders, and hot-air sintering (HAS) where applicable, are powder-bed processes. [7] [8] This is not “laser cooking.”
Main food-printing process types
| Process type | Typical material state | How the shape is built | Main constraint |
|---|---|---|---|
| Extrusion-based (paste/gel/melt) | Paste, gel, dough, melt | Forced through a nozzle along a toolpath | Rheology must allow flow and rapid self-support after deposition. [9] |
| Inkjet / droplet-based | Low-viscosity edible liquid | Droplets deposited selectively | Viscosity and clogging constraints; limited solids. [8] |
| Binder jetting | Powder plus liquid binder | Binder selectively bonds powder layers | Powder handling, strength, depowdering, and moisture control. [8] |
| Powder-bed sintering (SLS / HAS) | Sugar/starch-like powders | Heat selectively fuses powder layers | Material compatibility, thermal effects including caramelization or charring risk, and equipment cost. [7] [8] |
These categories describe technical approaches, not equal levels of consumer availability or maturity. A process is suitable only within the constraints imposed by its material, required feature size, intended geometry, build-area removal, and post-processing route. [8]
The Workflow: From Model to Edible Object
The workflow begins with a CAD model or another digital shape. Slicing software divides it into layers and generates the toolpath, controlling nozzle travel, starts and stops, and deposited-material placement. [1] Geometry and formulation are linked: a thin wall, gap, overhang, or lattice may require a different nozzle, layer height, or setting approach than a simple solid form. [9]
Preparation, loading, and deposition are also coupled. Extrusion systems may use screw-based, pressure-based, or syringe-based mechanisms, each imposing different shear and flow conditions. [7] Nozzle size, temperature, flow or pressure, print speed, and layer height must be matched to the formulation rather than treated as universal defaults. In one 2025 rice protein–starch extrusion study, researchers used a print speed of 3,200 mm/min and a 1.4 mm layer height while testing 0.8 mm, 1.5 mm, and 2.5 mm nozzles; 40 °C, 60 °C, and 80 °C; and several flow rates. [11] The study reported its best printability at 60 °C, with a 1.5 mm nozzle and 6.3 mL/min, for a formulation containing 17.5% rice protein and 15% starch. [11] These were experimental conditions for one apparatus and formulation, not general setup advice. [11]
After deposition, the object may need to set or undergo drying, freezing, boiling, baking, steaming, or another finishing route. [15] Some chocolate, cheese, and sugar applications may not need cooking-type treatment, but geometry can still change during finishing. [15]
From digital model to edible object
- Create or obtain the CAD model for the intended portion and geometry.
- Slice the model and generate a toolpath for the selected machine and delivery system.
- Prepare the edible formulation for its intended material behavior and handling conditions.
- Load the formulation into the cartridge, syringe, pressure-fed reservoir, or screw-based extruder.
- Deposit successive layers while controlling formulation-specific process variables.
- Set and post-process the item through chilling, drying, baking, cooking, or another applicable route. [15]
- Handle, package, and store the finished food within boundaries appropriate to that food and operation. [2]
Print Quality and Measurement
Print quality requires defined measurements. Accuracy is agreement between the printed object and the CAD target. Precision, or repeatability, is agreement among repeated prints made under controlled conditions. Practical resolution is the smallest feature consistently reproduced, not the nozzle diameter. Shape fidelity concerns how well deposited geometry retains its intended form before and after setting or post-processing. Texture is separate from visual geometry and concerns internal structure and eating response. [13]
CAD-to-print comparison is the basis for assessing fabrication accuracy and shape fidelity, using manual measurements or automated image-based approaches. [13] Rheology can alter strand width, spreading, corner retention, layer bonding, void formation, and collapse after deposition. [9] Temperature history, die swell or spreading, and shrinkage or deformation during post-processing can further shift dimensions. [9] [15] The rice protein–starch study illustrates the broader principle: geometric outcomes should be compared with the model under reported formulation and process conditions, rather than treated as intrinsic printer specifications. [11]
Print metric → how you’d measure it (food context)
| Metric | Minimal test method | Common misread or pitfall |
|---|---|---|
| Resolution | Compare the smallest repeated wall, gap, corner, or strand feature that survives setting with the intended CAD feature. | Treating nozzle diameter as the achievable resolution. |
| Accuracy | Compare CAD dimensions with measured dimensions, stating whether measurement occurred before or after setting or post-processing. [13] | Reporting only an attractive photograph or one dimension. |
| Precision/repeatability | Print N ≥ 3 specimens under controlled conditions and report variation among them. [13] | Calling one successful print “precise.” |
| Shape fidelity | Record collapse, spread, sag, corner loss, or deformation before and after setting or post-processing. [13] | Measuring immediately after deposition and ignoring later change. |
| Texture | Use a named mechanical or sensory method only when the method and conditions are reported. | Equating geometric detail with mouthfeel or structural texture. |
Useful comparisons report the formulation, test geometry, process conditions, measurement timing, and post-processing state rather than a single promotional resolution figure. [11] [13]
3D Printed Chocolate Desserts and Other Applications
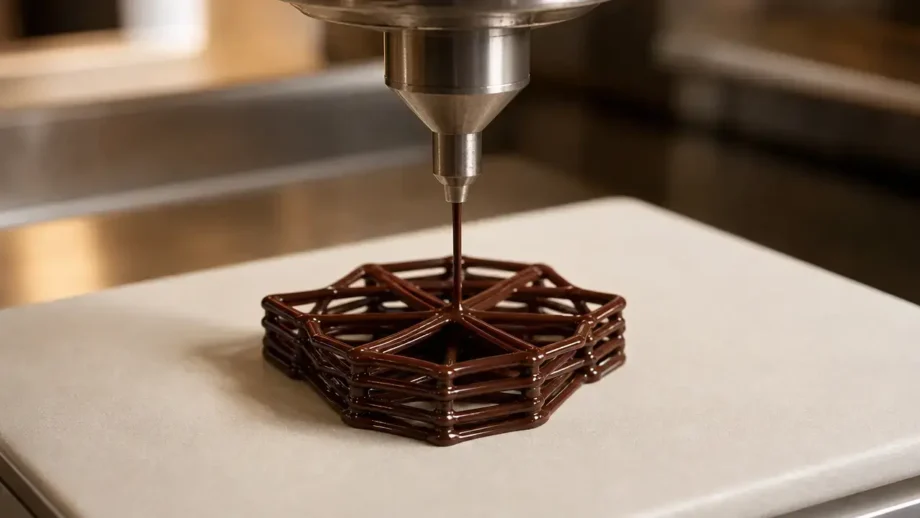
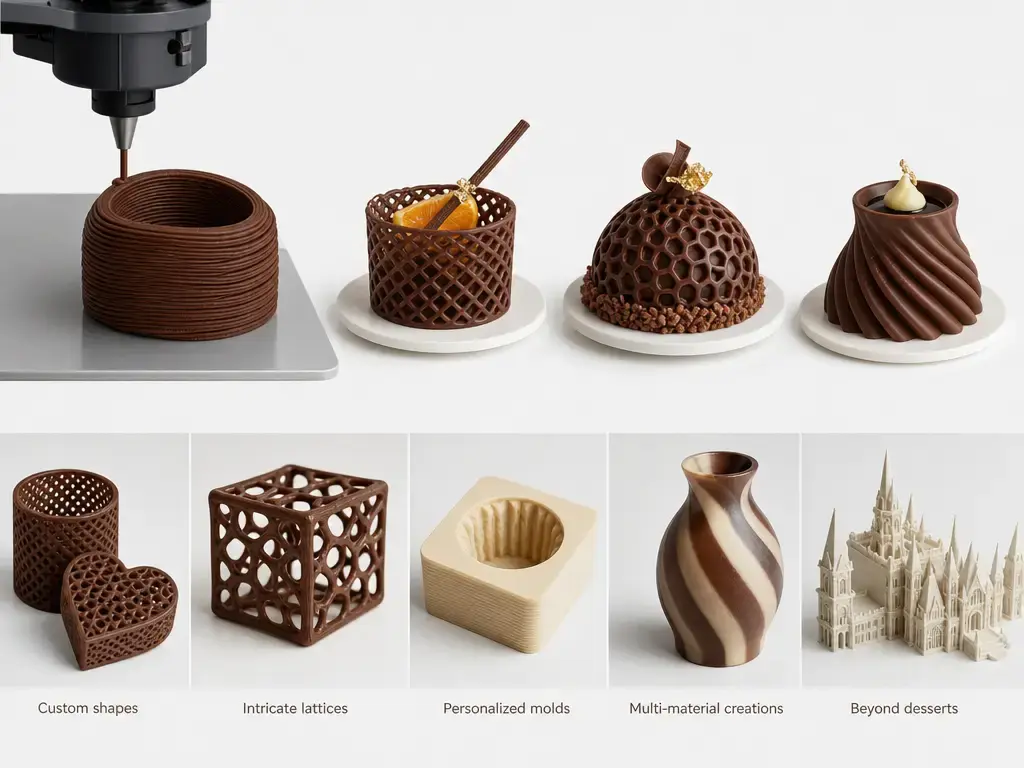
Established and visible use cases: Decorative chocolate elements, lettering, and lattice forms are intuitive examples because warm chocolate can be deposited and then set into a designed geometry. Chocolate is temperature-sensitive, and its crystallization and setting behavior make thermal control important, but performance remains formulation- and device-dependent. [12] In one white-chocolate-plus-oleogel study, the HPMC group showed viscosity recovery above 80%, while MAG/SE groups were below 80%; bridging reached 10 mm under the study’s stated additive conditions. [12] Cocoa Press 2.1, for example, has a manufacturer-claimed print volume of 135 × 135 × 150 mm, 0.8 mm and 1.6 mm nozzles, claimed heater accuracy of ±0.1 °C, and a stated 65 g cocoa-core limitation for wide or tall prints. [16] Technical demonstrations: Texture-modified forms and portion-control prototypes show how deposition can arrange material in controlled shapes, but do not establish clinical or nutritional outcomes by themselves. [8] Research directions: Multi-material deposition and monitoring or control remain research areas rather than universal machine capabilities. [14] Cocoa Press documentation gives separate environmental and storage guidance on different pages, including 60–75 °F and below 65% RH on its Food Safety page, 60–75 °F and under 60% humidity on its Temperature and Tempering page, and room humidity under 50% in its FAQs. These are separate manufacturer recommendations, not a general rule. [17] [18] [19]
Food Safety, Hygiene, and Practical Limits
“Food-grade,” “food-contact,” and “food-safe workflow” are not interchangeable terms. Food-contact suitability concerns materials and components intended to touch food under their conditions of use. The FDA explains that a food-contact substance that is a food additive must be authorized before U.S. marketing. [3] That principle does not mean the FDA approves a complete printer or validates its assembled workflow. A food-safe workflow also includes ingredient handling, equipment design, cleaning, allergen management, post-processing, and storage. [2]
Home: Home experimentation carries uncertainty around residue traps, inaccessible passages, shared tools, and the practical ability to clean food-contact parts. A dedicated machine and adherence to manufacturer documentation may reduce avoidable mismatches, but do not establish that a setup is universally safe. Retail and food service: The FDA Food Code 2026 is a model for retail and food service, not automatically binding law everywhere. [2] It states that equipment food-contact surfaces and utensils must be clean to sight and touch. [2] It also defines allergen cross-contact as the unintentional introduction of a major food allergen not intended as an ingredient. [2] Annex guidance explains why food-contact surfaces used with time/temperature control for safety foods must be cleaned no less than every four hours, subject to stated contextual exceptions; this is model-code guidance, not a universal household rule. [2] Manufacturing: Under 21 CFR § 117.40, equipment and utensils must be designed to be adequately cleanable and maintained to protect against allergen cross-contact and contamination. [4] Under 21 CFR § 117.35, cleaning and sanitizing must protect against contamination and allergen cross-contact, with food-contact surfaces cleaned as frequently as necessary. [5]
Practical limits include low throughput for intricate shapes, formulation dependence, cleaning burden, and deformation during setting or post-processing. [15] A visually successful print does not establish that ingredients were handled correctly, hidden passages were cleaned, or the final geometry remained unchanged during cooking, chilling, drying, or storage. [2] [15]
Before calling a setup food-safe
- Ingredient suitability for intended storage and handling.
- Food-contact surface suitability, including material, corrosion resistance, and intended use. [4]
- A documented, practical cleaning and sanitation procedure for all food-contact parts, including disassembly access and residue traps. [2] [5]
- Allergen cross-contact controls for shared cartridges, nozzles, and tools. [2] [4]
- Time/temperature and post-processing controls appropriate to the food. [2]
Current Research: Monitoring, Control, and Multi‑Material Printing
Current research treats edible deposition as a process that can potentially be observed and adjusted while it is happening. Reviews describe integrated sensing, monitoring, and control approaches, including a reviewed example of real-time control of extrusion flow rate and nozzle speed during multi-material transitions. [14] Sensor- and vision-based systems may observe strand placement, layer geometry, nozzle behavior, or developing shape error, while feedback systems aim to adjust process variables before defects accumulate. [14] These are research directions, not evidence that closed-loop food printing is standard in consumer machines. [14]
Commercialization remains uneven and application-specific. The literature discusses multiple food-printing techniques and application areas, but no reliable market-size figure is provided here. [8]
What 3D Printed Edible Food Can — and Cannot — Do
3d printed edible food is most useful for geometry customization, decorative complexity, and controlled deposition experiments that test how a formulation behaves in a designed form. [9] It cannot make a difficult material printable simply because a CAD model exists: rheology still governs flow, strand formation, self-support, and geometric fidelity. [9] Hygiene remains a workflow constraint involving food-contact design, cleaning, ingredient handling, and allergen cross-contact controls. [2] Measurement and repeatability are needed to establish performance rather than infer it from appearance, while post-processing can alter dimensions, structure, and handling requirements. [13] [15]
FAQ
What is 3d printed edible food?
It is food formed through a digitally controlled additive process that deposits a prepared edible formulation in programmed paths or layers. [1] The printer shapes ingredients such as pastes, gels, doughs, or confectionery; it does not create ingredients from nothing. The item may still need setting, chilling, cooking, drying, or another post-processing stage before serving. [15]
How does a food 3D printer work, from model to toolpath to deposition?
A digital model is created or selected, then sliced into layers. Software converts those layers into a toolpath: the route, movement sequence, and material-placement instructions for the machine. [1] The printer deposits a prepared formulation along that route, building the form successively. Depending on the food, the object may then be set, cooked, chilled, dried, or otherwise post-processed. [15]
What materials are used in 3D food printing?
Materials include chocolate and other confectionery, purées, doughs, gels, protein–starch systems, and powders used with binders or powder-bed processes. [8] Their suitability depends on whether they can move through the selected delivery system and retain the intended shape afterward. Formulation work may involve controlling particle size, moisture, temperature, binders, or phase behavior. [9]
How does edible ink 3D printing work, and why “ink” often is not a liquid?
“Edible ink” is a practical term for a printable edible formulation, not necessarily a thin liquid like office-printer ink. It can be a thick paste, gel, emulsion, or molten confectionery delivered by a syringe, pressure system, or screw extruder. [9] The material must flow during deposition but recover enough structure afterward to retain its strand and layer geometry. [9]
Can you 3D print chocolate desserts at home?
Chocolate can be printed at home with equipment designed for compatible chocolate formulations, but success depends on the specific machine, material preparation, temperature behavior, nozzle condition, and cleaning access. [12] Cocoa Press documentation is one manufacturer-specific example, not proof of universal compatibility or safety. [16] Compatible machine-and-material documentation and cleanable food-contact parts matter. [3]
Is 3D printed edible food safe to eat?
It can be safe only when ingredients, food-contact surfaces, cleaning, allergen controls, time/temperature handling, post-processing, and storage are appropriate to the specific operation. [2] Home experimentation differs from retail and food-service settings, where the FDA Food Code is a model framework, and from manufacturing, where cleanable equipment and sanitation obligations apply under 21 CFR Part 117. [2] [4] Food-contact principles do not amount to approval of an entire printer or workflow. [3]
Expert: How do researchers measure accuracy versus shape fidelity in extrusion-based food printing?
Researchers assess accuracy by comparing measured print dimensions, images, or scans against the CAD target. [13] Shape fidelity examines whether strands, corners, gaps, layers, and the overall form remain intact before and after setting or post-processing. [13] Repeat prints under controlled conditions are needed to evaluate precision or repeatability, and process conditions should be reported alongside geometric comparisons. [11] [13]
Sources
The numbered sources below support the technical, regulatory, and manufacturer-scoped statements in this article.
- ISO/ASTM 52900:2021 Additive manufacturing — General principles — Fundamentals and vocabulary
- FDA Food Code 2026
- FDA: Food Packaging and Other Substances that Come into Contact with Food
- 21 CFR § 117.40 Equipment and utensils
- 21 CFR § 117.35 Sanitary operations
- Periard et al. (2007), Printing Food
- A 3D Food Printing Process for the New Normal Era: A Review
- Ehsan et al. (2025), 3D Food Printing Applications, Techniques, and Consumer Acceptance
- Qin et al. (2025), Gel-Based Edible Inks: Rheology–Geometry Mapping, and Control
- Jeon et al. (2024), 3D Printing with Animal Resources: A Review
- Nguyen et al. (2025), Rice protein–starch extrusion printing study
- Huang et al. (2023), White chocolate and oleogel 3D-printing study
- Print Fidelity Assessment for 3D Food Printed Designs Using Manual and Automated Approaches
- Seol et al. (2025), Toward Intelligent 3D Food Printing
- Mudau (2024), Three dimensional (3D)-printed foods
- Cocoa Press 2.1 3D Chocolate Printer product page
- Cocoa Press documentation: Food Safety
- Cocoa Press documentation: Temperature and Tempering
- Cocoa Press FAQs