
Summary
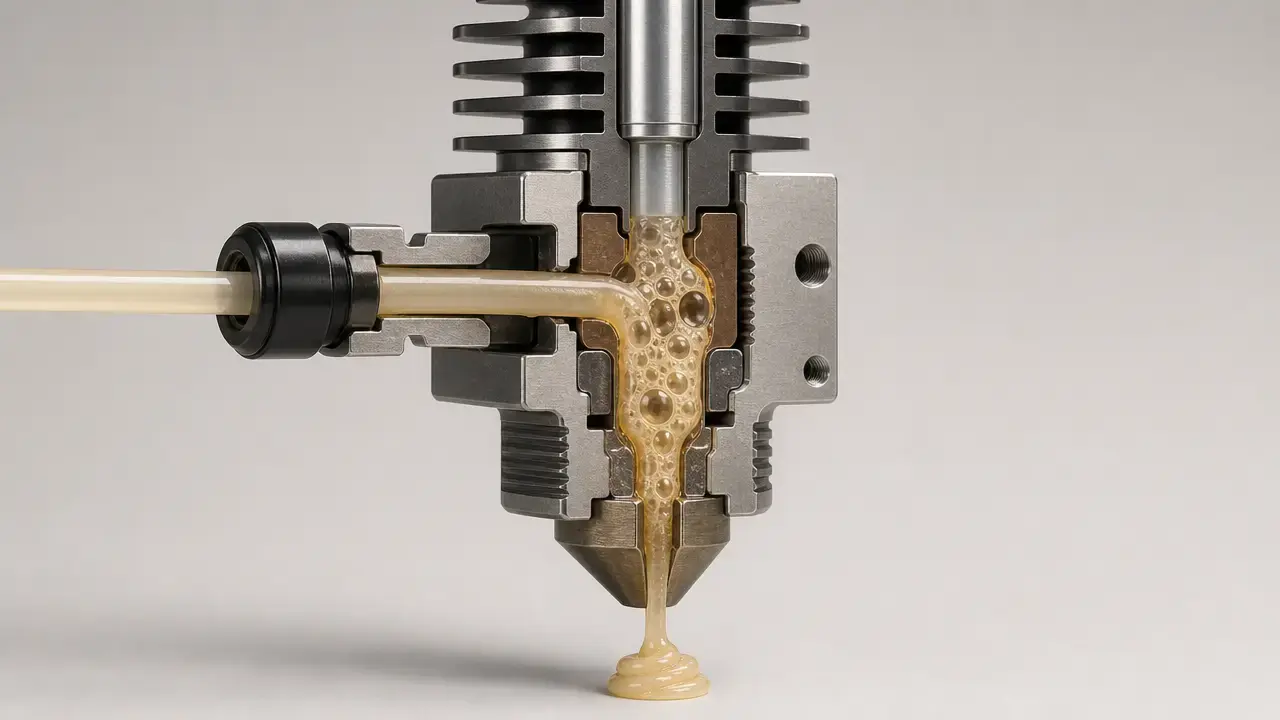
Do you need a 3D printer filament dryer? Not always. If you print mostly PLA, run short jobs, and store spools well, sealed storage with desiccant can often be enough to start. But the need rises quickly for PETG, TPU, nylon/PA, PVA/BVOH, PC, composites, humid rooms, and long prints. Wet filament commonly shows up as poor surface quality, stringing, weak layer adhesion, blobs, bubbling, or even smoke. [1]
There is no reliable universal rule such as “dry after X hours” or “dry above Y% RH.” The guidance in these sources is material-specific, brand-specific, and strongly dependent on storage, exposure time, and print conditions. In FFF polycarbonate research, absorbed water was linked to porosity as high as 11.7%, showing that moisture can create internal defects as well as visible ones. Prusa’s brand-specific drying table also spans from PLA/rPLA at 45 °C for 6 hours to PEI at 150 °C for 8 hours, so a generic dryer is not automatically a substitute for proper material handling. [2] [1]
Quick material matrix: when drying matters most
Material choice is the clearest predictor of whether filament moisture absorption will matter in daily FFF printing. A dry box helps with storage, but hygroscopic filament is managed through both storage and drying, and box RH is only an indirect indicator of how much water the spool has actually absorbed. [3]
| Material family | Moisture sensitivity | Typical vendor drying range | Common spool / packaging constraint | Print-from-dry benefit |
|---|---|---|---|---|
| PLA | Low to moderate. [1] | Prusa PLA/rPLA: 45 °C for 6 h. [1] | Usually tolerates short exposure better than engineering grades; Prusa dry-box guidance keeps PLA below 30% RH for storage. [3] | Cleaner surfaces and fewer strings on longer jobs. |
| PETG | Moderate. [1] | Prusa PETG: 55 °C for 6 h. [1] | Prusa dry-box guidance keeps PETG below 20% RH in storage. [3] | More stable extrusion and less bubbling in humid conditions. |
| TPU | Moderate to high. [1] | Prusa TPU: 60 °C for 4–6 h; UltiMaker says TPU95A can need overnight drying for 10–20 h. [1] [4] | Prusa dry-box guidance keeps TPU below 20% RH in storage. [3] | Better dimensional consistency and fewer surface defects. |
| nylon/PA | High. [4] | UltiMaker says nylon can need overnight drying for 10–20 h; Prusa lists PA11 CF at 90 °C for 6 h. [4] [1] | Store very dry and minimize exposure time. [4] | Large improvement in strength, finish, and consistency. |
| PC | High. [1] | Prusa PC Blend: 85 °C for 5 h. [1] | Prusa dry-box guidance keeps PC below 20% RH in storage; integrated stations are an example of controlled low-RH storage rather than universal drying. [3] [6] | Reduces porosity risk and print instability. |
| PVA/BVOH | Very high. [1] [3] | UltiMaker PVA: 55 °C for a few hours; BVOH: no reliable figure found, so follow the filament manufacturer. [5] [3] | Tight packaging and fast handling matter; Prusa dry-box guidance keeps both PVA and BVOH below 20% RH in storage. [3] | Major reduction in moisture-related feeding and print issues. |
| ABS/ASA | Moderate. [1] [3] | Prusa ASA: 80 °C for 4 h; ABS: no reliable figure found here, so follow the filament manufacturer. [1] | Prusa dry-box guidance suggests ABS and ASA below 30% RH in storage. [3] | Better layer consistency and fewer moisture-related artifacts. |
| Filled grades | Varies by base polymer. [1] | Prusa examples include PP CF/GF at 70 °C for 2–4 h, PA11 CF at 90 °C for 6 h, and PEI at 150 °C for 8 h. [1] | Follow the base polymer first; some storage systems are for humidity control, not full drying recovery. [6] | Can improve extrusion stability, especially in composites. |
The practical takeaway is simple: the more moisture-sensitive the material, the more a dryer or print-from-dry workflow shifts from optional to routine. But do not universalize one temperature, one RH number, or one recovery time across all brands and polymers. [1] [4] [5]
How moisture affects FFF material extrusion
In polymers, moisture uptake means water molecules move into the material, not just onto the outside of the spool. That is why plastics have formal water-absorption test methods: ISO 62:2008 and ASTM D570-22 both treat water uptake as a measurable material property under defined conditions. Those standards are useful anchors for understanding filament moisture absorption, but they are not consumer drying schedules and they do not tell you when a spool must be dried for hobby or prosumer printing. [7] [8]
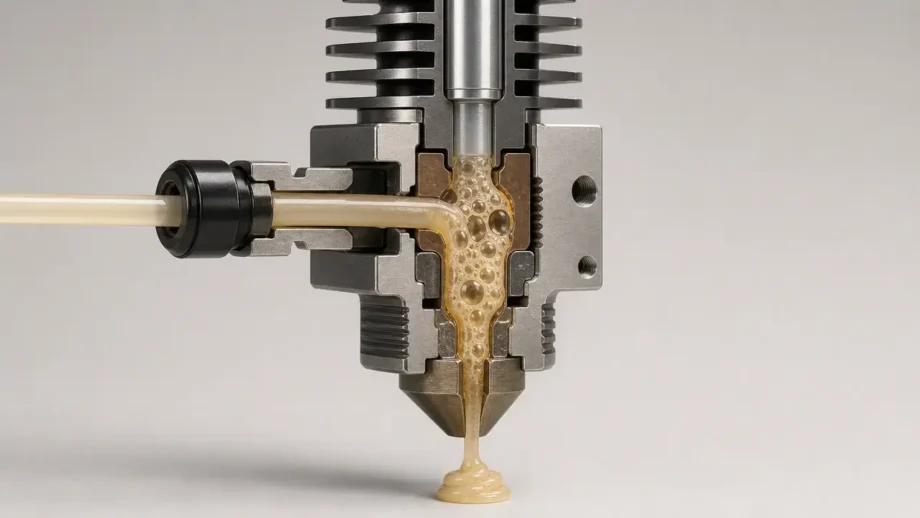
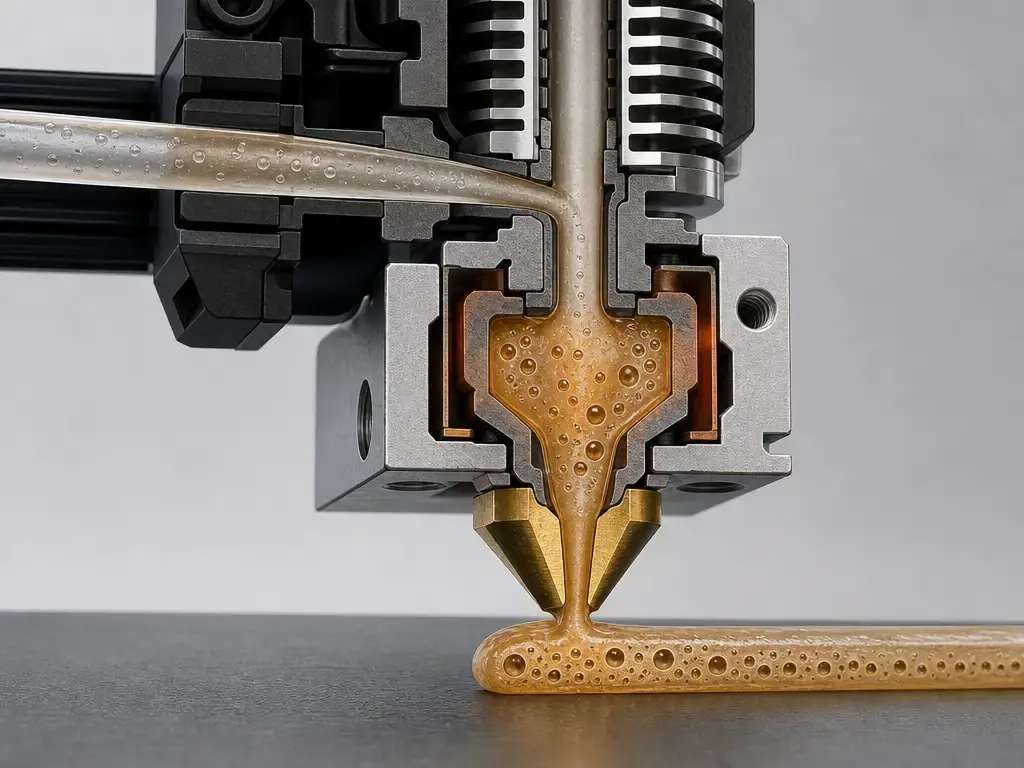
Once absorbed water reaches the hot end, it can turn to vapor, form bubbles, disturb flow, and leave voids in the extrudate. In humidity-conditioned polycarbonate work, absorbed water was linked with porosity as high as 11.7%. The same NIST work also reported a thermal gradient of up to 5.4 °C/mm in an open-chamber printer with a heated build plate, which matters because humidity and temperature effects can be intertwined in real prints. Nylon and TPU show how exposure history changes the picture: one nylon study conditioned filament at 40 °C and 80% RH and reported around 5.5 wt.% water after 72 hours, while a TPU study reported water absorption close to 2 wt.% and a 67% increase from 0–24 hours of exposure. That is why drying time should not be treated as a universal 2–4 hour rule. [2] [9] [10]
Key terms to keep separate: filament moisture content, relative humidity, drying temperature, drying time, airflow/venting, storage RH, filament brand and additives. Relative humidity is an air reading in a room or box, not a direct measurement of internal filament moisture. A low-RH box can slow re-absorption, but it does not tell you how wet the polymer is inside the strand or what drying schedule the material actually needs. [3]
Wet filament symptoms and how to confirm them
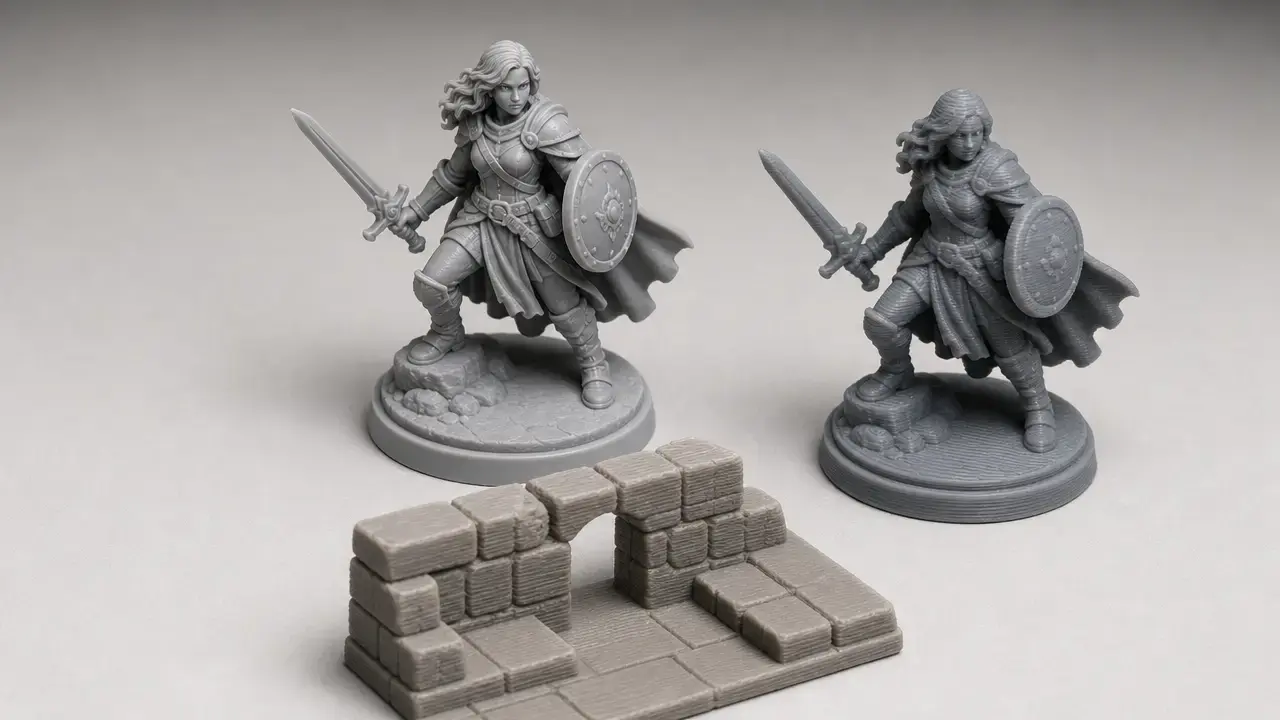
Wet filament symptoms often include popping or crackling during extrusion, bubbling or steam at the nozzle, rough surfaces, stringing, zits or blobs, weak layer adhesion, inconsistent extrusion, and sometimes brittle filament. Prusa’s troubleshooting guidance specifically lists poor surface quality, stringing, low layer adhesion, blobs, bubbling, and smoke as practical clues. But none of those symptoms proves moisture by itself, because nozzle temperature, retraction, cooling, pressure advance, extrusion calibration, worn nozzles, or filament-path issues can create similar defects. [1]
Fast diagnostic checklist
- Listen for popping/crackling while extruding.
- Extrude into air and inspect for bubbles or foaming.
- Run a stringing test with a known-dry spool.
- Dry the suspect spool using vendor-safe settings.
- Reprint the same G-code and compare.
The dry-and-retest step is the best confirmation method. If the print improves after drying, moisture was likely part of the problem; if not, keep looking. That matters because moisture can be present even when the outside surface does not look catastrophic: in polycarbonate work, absorbed water was associated with up to 11.7% porosity. Nylon and TPU can also change quickly with exposure history, so a fresh comparison print tells you more than symptom-spotting alone. [2] [9] [10]
Do you need a 3D printer filament dryer?
Usually not as a first purchase for PLA-only printing in a dry room with short jobs and disciplined storage. Much more often, yes, if you print PETG, TPU, nylon/PA, PVA/BVOH, PC, composites, or long multi-hour jobs where a failed part is expensive. Brand-specific schedules already show the spread: Prusa lists PLA/rPLA at 45 °C for 6 h, PETG at 55 °C for 6 h, TPU at 60 °C for 4–6 h, ASA at 80 °C for 4 h, PC Blend at 85 °C for 5 h, and PA11 CF at 90 °C for 6 h. [1]
- PLA-only, low-humidity room, short prints → storage-first. [1] [3]
- PETG / TPU → dryer helpful. [1] [3] [4]
- Nylon / PVA / PC / composites → dryer or print-from-dry workflow. [1] [4] [5]
- Long multi-tool / multi-material jobs → dryer strongly recommended. Prusa says the Original Prusa XL keeps idle tools at 70 °C by default and recommends drying filament before printing on that machine. [1]
The real variables are material, ambient humidity, print duration, failure cost, and how well you already store spools. A dry box can help maintain low storage RH, but it is not the same decision as recovery drying for a spool that has already absorbed moisture. Some sensitive materials also need long recovery windows: UltiMaker says nylon, PVA, and TPU95A can be dried overnight for 10–20 hours. [3] [4]
| User situation | Dryer need | Storage need | Reason |
|---|---|---|---|
| PLA, short prints, dry room | Low | Moderate | PLA is often manageable with good storage and limited exposure. [1] [3] |
| PETG or TPU, regular use | Medium to high | High | These materials benefit more from drying before printing and lower-RH storage. [1] [3] [4] |
| Nylon, PVA, PC, composites | High | Very high | These are more moisture-sensitive and often need active drying plus sealed storage. [1] [4] [5] |
| Long jobs or expensive parts | High | High | Failure cost rises with print time, and warm idle periods make moisture more visible. [1] |
| Occasional printing, good habits | Low to medium | High | A well-managed storage setup can be enough when the spool is not left exposed. [3] |
| Multi-tool or idle-hot printers | High | High | Heated idle tools increase the chance that absorbed moisture will show up during the job. [1] |
A dry box mainly helps keep already-conditioned filament in a lower-RH environment, and integrated stations extend that idea to multiple spools. The UltiMaker S5 Material Station, for example, stores up to six spools and keeps RH under 40% while powered. That is useful storage control, but it does not eliminate the need for active drying when a hygroscopic spool is already wet or when the material schedule exceeds what your hardware can safely do. For many PETG, TPU, nylon, PVA, PC, and long-job users, the answer to “Do you need a 3D printer filament dryer?” is yes. [6] [1]
Safe drying workflow and spool compatibility
Use the filament manufacturer’s guidance first, then move the spool straight back into sealed storage or print from a controlled enclosure. A heated chamber only helps if humid air can escape or the system is designed to manage that moisture; otherwise you are mostly warming damp air around the spool. UltiMaker’s nylon guidance is a good reminder that some materials need patience, not just heat: nylon, PVA, and TPU95A may need 10–20 hours. PVA handling is also unusually strict, with UltiMaker recommending storage at 0–30 °C and below 50% RH. [4] [5]
- Verify manufacturer temp.
- Verify spool / packaging compatibility.
- Set a conservative starting temperature.
- Dry with venting / airflow.
- Cool and store immediately.
How to dry PLA filament without overheating it
For how to dry PLA filament, start with manufacturer guidance rather than a generic internet rule. Prusa’s reference point for PLA/rPLA is 45 °C for 6 hours. That is brand-specific guidance, not a universal PLA truth. Prusa also warns that home ovens can have imprecise temperature control and may damage low-temperature materials such as PLA, so a controlled filament dryer or dehydrator is safer than an unverified kitchen oven. [1]
Check spool material and packaging first
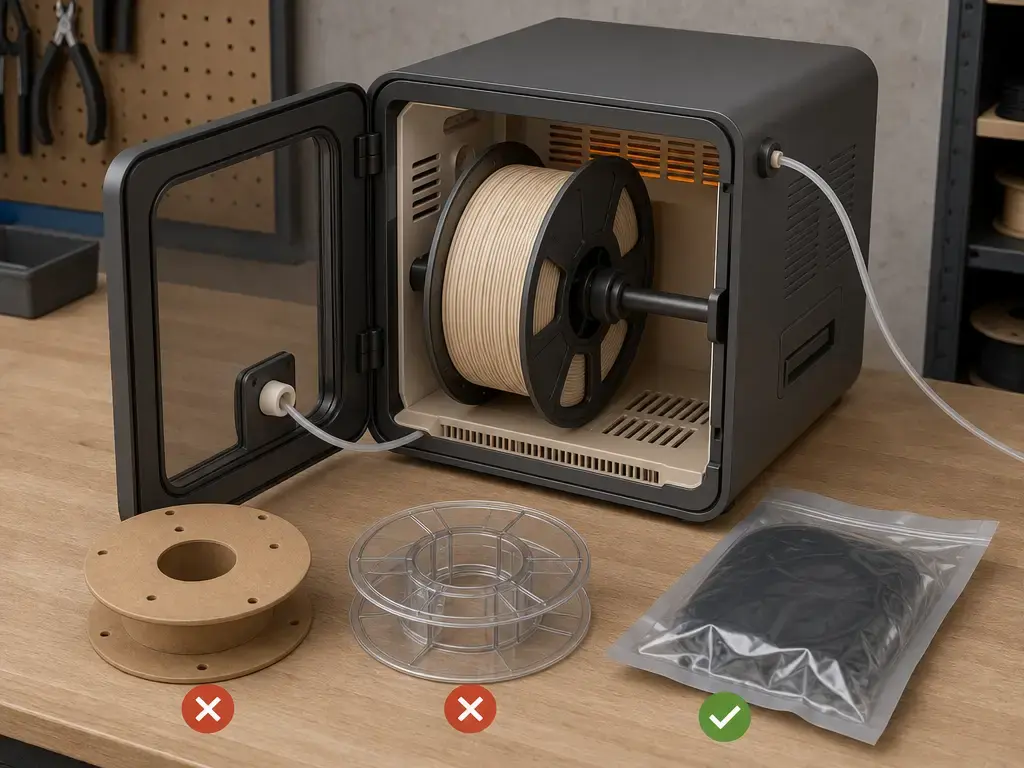
Before drying, verify that the spool, refill core, clips, bag, or any remaining packaging can tolerate the selected temperature. Cardboard spools, plastic spools, refill spools, and vendor packaging can all become the limiting factor. One official dryer example, SUNLU’s FilaDryer E2, explicitly warns that if the machine is set to 70 °C or above, the spool’s temperature resistance should also be at least that high to avoid deformation. Beyond such product-specific warnings, no reliable universal spool-safe temperature figure was found, so if the spool maker does not state compatibility, do not guess. [11] [5]
Types of filament drying and storage tools
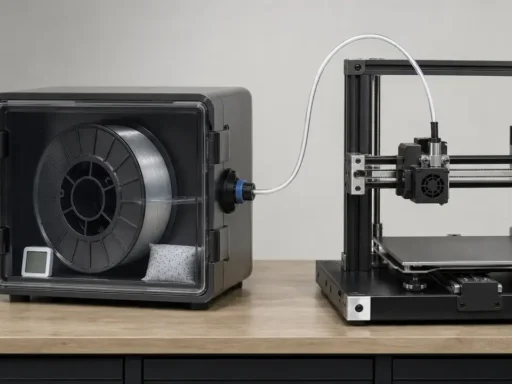
A filament dryer and a dry box are not the same class of tool. Active drying removes moisture with heat and usually airflow or venting; storage tools mainly slow re-absorption after the filament is already dry. [3] [6]
| Tool type | Active drying? | Best use | Main limitation |
|---|---|---|---|
| Filament dryer box | Yes | Routine drying before printing and, on some models, print-through use | Capability varies by chamber design and temperature range. |
| Dry box with desiccant | No | Short- and medium-term storage between jobs | Primarily preserves condition rather than restoring a wet spool. |
| Sealed storage | No | Simple low-cost humidity control for infrequent use | Depends heavily on seal quality and opening frequency. |
| Vacuum bags | No | Long-term storage of spare spools | Awkward for frequent access and daily swapping. |
| Food dehydrator | Yes | Low-cost active drying for some filaments | Needs temperature checks and sensible airflow. |
| Kitchen oven | Maybe | Last-resort warming only | Temperature overshoot and poor uniformity can damage filament or spools. |
| Integrated material station | No | Multi-spool humidity-controlled storage during active workflows | Primarily storage/humidity control, not a universal recovery dryer. [6] |
| Professional drying oven | Yes | Repeatable drying for technical materials | More cost and complexity than most casual users need. |
Prusa’s USS Drybox shows what a storage-first tool does well. Its example hygrometer spec is -50 °C to +70 °C, 10–99% RH, ±1 °C, and ±3% RH, with about two years of battery life. That kind of monitor is useful for tracking storage conditions, but it still measures box air, not the moisture content inside the filament. [3]
UltiMaker’s S5 Material Station shows the other storage-oriented end of the market. It can hold up to six spools and keeps chamber RH under 40% while powered, which is helpful for multi-material workflows where spools must stay ready between prints. In practice, many users combine tools: dry the spool first, then keep it in a dry box, sealed bin, vacuum bag, or humidity-controlled station. [6]
What to check before buying a dryer
If you are shopping for the best 3D printer filament dryer or best 3D printer filament dryer box, compare criteria rather than marketing labels. Setpoint alone is not enough. Polymaker’s PolyDryer documentation makes the broader point clearly: one displayed temperature cannot represent the true situation around the whole spool because temperature varies with chamber airflow, spool size, starting moisture, and material. [12]
Buyer checklist
- Maximum temperature.
- Measured chamber temperature and stability.
- Airflow/venting.
- Spool capacity and fit.
- Print-through filament path.
- Hygrometer presence and accuracy.
- Timer/continuous mode/safety shutoff.
- 1.75 mm / 2.85 mm / 3.0 mm support.
- Desiccant compartment or storage capability.
Manufacturer-stated specs are useful for screening, not for ranking. Polymaker says the highest internal range of the PolyDryer is 68–73 °C. SUNLU says the FilaDryer S4 heats up to 70 °C. PrintDry says its unit is adjustable from 35–70 °C. Higher-temperature consumer options also exist: SUNLU’s FilaDryer E2 is rated up to 110 °C, but SUNLU also warns that spool temperature resistance must match the setting to avoid deformation. That spread is why chamber performance, spool fit, and safe material handling matter more than a headline number on the display. [12] [13] [14] [11]
Applications by material and print environment
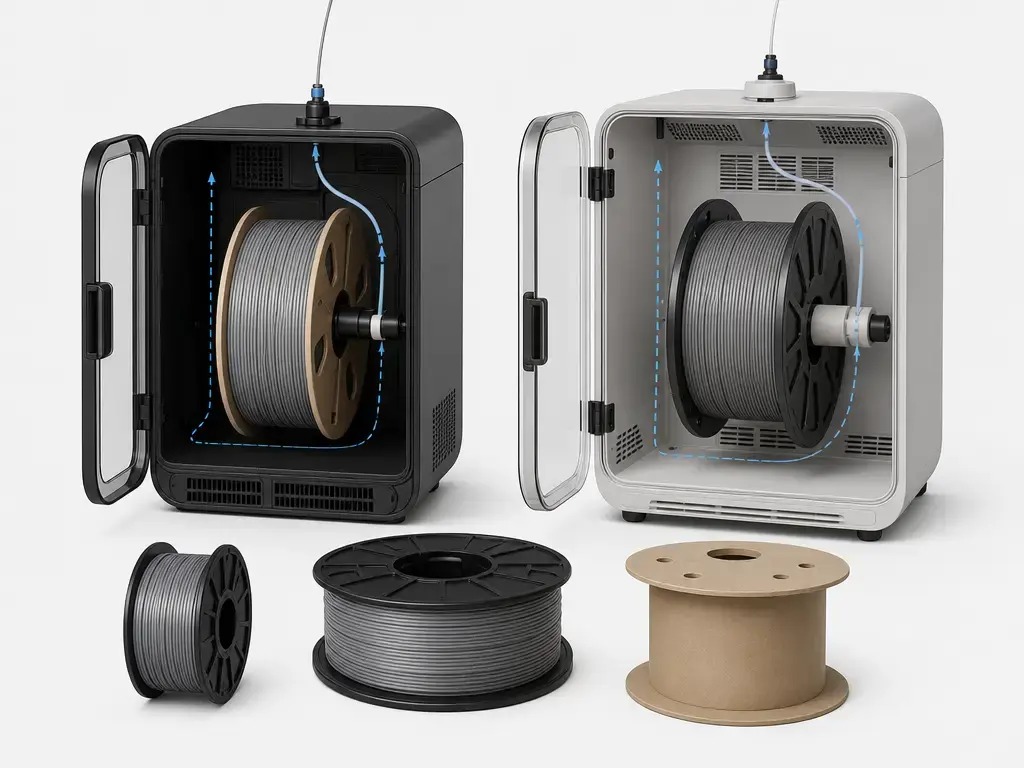
For PLA, a dryer is often a convenience rather than a necessity if storage is already good and exposure is short. PETG sits in the middle: many users can get by with disciplined storage, but drying becomes more helpful as jobs get longer and humidity rises. TPU is where active drying starts paying off more often, because brand-specific guidance moves upward to 60 °C for 4–6 hours in Prusa’s table, while UltiMaker says TPU95A can need overnight drying for 10–20 hours. Prusa’s storage guidance also tightens from PLA below 30% RH to PETG and TPU below 20% RH. [1] [3] [4]
Nylon/PA, PVA/BVOH, PC, and many filled grades are where a dryer is easiest to justify. UltiMaker says nylon, PVA, and TPU95A can need 10–20 hours of drying, and its PVA guidance recommends 0–30 °C storage below 50% RH. For BVOH, Prusa’s storage guidance treats it like other very moisture-sensitive support materials at below 20% RH, but no reliable drying figure was found here, so the filament manufacturer should decide that schedule. Printed-part PA studies underline the caution: one FFF paper reported saturated-state degradation in PA6GF of about 33% in yield stress, 65% in maximum stress, and 68% in compressive modulus, though those numbers describe printed specimens and should not be treated as spool-storage rules. [4] [5] [3] [15]
This matters most in print farms, schools, labs, and long multi-hour jobs where hygroscopic filament may sit loaded or semi-exposed for long periods. Integrated humidity-controlled storage is helpful there; the UltiMaker S5 Material Station stores up to six spools under 40% RH while powered. But workflow discipline still matters as much as hardware: dry the spool, minimize open-air time, and return it to sealed storage immediately after the job. [6] [1]
Limitations, risks, and what a dryer cannot fix
Moisture is only one failure mode. Humidity-related defects can be entangled with temperature conditions, and the NIST polycarbonate study’s 5.4 °C/mm thermal gradient is a good reminder that a bad print is not automatically proof of wet filament. Ovens are also a poor shortcut for low-temperature materials, because Prusa warns that home ovens may be imprecise and can damage PLA. Dryer capability is equally product-specific: Polymaker reports a highest internal range of 68–73 °C for the PolyDryer, SUNLU rates the S4 up to 70 °C, and PrintDry lists 35–70 °C, so many common consumer units still sit below brand-specific schedules such as ASA at 80 °C, PC Blend at 85 °C, or PA11 CF at 90 °C. Higher-temperature consumer units exist, but then spool compatibility becomes more critical. [2] [1] [12] [13] [14] [11]
A dryer also cannot fix bad filament diameter, contamination, UV aging, tangles, brittle damage from other causes, or general material degradation. Drying removes moisture; it is not a guaranteed repair process. TPU is a good example of why overconfident rules fail: the cited TPU study specifically warns that drying duration should not be arbitrarily set at 2–4 hours for every case. [10]
Current research and market context
Current research continues to show that moisture effects are real but variable. In polycarbonate FFF, absorbed water has been linked to porosity as high as 11.7%, while the same study shows that thermal conditions can complicate interpretation. Nylon work conditioned at 40 °C and 80% RH reported around 5.5 wt.% water after 72 hours, and TPU work reported water absorption close to 2 wt.%. PA printed-part studies also show that saturated-state mechanical losses can be substantial in some formulations. Those numbers are useful, but they are not universal constants; values vary by material, geometry, humidity, time, and test method. [2] [9] [10] [15]
On the market side, the category is broader than a single heated box. There are single-spool dryers, multi-spool consumer dryers such as SUNLU’s four-spool S4, and integrated humidity-controlled storage systems such as the UltiMaker S5 Material Station. Manufacturer-stated temperature ranges also vary widely, from PrintDry’s 35–70 °C and Polymaker’s 68–73 °C internal range to higher-temperature units such as SUNLU’s 110 °C E2. That spread helps explain why the topic is now common in multi-material workflows and print farms: users are solving different moisture problems with different classes of hardware. [13] [6] [14] [12] [11]
FAQ
Do you need a 3D printer filament dryer?
Not always for PLA-only printing in a dry home with short jobs and good storage. Much more often, yes, for PETG, TPU, nylon/PA, PVA/BVOH, PC, composites, humid rooms, and long prints. [1]
What are the most reliable wet filament symptoms?
Popping or crackling during extrusion, bubbles or steam, rough surfaces, stringing, blobs, weak layer adhesion, brittle filament, and inconsistent extrusion are the main clues. None of them is proof by itself, so confirm with a dry-and-retest comparison. [1]
How do you dry PLA filament safely?
Use manufacturer guidance first. Prusa’s reference for PLA/rPLA is 45 °C for 6 hours, but that is brand-specific guidance, not a universal PLA rule. Avoid assuming a kitchen oven is safe, because Prusa warns that home ovens can be imprecise and may damage PLA. [1]
Is a dry box the same as a filament dryer?
No. A filament dryer actively applies heat and usually airflow or venting, while a dry box mainly helps keep already-dry filament in lower-RH storage. [3] [6]
How should I compare chamber temperature vs setpoint when buying a dryer?
Look at measured chamber behavior, not just the display number. Polymaker notes that a single temperature cannot represent the whole spool environment, and common consumer examples span from 35–70 °C to around 70 °C, with some higher-temperature models above that. [12] [13] [14] [11]
Can a hygrometer tell me if filament is actually dry enough to print?
No. A hygrometer tells you the RH of the air inside the box, not the moisture content inside the filament. Prusa’s dry-box example also shows why it should be treated as a monitor, not a direct moisture meter: the cited unit is specified at about ±3% RH accuracy. [3]
Bottom line
Do you need a 3D printer filament dryer? If you print mostly PLA in a dry home, sealed storage and desiccant can be enough to start. But PETG, TPU, nylon/PA, PVA/BVOH, PC, composites, and long jobs benefit much more from active drying or a print-from-dry workflow. [1] [4] [5]
The practical rule is simple: storage and drying solve different problems. A dry box mainly helps keep filament dry after conditioning, while active drying removes moisture that is already inside the spool. The best setup is the one that safely reaches the material’s required temperature, fits the spool, allows sensible airflow or venting, and matches your workflow. For some materials that may mean a mild dryer cycle; for others it may mean overnight drying or a higher-temperature unit with careful spool-compatibility checks. [3] [4] [11] [12] [13] [14]
Sources
- 1. Prusa Knowledge Base: Drying filament
- 2. NIST: Effects of Environmental Temperature and Humidity on the Geometry and Strength of Polycarbonate Specimens Prepared by Fused Filament Fabrication
- 3. Prusa Knowledge Base: Prusa USS Drybox
- 4. UltiMaker: How to print with nylon filament
- 5. UltiMaker: 3D printing tips — how to store PVA material
- 6. UltiMaker S5 Material Station — User manual EN v2.0
- 7. ISO 62:2008 — Plastics: Determination of water absorption
- 8. ASTM D570-22 — Standard Test Method for Water Absorption of Plastics
- 9. Impact of Moisture Absorption on 3D Printing Nylon