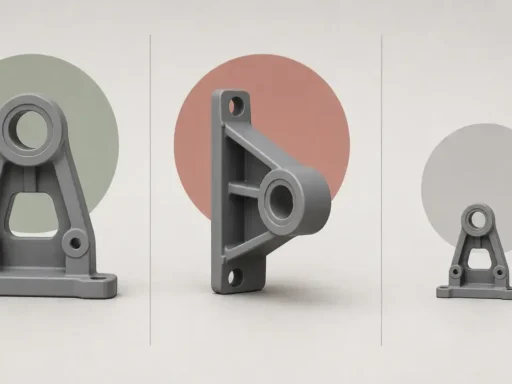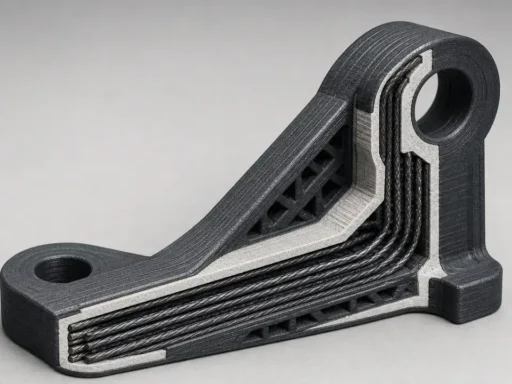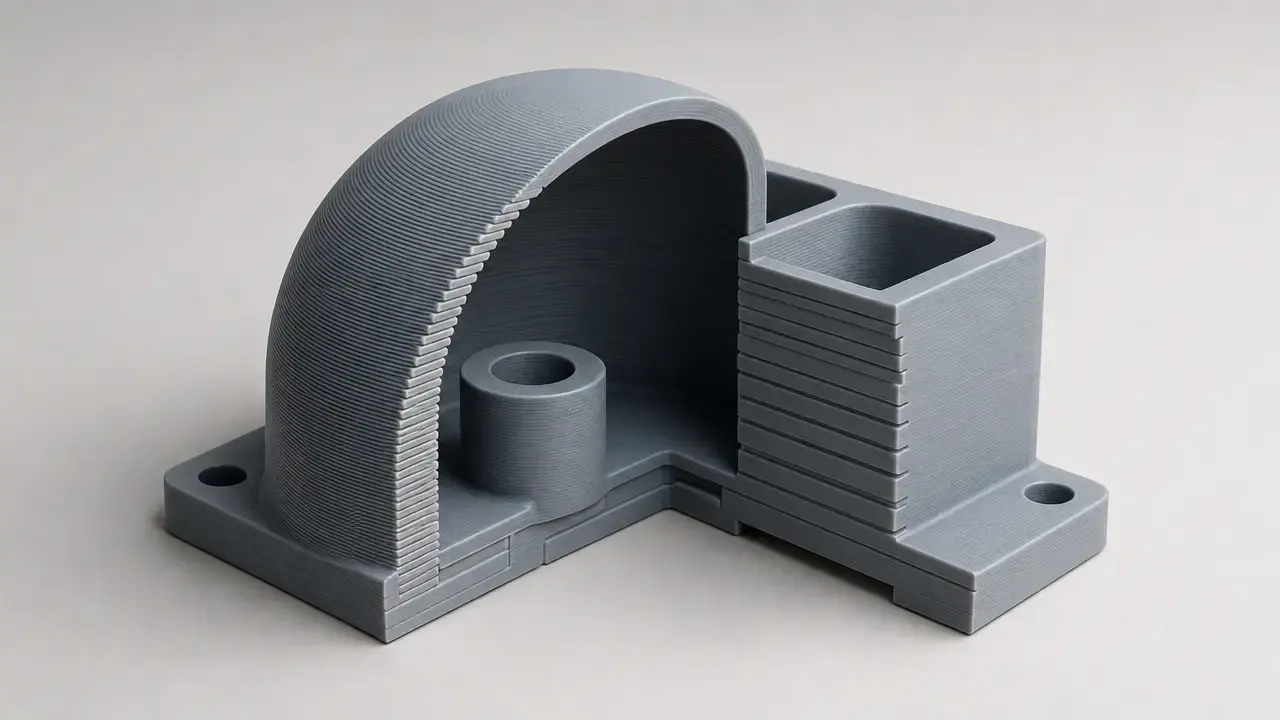

Summary: What Is Adaptive Layer Height?
Adaptive layer height is a 3D-printing slicing strategy that varies layer thickness along the Z axis, usually in response to model geometry instead of keeping every layer the same height. Because additive manufacturing builds parts layer by layer from digital designs, changing that spacing lets a slicer place detail where the shape needs it most. [2] [5]
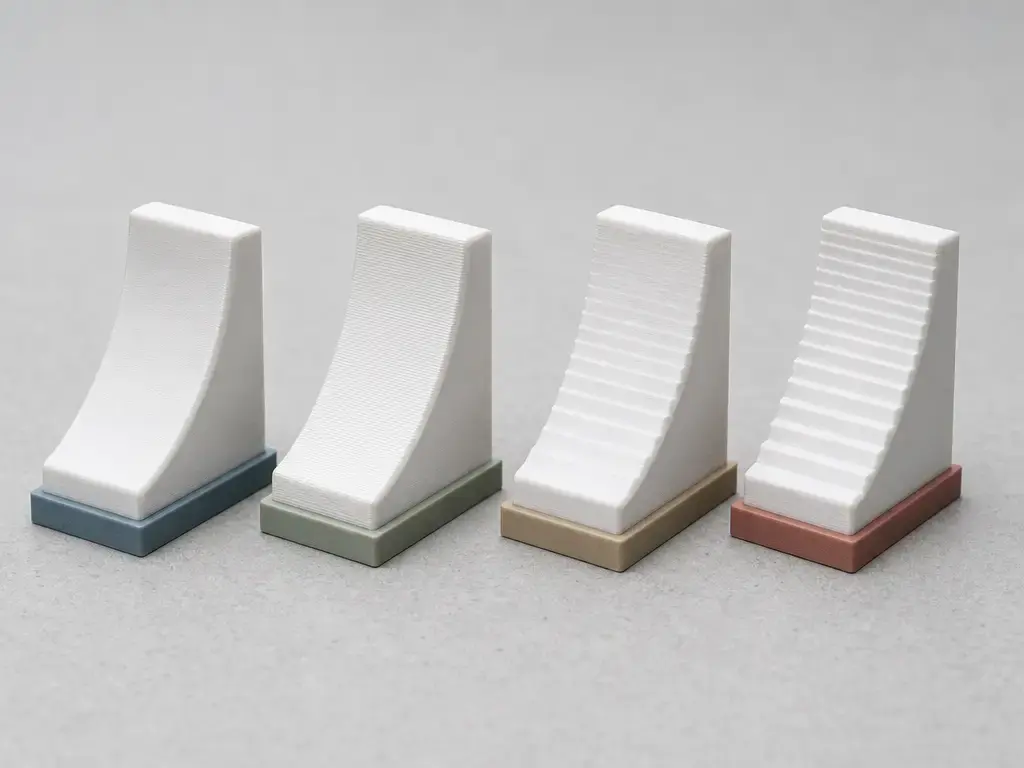
In practice, adaptive layers are mainly used to reduce visible stair stepping on sloped or curved surfaces while avoiding fine layers everywhere else. That can improve appearance and sometimes reduce print time compared with a uniformly fine profile, but variable layer height does not make tiny XY features smaller or sharper, and it does not fix poor calibration, inconsistent extrusion, or bad cooling. Adaptive slicing reduces staircase defects, but because it still relies on flat layers, it improves the approximation rather than eliminating it. [5] [12]
Quick Setup Workflow
Across Cura, PrusaSlicer, Slic3r, and OrcaSlicer, the workflow is broadly similar: start from a known-good profile, enable the feature, set an allowed range, inspect the preview, then smooth or refine the result before printing. Depending on the slicer, those bounds may appear as minimum and maximum layer height or as variation around a baseline layer height. [6] [7] [8] [9]
A simple setup flow works in most slicers:
- Pick a baseline layer height or profile that already prints well.
- Enable adaptive or variable layer height.
- Set the allowed range using the slicer’s own controls.
- Apply smoothing or otherwise avoid abrupt transitions.
- Use the layer-height preview to inspect slopes, curves, and transition zones.
- Test-print a small sample if appearance is critical.
Preview matters because the automatic result can place thinner or thicker layers in regions you would not have chosen yourself, and some slicers allow manual edits after the automatic pass. PrusaSlicer and OrcaSlicer both document that combination of automatic generation and user refinement. [7] [9]
How Adaptive Layer Height Works
At the slicer level, the idea is simple: the software turns the model into cross sections taken at selected heights, then decides where those heights should be closer together or farther apart. CuraEngine describes slicing as creating cross sections of a 3D mesh at certain heights, and notes that with Adaptive Layer Heights, the Z coordinates of those cross sections are determined from the shape of the model. UltiMaker describes Cura’s feature as analyzing the slope and angle of the outer wall, while Slic3r documents adaptive slicing based on surface angle. The result is the usual quality-versus-speed tradeoff: thinner layers where slopes make stepping obvious, thicker layers where they do not. [4] [5] [8]
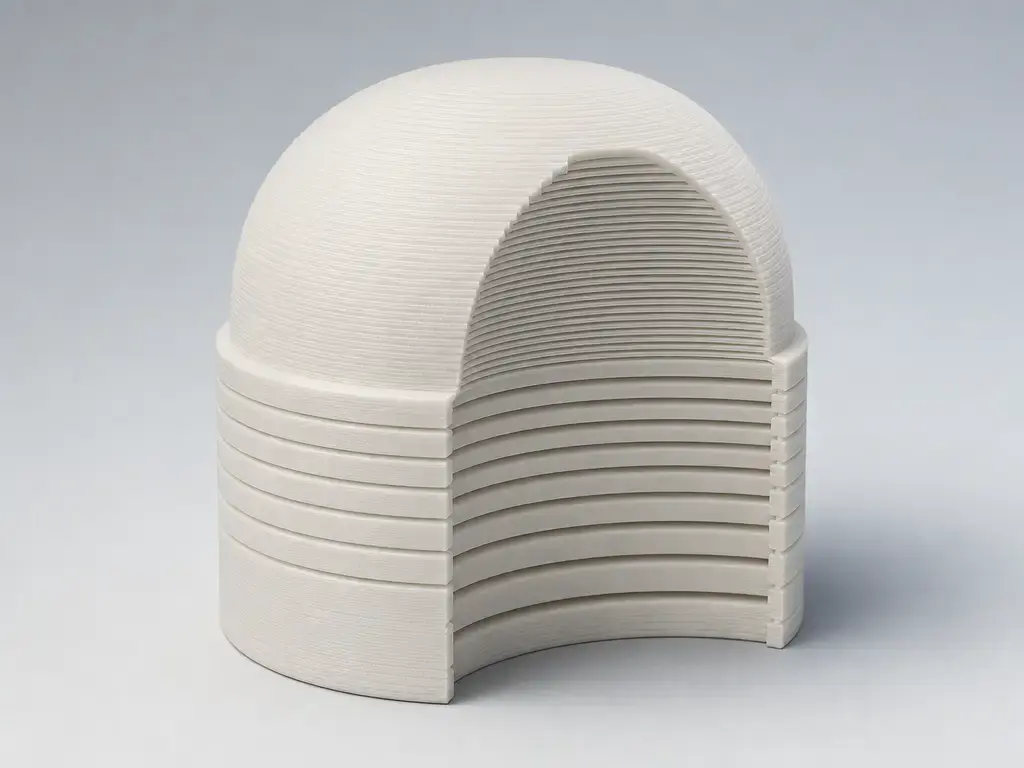
Adaptive layer height mainly changes Z-axis sampling, the spacing between planar layers; it does not make tiny XY features smaller or sharper. [12] That is why the feature is best understood as a way to reduce visible stepping on curves and angled faces. It may do little for already-clean vertical walls at the same nominal settings, and it will not repair unrelated defects such as ringing, seam placement, or flow inconsistency. Research on anti-aliasing in fused filament deposition starts from the same limitation: adaptive slicing helps because it changes layer spacing, but flat layers still remain a geometric approximation. [12]
One distinction matters when troubleshooting. Commanded layer height, machine Z increment granularity, and achieved dimensional accuracy or repeatability are related but not identical. On some machines, if requested heights do not line up cleanly with realizable Z increments, the mismatch can accumulate and show up as aliasing or slight over- and under-filled layers. [11]
Terminology: Adaptive vs Variable vs Dynamic
In everyday slicer language, adaptive usually means the software is choosing layer thickness automatically from geometry. Variable layer height is broader and can also include manual editing, local overrides, or a mix of automatic and manual changes. Dynamic layers is a common user phrase for the same general idea, but it is informal rather than a standards term.
For terminology background, ISO/ASTM 52900:2021 is the standards-aligned vocabulary reference for additive manufacturing, and standards-oriented writing often uses material extrusion rather than the hobby terms FDM or FFF. A 2024 review notes that material extrusion is also known as FDM or FFF, and ASTM describes layer-based material extrusion processes as depositing a filament or bead from an extrusion head. [1] [14] [3]
This article focuses on FDM/FFF printing. Resin exposure-per-layer strategies are a separate topic.
Slicer Taxonomy: Four Ways Variable Layer Height Appears
The same idea appears in slicers through different control styles, which is why users often talk past each other when comparing “adaptive” features. Some tools are mostly automatic, some are mostly manual, and some are built around fixed ranges or modifiers. PrusaSlicer and OrcaSlicer both document automatic and manual refinement paths, so the control logic matters more than the label. [7] [9]
| Tool family | User control | Best use | Caution |
|---|---|---|---|
| Automatic adaptive | Quality/speed slider or algorithm settings | Curves, domes, organic surfaces | Can choose transitions you do not expect |
| Manual variable height | Paint, drag, or curve edits | Cosmetic zones, threads, rounded tops | More user time; easy to over-tune |
| Height-range override | Fixed Z ranges or modifier-style intervals | Functional zones needing fixed behavior | Can conflict with global adaptive intent |
| Fixed layer height | One value throughout | Repeatable process or qualification work | Fine layers everywhere cost time |
Adaptive layer height still uses planar layers with varying spacing; non-planar or within-layer Z motion is a different approach. [12]
Slicer Comparison: Cura vs PrusaSlicer vs Slic3r vs OrcaSlicer
The workflow is broadly consistent across major FDM/FFF slicers: enable the feature, preview the result, then decide whether to smooth or manually refine it. The differences are mostly in naming, in how much of the process is exposed to the user, and in whether the slicer frames the tradeoff as quality, speed, or a more technical geometric measure. UltiMaker states that adaptive layers have been available in Cura since Cura 3.2. [5]
| Slicer | Feature name in UI/docs | Main controls users actually touch | Version / sourcing note |
|---|---|---|---|
| Cura | Use Adaptive Layers / Adaptive Layers. [5] [6] | Maximum variation; variation step size; topography size. [5] [6] | Available since Cura 3.2. In the Cura 5.13.0 base machine definition, defaults are false for enablement, 0.1 mm for maximum variation, 0.01 mm for variation step size, and 0.2 mm for topography size; profiles may override them. [5] [6] |
| PrusaSlicer | Variable layer height tool. [7] | Adaptive; Quality/Speed; Smooth; Keep min; manual edits. [7] | Prusa notes that screenshots may differ by version, but the documented functions remain the same. [7] |
| Slic3r | Variable Layer Height / Use adaptive slicing. [8] | Adaptive quality from 0% to 100%; Z full steps/mm respected; manual refinement tools. [8] |
The manual documents behavior and notes that Combine infill can merge up to 3 layers even when those layers differ in thickness. [8] |
| OrcaSlicer | Variable Layer Height. [9] | Quality/Speed slider; Smooth with Gaussian filter radius; manual edits. [9] | The official Orca wiki says minimum and maximum layer heights are defined in the Machine/Extruder settings. [9] |
For advanced users, one subtle difference is how “quality” is framed. Prusa documentation describes Slic3r as limiting maximum discretization error, Cura as limiting the maximum distance of contour lines in the XY plane, and Prusa’s own implementation as limiting cross-section area error. That comparison is useful, but it should be treated as Prusa’s description of the three approaches rather than as independent confirmation of undocumented internals beyond the high-level descriptions available in Cura and Slic3r documentation. [7]
Benefits and What You Can Actually Measure
The main benefit is usually visual. Adaptive layer height targets discretization effects such as stairstepping, surface roughness, and distortion, so the most obvious improvement tends to appear on sloped or curved surfaces rather than on vertical walls that already print cleanly. It can also save time compared with using very fine layers everywhere. UltiMaker gives a case-specific example in which a Poly-Tainer bottle prototype printed with adaptive layers took 10% less time than the same model printed at a constant 0.2 mm layer height, but that is a single manufacturer example, not a universal expectation. [11] [5]
It is also worth separating slicing time from printing time. Wasserfall et al. report a 3DBenchy example with 225,154 facets in which static slicing took 4.21 s, adaptive slicing took 4.60 s, both outputs had 295 layers, and the adaptive CPU fraction was 8.48%. That result shows that adaptive processing can add some computation even when the printed part may still benefit. [11]
What to measure instead of chasing generic claims:
- Layer-height color or legend view in the preview.
- Total layer count.
- Estimated print time.
- Visible stepping on slopes or curves before and after.
- Height or dimensional deviations on Z-critical features.
- Transition bands or texture changes where layer height shifts.
When to Use Adaptive Layer Height
As a beginner rule of thumb, use adaptive layer height when curved or sloped geometry matters visually and a uniformly fine layer height would waste time on simpler regions.
That makes it a good fit for domes, figurines, organic shells, rounded tops, ergonomic grips, bottle or packaging prototypes, and sloped top faces. Cura describes the feature in terms of outer-wall slope and angle, and Slic3r describes the same logic as using coarse layers on vertical sections and finer ones on sloping gradients. [5] [8]
Threads, ramps, and other functional-looking features can also benefit cosmetically, but this is not a strength-improvement tool. Its main job is to redistribute surface detail along Z, not to change the underlying mechanical limits of the part. [11] [12]
Limitations, Failure Modes, and When Fixed Layer Height Is Better
Adaptive layers are not a universal upgrade. OrcaSlicer’s guidance describes an “optimal range” of roughly 20% to 80% of nozzle diameter and lists 0.08 mm to 0.32 mm for a 0.4 mm nozzle, but that is explicitly guidance, not a law for every printer or material. Smaller layers can help curves and some overhang situations, yet Wasserfall et al. also document an unsupported-overhang case in which thin adaptive layers produced a strand prone to droop and locally increasing layer thickness improved the result. The same paper warns that printers with coarse or awkward Z increment behavior can show aliasing artifacts when commanded layer heights do not align well with realizable Z motion. Prusa adds another practical warning: profiles change more than just layer height, and taller layers get wider extrusion. [10] [11] [7]
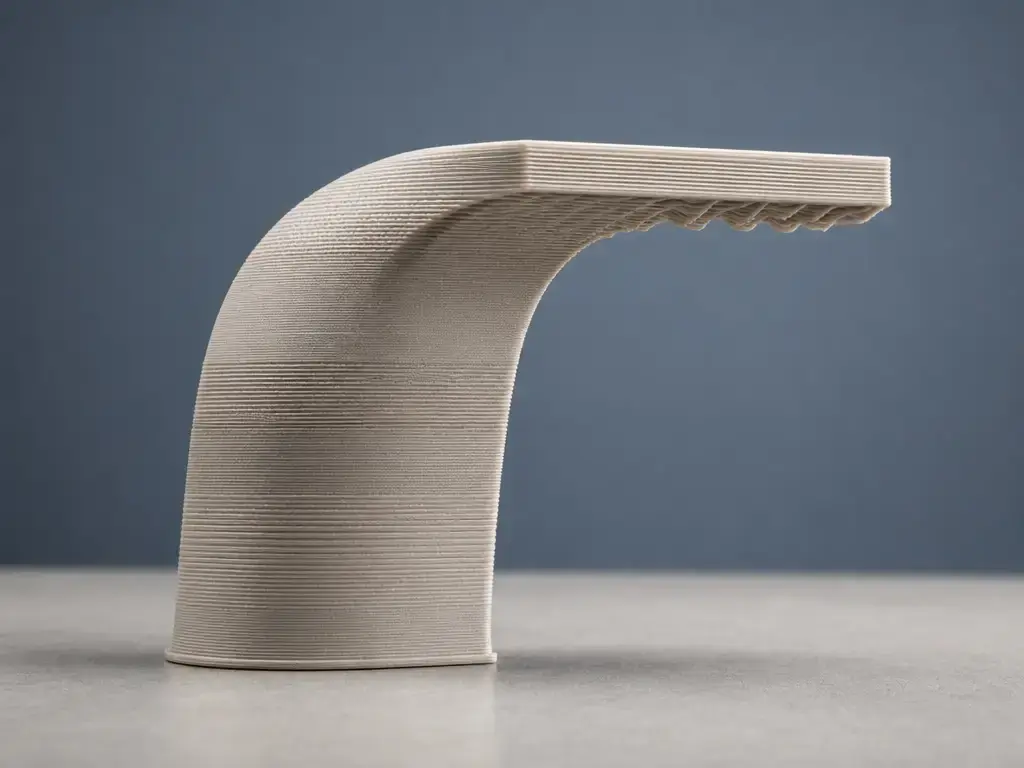
So the failure modes are mixed: visible transition bands, geometry-dependent overhang behavior, cooling or minimum-layer-time interactions, and machine-specific Z quantization artifacts. Adaptive layers can improve one part of the print while making another part less predictable. [10] [11]
They are also not a cure for wet filament, poor flow calibration, loose mechanics, or bad cooling. If the baseline process is unstable, a fancier layer-height pattern will not rescue it.
Fixed layer height is often the better choice when you need controlled comparisons, documented process repeatability, qualification-style builds, or simply a model that is mostly vertical and already looks fine at one constant value. In those cases, reducing one source of variation is often more useful than extracting every possible cosmetic gain from the geometry.
Advanced Technical Note: Cusp Height and Z Full Steps
In adaptive-slicing research, cusp height is an error-bound concept used to limit how far a stepped surface can deviate from the intended geometry. Wasserfall et al. give the relation hc = min{Lmax, Cmax / sin θ}, and older adaptive-slicing literature framed variable slice thickness around geometry and cusp-height tolerance long before modern consumer slicers exposed the idea through sliders and previews. In mainstream slicers, this theory usually appears indirectly through quality controls rather than as a formula you enter yourself. [11] [13]
The Z-side caution is simpler. Slic3r states that Z full steps/mm are always respected, while Wasserfall et al. discuss optional “layer height gradation” to round adaptive heights to multiples of the printer’s Z resolution. Their figure using 0.1 mm minimum and 0.4 mm maximum layer thickness is an example assumption for comparison, not a recommended universal setting. The practical lesson is that commanded heights, slicer output, and printer motion granularity interact, so a mathematically neat pattern may still be approximated by the machine. [8] [11]
Practical Takeaways for Adaptive Layer Height
Adaptive layer height is most useful when a model mixes visible curves with less demanding regions and you want better surface appearance without paying for fine layers everywhere. That is why UltiMaker presents adaptive layers as a way to print detailed objects faster in suitable cases, and why PrusaSlicer supports both automatic and manual workflows with smoothing tools. [5] [7]
The safe habit is simple: preview first, test when appearance or dimensions are critical, and avoid universal presets. If the geometry is mostly cosmetic and the preview looks sensible, adaptive layers are often worth trying. If the geometry is mostly vertical or the process must stay tightly repeatable, fixed layers are often the more predictable choice. [7] [11]
FAQ
What is adaptive layer height in 3D printing?
Adaptive layer height is a slicing mode that changes layer thickness along the Z axis so finer layers are used where the model’s shape makes stepping more visible and thicker layers are used where they are less noticeable. In FDM/FFF printing, it is a geometry-driven way to redistribute detail within the same layer-by-layer process. It is mainly a surface-quality and time-management tool, not a replacement for nozzle-size limits, calibration, or machine stability. [2] [5] [12]
Adaptive vs variable layer height: what is the difference?
In common slicer usage, adaptive usually implies that the software is deciding the layer-height pattern automatically from model geometry. Variable layer height is the broader category and may include manual editing, smoothing, or local overrides after the automatic pass. In other words, adaptive is usually one way of producing variable layer height. PrusaSlicer and OrcaSlicer both document workflows that mix automatic generation with manual refinement, which is why the two phrases overlap so often in practice. [7] [9]
How do I set adaptive layer height in Cura, PrusaSlicer, or OrcaSlicer without hardcoding values?
Start with a profile that already works, then enable the feature and inspect the preview rather than guessing values blindly. In Cura, look for Adaptive Layers; UltiMaker says the feature has existed since Cura 3.2, and the Cura 5.13.0 base definition lists version-specific defaults of false for enablement, 0.1 mm variation, 0.01 mm step size, and 0.2 mm topography size, though profiles may override them. PrusaSlicer exposes Adaptive, Quality/Speed, Smooth, and Keep min, while OrcaSlicer exposes Adaptive, Smooth, and Manual controls. [5] [6] [7] [9]
Does variable layer height improve print quality or accuracy?
It can improve cosmetic quality, especially by reducing visible stair stepping on sloped and curved surfaces. That is different from improving XY detail, dimensional accuracy, or repeatability. Those depend on nozzle width, extrusion control, mechanics, cooling, and the printer’s motion system. Research also notes that commanded layer height and realizable Z increments are not the same thing, so an adaptive profile may look smarter in preview without guaranteeing better dimensions in every case. [11] [12]
Can adaptive layer height cause problems on overhangs?
Yes, sometimes. OrcaSlicer’s guidance says smaller layers can improve curves and some overhang behavior, but research by Wasserfall et al. shows a documented unsupported-overhang case where very thin adaptive layers created a strand that tended to droop, and a locally thicker layer produced better geometric accuracy. That is why overhang outcomes depend on geometry, material behavior, cooling, and support strategy rather than on a simple “thinner is always better” rule. [10] [11]
Expert: How do slicers decide where to place thinner layers, and what does “quality” mean?
The high-level answer is geometry, especially slope or surface angle, but “quality” is not framed identically across slicers. Prusa documentation describes Slic3r’s approach as limiting maximum discretization error, Cura’s as limiting the spacing of contour lines in the XY plane, and Prusa’s own as limiting cross-section area error. That comparison is useful for understanding why sliders may feel different across slicers, but it should be treated as Prusa’s description rather than as a universal reverse-engineering of each engine. [7]
Expert: Do I need to match layer heights to Z full steps/mm?
Not as a universal rule, but it can matter on some machines. Slic3r explicitly says Z full steps/mm are respected, and Wasserfall et al. describe how mismatches between commanded layer heights and printer Z resolution can accumulate into aliasing effects. If your printer has awkward Z increment behavior, aligning layer-height choices with realizable motion can reduce artifacts. If it does not, this may be a non-issue. Treat it as a printer-specific compatibility concern, not a blanket requirement. [8] [11]
Sources
- ISO/ASTM 52900:2021 Additive manufacturing — General principles — Fundamentals and vocabulary
- NIST Additive Manufacturing overview
- ASTM article: Material Extrusion Processes
- CuraEngine documentation: Slicing
- UltiMaker: Print detailed objects faster using adaptive layers in UltiMaker Cura
- Cura 5.13.0 base machine definition file
- Prusa Knowledge Base: Variable layer height function
- Slic3r Manual: Variable Layer Height
- OrcaSlicer wiki: Variable Layer Height
- OrcaSlicer wiki: Layer Height
- Wasserfall et al. (2017), Adaptive Slicing for the FDM Process Revisited
- Song et al. (2016), Anti-aliasing for fused filament deposition
- Real time adaptive slicing for fused deposition modelling
- Sage review PDF on additive manufacturing terminology
- All3DP competitor article on Cura adaptive layers