Summary
Z‑hop is a 3D printing technique in which the printer’s nozzle briefly lifts vertically during non-printing moves, helping to avoid layer shifts by preventing collisions with printed parts. This feature is especially effective at minimizing surface defects and is commonly set to a default height of 0.2 mm—matching typical layer thickness—though it can marginally increase overall print time. [1][2]

Historical Background
The Z‑hop concept entered popular use with the addition of the “Z Hop When Retracted” feature in the Cura slicer, developed by Ultimaker. While a precise introduction year is unavailable, documentation confirms Z‑hop was widely adopted by the mid‑to‑late 2010s as slicer features matured. Cura is recognized for integrating this option to reduce nozzle collisions and eliminate common print artifacts, such as scratches and blobs. No reliable figure found for the origin year due to inconsistent historical documentation. Today, most desktop and professional slicers include Z‑hop or similar functionality—with default settings commonly cited in Cura’s help resources—underscoring its value in modern 3D printing workflows. [2]
Principles
Z‑hop lifts the printer’s nozzle vertically along the Z‑axis each time the printhead moves between sections with filament retraction, reducing the risk of physical collisions, dragging, or layer shifts during travel. [1]
Types or Implementation Variations
Slicer programs differ: Cura calls the feature “Z Hop When Retracted,” and sets a 0.2 mm default, while PrusaSlicer may label it “Z lift,” and Orca Slicer recommends between 0.2 and 2.0 mm, with 0.4–0.6 mm typical for 0.2 mm layers. [2][3]
Most slicers offer user-adjustable settings—including Z hop height, the option to only activate Z‑hop when crossing existing printed parts, and sometimes travel or Z‑hop speed—to tune performance for specific prints. [3]
Performance or Effects
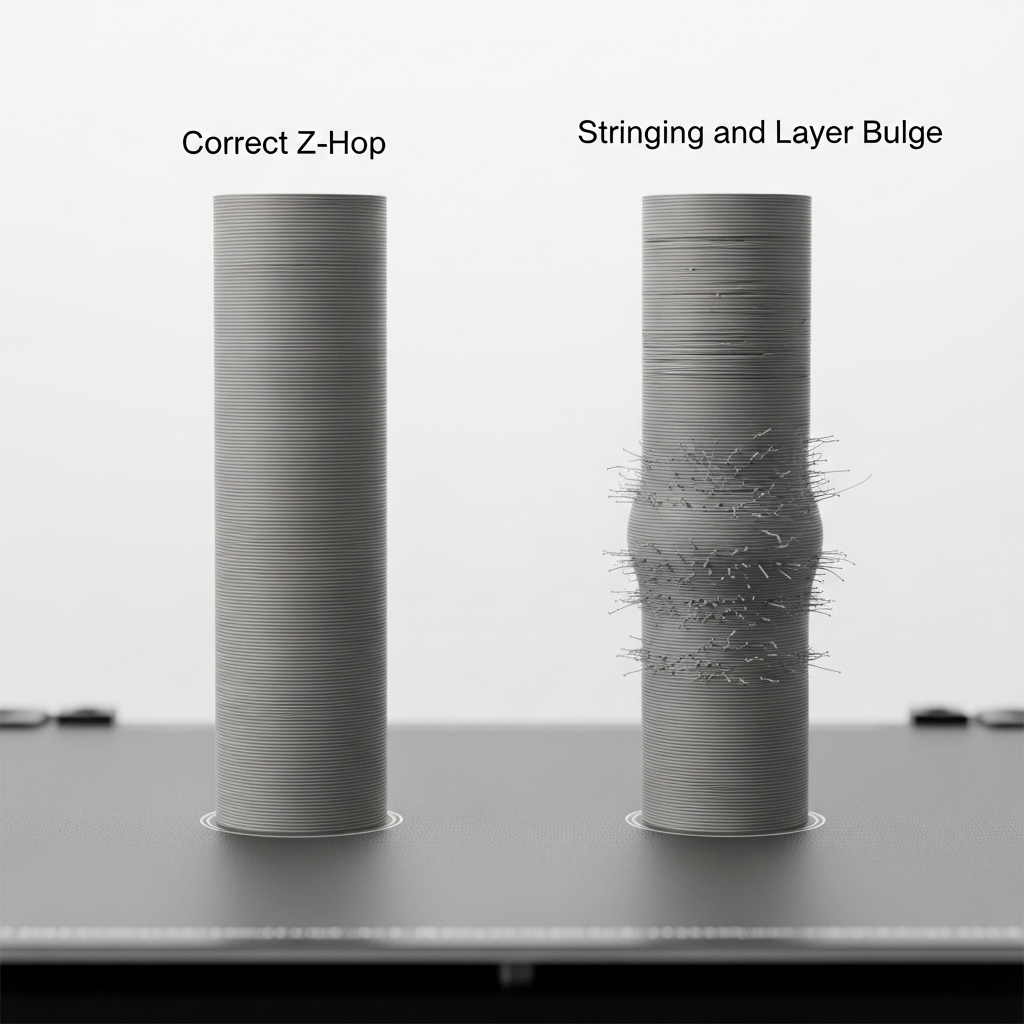
Z‑hop delivers several benefits: chiefly, it avoids nozzle collisions with printed features, thereby preventing layer shifts—a misalignment that compromises structural and visual quality. Additional advantages include mitigating nozzle dragging marks, reducing the potential for surface scratches, and limiting formation of blobs due to residual filament. In community feedback, using a Z‑hop height equal to the current print’s layer height, for example, 0.2 mm, is frequently endorsed as effective for reducing unintentional layer offsets. [4][7] Manufacturers and guides recommend coupling Z‑hop with moderate print and travel speeds: below 60 mm/s for standard printing, and around 100–150 mm/s for travel moves, to balance surface quality and throughput. [6]
However, there are notable trade‑offs. Activating Z‑hop can extend print duration due to extra vertical movements. Some users observe increased stringing, as retracted filament may ooze during repeated lifts. In rare cases, incorrect settings—such as excessive Z‑hop heights—can ironically introduce layer misalignments, especially in printers with less rigid Z‑axis hardware. Robots.net and Polymaker caution that on older or budget machines, Z‑hop may accentuate mechanical tolerances, producing visible layer bulges. [5] Proper machine maintenance and tuning are thus essential.
Benefits of Z‑hop:
- Prevents nozzle collisions with printed features
- Reduces layer shifts and print defects
- Limits scratches and blobs
- Preserves delicate or tall structures
Trade‑offs of Z‑hop:
- Increases print time
- Can lead to stringing
- May cause misaligned layers if Z‑axis mechanics are poor
- Risk of layer bulges on some equipment
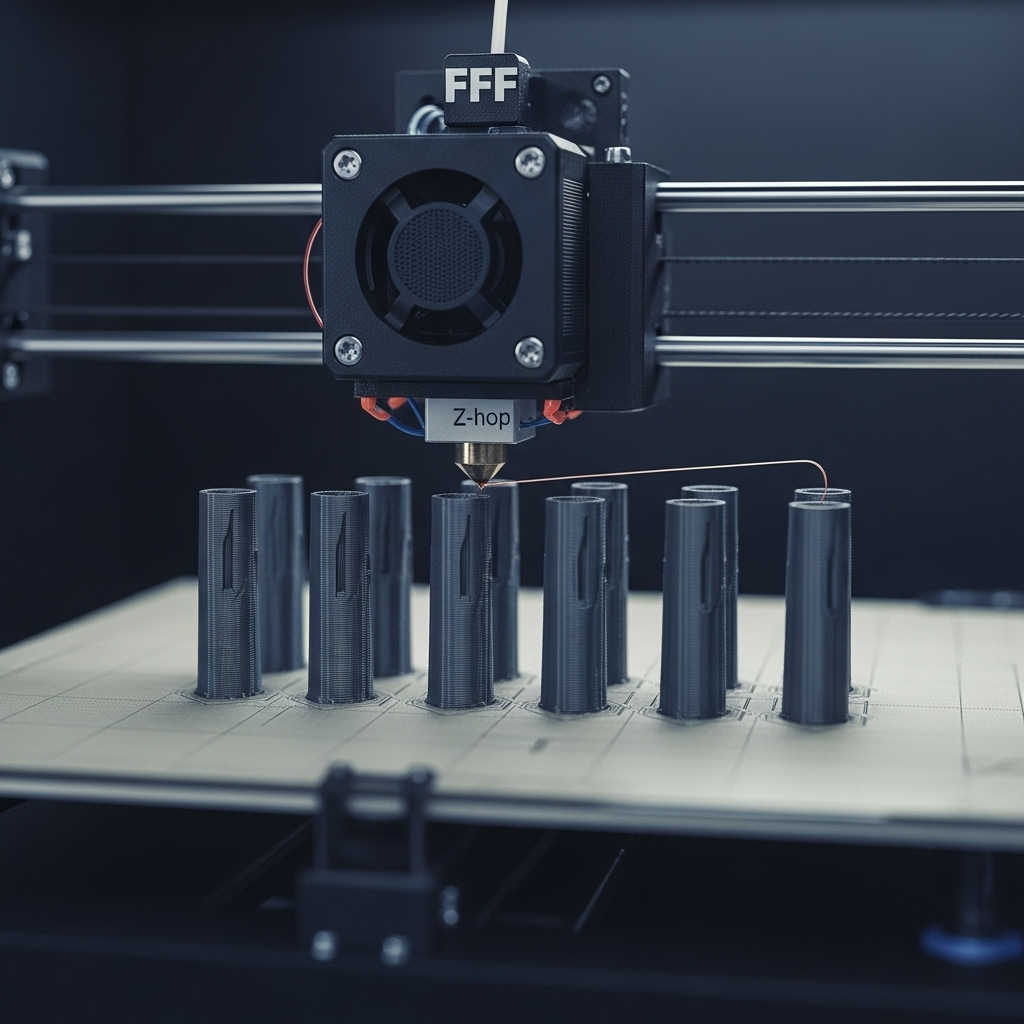
The strong community endorsement of Z‑hop, especially with default or near-default height values, reinforces its value for reliable, high-quality printing on a wide range of desktop fused filament fabrication (FFF) machines. [7]
Applications
Z‑hop is particularly advantageous when printing objects susceptible to collision damage, such as tall, thin structures, or groups of closely clustered, delicate parts. It is commonly deployed in batch prints—where the nozzle frequently crosses completed areas—in designs featuring intricate or protruding surface geometry, and when using materials prone to stringing or warping. Both professional guides and experienced users recommend activating Z‑hop for high-detail models or parts that generate visible surface features, as even minor contact can mar the finish. Vreman 3D Lab and 3D Print Mentor highlight Z‑hop’s critical role in preventing failures or cosmetic blemishes on challenging builds, emphasizing its utility for high-stakes or precision engineering prints. [4]
Research Updates or Advanced Considerations
While community resources and manufacturer support thoroughly describe Z‑hop usage, there is a lack of academic or peer‑reviewed research defining optimal Z‑hop heights for diverse machine types. Some technical sources—such as Polymaker—note a risk of layer bulges or quality degradation with excessive Z‑hop, especially in lower-cost or poorly-maintained printers. Continued innovation in slicer algorithms could enable dynamic, print-specific Z‑hop heuristics in future versions. [5]
Slicer Comparison Table
| Slicer | Default Z‑hop Height | Recommended Range (for 0.2 mm layer) | Z‑hop Speed Notes | Trade‑offs |
|---|---|---|---|---|
| Cura | 0.2 mm | 0.2–0.6 mm | User-adjustable (see advanced settings) | Increased print time with higher values; risk of stringing |
| Orca Slicer | n/a (user set) | 0.2–2.0 mm (typically 0.4–0.6 mm) | Adjustable, recommend moderate (<150 mm/s) | Layer shifts if too high; possible bulges |
| PrusaSlicer | “Z lift” (user set) | 0.2–0.6 mm | User-tunable; match layer height | Similar risk of increased stringing and time |
| All | – | – | Travel speed: 100–150 mm/s suggested | More tuning needed for legacy hardware |
Q&A (FAQ)
1. What is Z‑hop and how does it help avoid layer shifts?
Z‑hop is a 3D printing function that temporarily lifts the print nozzle vertically during travel moves, preventing the nozzle from colliding with printed objects and reducing the risk of layer shifts and surface defects. [1]
2. What default Z‑hop height does Cura set?
Cura’s default Z‑hop height is 0.2 mm, designed to match a standard layer height on most printers for optimal results. [2]
3. How high should Z‑hop be for 0.2 mm layers in Orca Slicer?
For 0.2 mm layers, Orca Slicer recommends a Z‑hop height between 0.4 and 0.6 mm, tuning for surface complexity and printer quality. [3]
4. Can Z‑hop increase print time or stringing?
Yes, enabling Z‑hop can moderately increase print time because each vertical movement takes extra time, and it can also lead to stringing due to filament oozing during lifts. [5]
5. In which print scenarios is Z‑hop most advantageous (expert‑level)?
Z‑hop is most beneficial for tall, thin objects, clustered or multipart prints, and models with delicate features or overhangs that risk accidental collision. It is also effective for surface-critical or precision components. [4]
6. What mechanical issues might cause Z‑hop to create layer bulges? (expert‑level)
On printers with imprecise or poorly maintained Z‑axis systems, excessive Z‑hop height or mechanical backlash can cause the nozzle not to return accurately, leading to visible layer bulges or misalignments. [5]
Sources
- Tom’s Hardware – How to Avoid 3D Printer Layer Shifting: Enable Z Hop Feature
- 3D Print Mentor – 3D Printing Z Hop: Tips for Smoother Layer Transitions
- Orca Slicer Docs – Z‑hop / Z‑lift Settings
- Vreman 3D Lab – Z Hop Usage in FFF Printing
- Robots.net – What is Z Hop in 3D Printing?
- BCN3D Knowledge Base – Layer Shifting: Troubleshooting
- Reddit – Community Experiences With Z Hop
- Polymaker Wiki – Layer Bulges and Z Hop Side-effects